Saltar al contenido principal

MSI GT62VR 6RD Dominator Speaker Replacement

Qué necesitas

  1. MSI GT62VR 6RD Dominator Speaker Replacement, Battery: paso 1, imagen 1 de 2 MSI GT62VR 6RD Dominator Speaker Replacement, Battery: paso 1, imagen 2 de 2
    • Be sure to power off and unplug your device before you begin your repair.

    • Remove the 6 screws on the bottom plate of the laptop using a Phillips driver.

  2. MSI GT62VR 6RD Dominator Speaker Replacement: paso 2, imagen 1 de 2 MSI GT62VR 6RD Dominator Speaker Replacement: paso 2, imagen 2 de 2
    • Insert the plastic opening tool into the back plate of the laptop and lightly pry it up.

    • The laptop cover will break if it is being handled roughly.

    • Slide the plastic opening tool around the laptop's edge gently, slowly popping off the clips securing it into the laptop.

    • Remove the back plate.

  3. MSI GT62VR 6RD Dominator Speaker Replacement: paso 3, imagen 1 de 3 MSI GT62VR 6RD Dominator Speaker Replacement: paso 3, imagen 2 de 3 MSI GT62VR 6RD Dominator Speaker Replacement: paso 3, imagen 3 de 3
    • Locate the battery.

    • The wires are located at the back end of the battery and covered in tape.

    • Remove the tape covering the battery connector.

    • Place your hands at the corners of the wires.

    • Pull upward from the back end of the battery where the wires are located.

    • Remove the battery.

  4. MSI GT62VR 6RD Dominator Speaker Replacement, Hard Drive: paso 4, imagen 1 de 2 MSI GT62VR 6RD Dominator Speaker Replacement, Hard Drive: paso 4, imagen 2 de 2
    • Remove the six screws on the back plate of the laptop using a JIS #0 screwdriver.

  5. MSI GT62VR 6RD Dominator Speaker Replacement: paso 5, imagen 1 de 3 MSI GT62VR 6RD Dominator Speaker Replacement: paso 5, imagen 2 de 3 MSI GT62VR 6RD Dominator Speaker Replacement: paso 5, imagen 3 de 3
    • Insert a plastic opening tool into the seam of the back cover

    • Pry the cover up until clips release.

    • Slide the plastic opening tool around the laptop until cover is fully removed.

  6. MSI GT62VR 6RD Dominator Speaker Replacement: paso 6, imagen 1 de 2 MSI GT62VR 6RD Dominator Speaker Replacement: paso 6, imagen 2 de 2
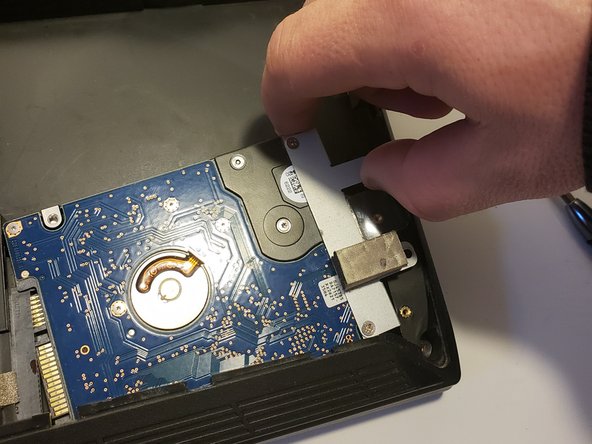
    • Remove the two screws securing the hard drive to the laptop.

    • Lightly lift the hard drive up by grasping the silver bracket that secures it to the laptop.

    • Wiggle it backwards slowly until it is unplugged.

    • Slide out from under the cover towards the battery.

  7. MSI GT62VR 6RD Dominator Speaker Replacement, Speaker: paso 7, imagen 1 de 2 MSI GT62VR 6RD Dominator Speaker Replacement, Speaker: paso 7, imagen 2 de 2
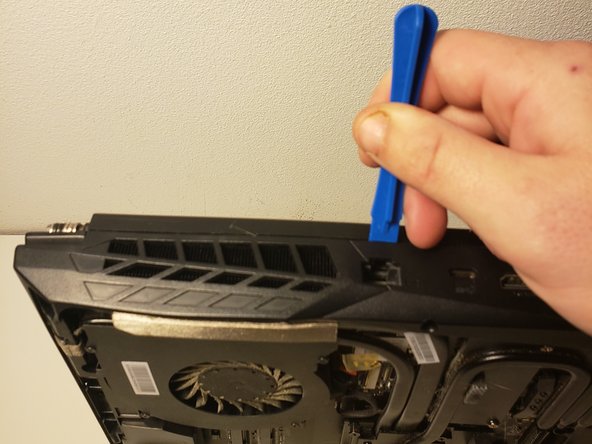
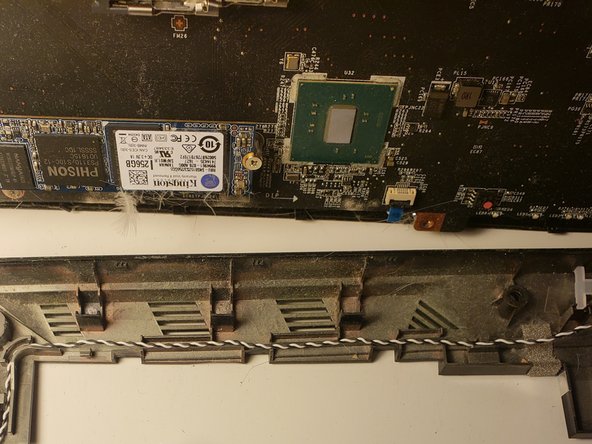
    • Insert the plastic opening tool into the side of the laptop above the fan, and lightly pry it up.

    • The laptop will break if it is being handle roughly.

    • Slide the plastic opening tool around the laptop's edge gently, while slowly popping off the clips securing it into the laptop.

  8. MSI GT62VR 6RD Dominator Speaker Replacement: paso 8, imagen 1 de 2 MSI GT62VR 6RD Dominator Speaker Replacement: paso 8, imagen 2 de 2
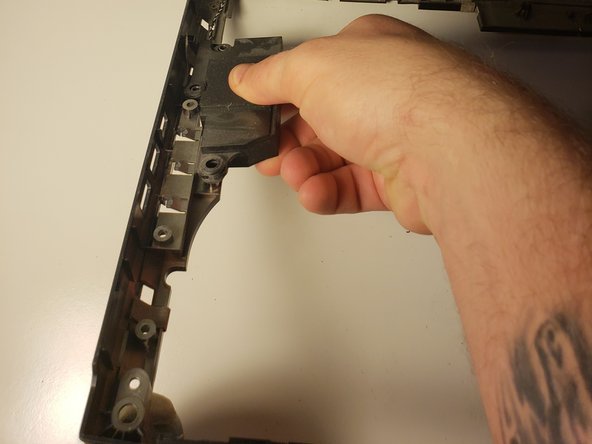
    • Slowly pop off the clips securing the speaker to the laptop side frame.

  9. MSI GT62VR 6RD Dominator Speaker Replacement: paso 9, imagen 1 de 3 MSI GT62VR 6RD Dominator Speaker Replacement: paso 9, imagen 2 de 3 MSI GT62VR 6RD Dominator Speaker Replacement: paso 9, imagen 3 de 3
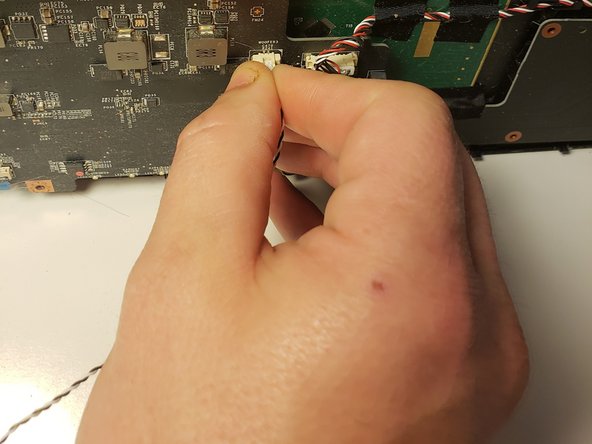
    • Locate the speaker wires.

    • The speaker wires are attached to the speaker. By running your hand across the speaker wires, you can find its location on the motherboard.

    • Place your hands at the corners of the wires.

    • Pull upward from the motherboard where the wires are located.

Conclusión

To reassemble your device, follow these instructions in reverse order.

Un comentario

this is only for the sub, the other speaker is a nightmare to replace

Jeffrey Binns - Contestar

Agregar Comentario

Ver Estadísticas:

Ultimas 24 horas: 1

Ultimos 7 días: 2

Ultimos 30 días: 5

Todo El Tiempo: 459