Introducción
If your MSI GS66 Stealth laptop (model 11UE-007) laptop is having problems with with the "blue screen of death", frequent freezes, and/or corrupted files, the random access memory stick (RAM) might be to blame. This can be attributed to many problems such as overheating, power faults, manufacturer defects or even physical damage to the laptop itself.
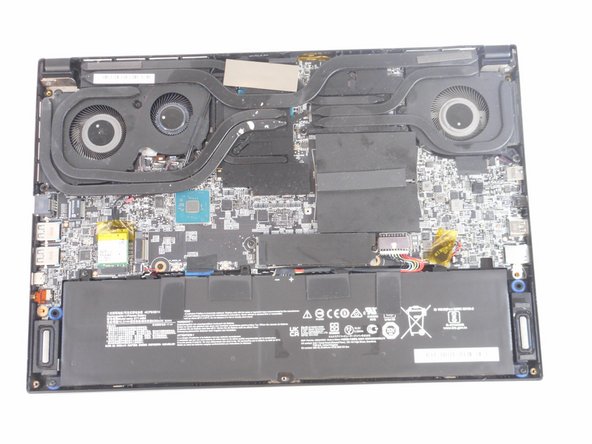
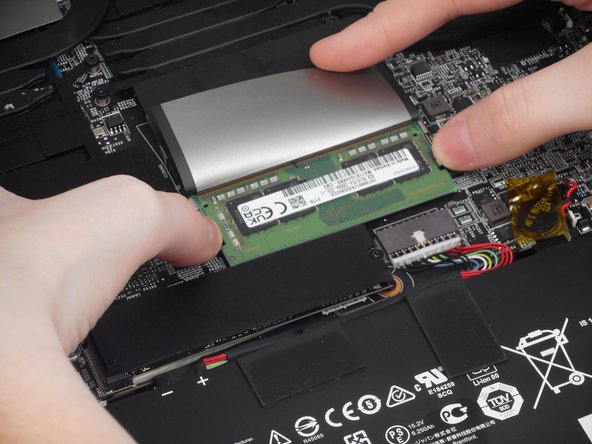
The RAM is an important part of any laptop what allows basically allows the applications to function. Luckily, this part is easy to spot and not very difficult to remove. However, this is a very delicate part and requires a light touch to replace. This guide will show the necessary steps of the location and replacement of the RAM drive.
Qué necesitas
-
-
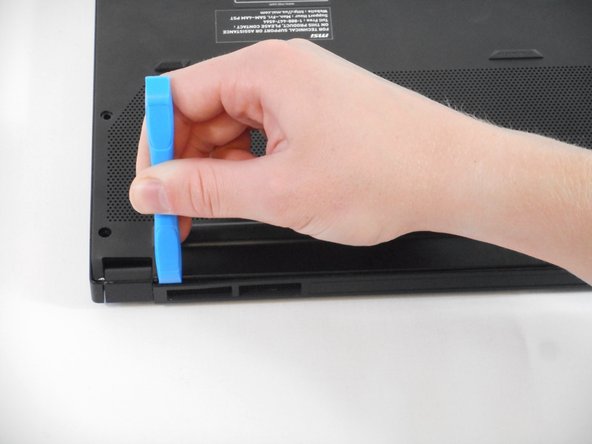
Orient your laptop so that the bottom is facing up and the hinge is away from yourself.
-
-


To reassemble your device, follow these instructions in reverse order.
To reassemble your device, follow these instructions in reverse order.
Cancelar: No complete esta guía.
Una persona más ha completado esta guía.
Equipo

University of Memphis, Team 1-4, Sneed Fall 2023 Miembro de University of Memphis, Team 1-4, Sneed Fall 2023
UM-SNEED-F23S1G4
4 Miembros
6 Guías creadas