Introducción
This guide will show you how to remove and replace the battery in the MSI GS60 Ghost Pro 4K Gold Edition laptop.
Qué necesitas


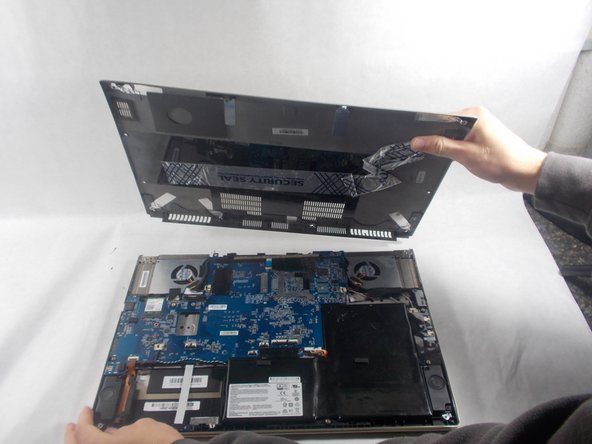


Casi Terminas!
To reassemble your device, follow these instructions in reverse order.
Conclusión
To reassemble your device, follow these instructions in reverse order.
Cancelar: No complete esta guía.
Una persona más ha completado esta guía.
Equipo

UMass Dartmouth, Team S2-G2, Julie Fall 2017 Miembro de UMass Dartmouth, Team S2-G2, Julie Fall 2017
UMASSD-JULIE-F17S2G2
4 Miembros
7 Guías creadas