Esta versión puede contener ediciones incorrectas. Cambie a la última instantánea verificada.
Qué necesitas
-
Este paso está sin traducir. Ayuda a traducirlo
-
Turn over the laptop so the battery compartment is facing up.
-
-
Este paso está sin traducir. Ayuda a traducirlo
-
Push the right latch all the way to the right until it clicks into place.
-
-
Este paso está sin traducir. Ayuda a traducirlo
-
Continue to pull the battery until it is free of the casing.
-
-
Este paso está sin traducir. Ayuda a traducirlo
-
Remove the six 5.5mm screws by using a Phillips #1 screwdriver.
-
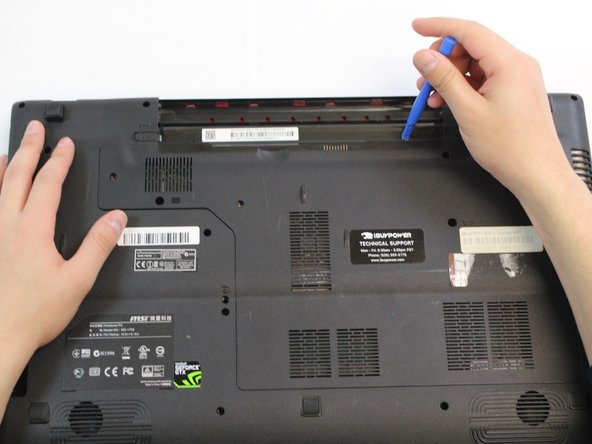
Pry the door off using a plastic opening tool.
-
-
-
Este paso está sin traducir. Ayuda a traducirlo
-
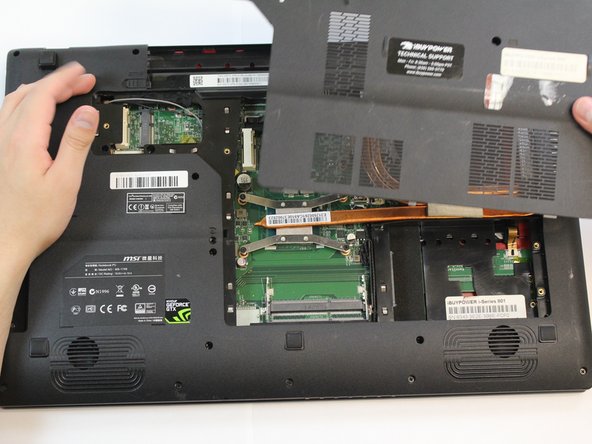
Remove the five 3.5mm screws by using a Phillips #1 screwdriver.
-
-
Este paso está sin traducir. Ayuda a traducirlo
-
Remove the twenty-one 5.5mm screws by using a Phillips #1 screwdriver.
-
-
Este paso está sin traducir. Ayuda a traducirlo
-
Turn over the laptop so the screen is open and keyboard is exposed.
-
-
Este paso está sin traducir. Ayuda a traducirlo
-
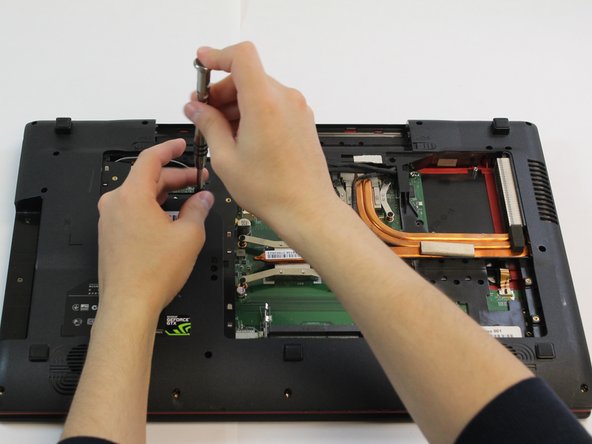
Remove the two 5.5mm screws by using a Phillips #1 screwdriver.
-
-
Este paso está sin traducir. Ayuda a traducirlo
-
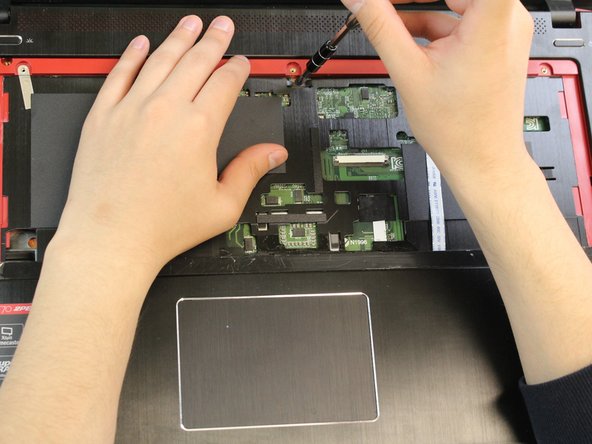
Disconnect the touchpad, touchpad button, and power board connections.
-
-
Este paso está sin traducir. Ayuda a traducirlo
-
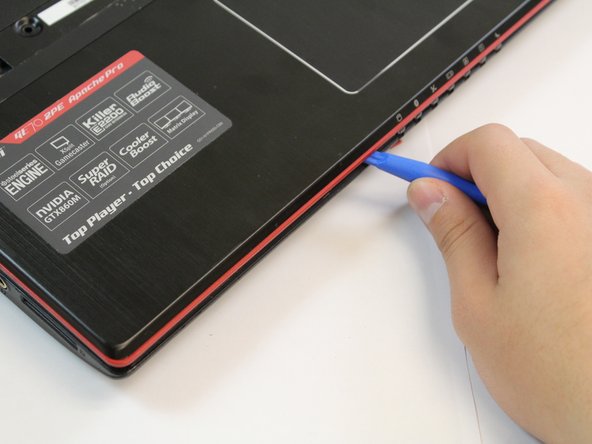
Using the plastic opening tool, pry open the computer case.
-
-
Este paso está sin traducir. Ayuda a traducirlo
-
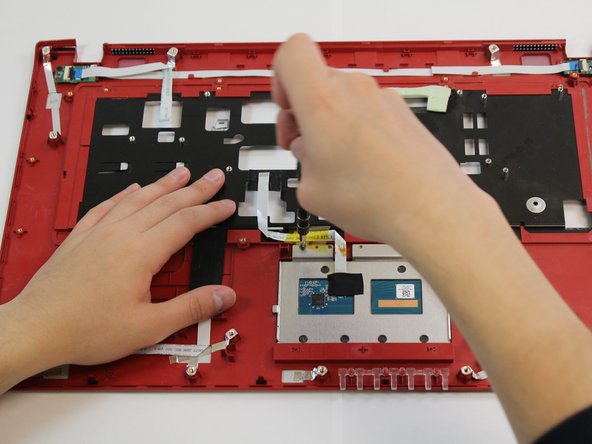
Turn the panel over so that the internals are facing upward.
-
-
Este paso está sin traducir. Ayuda a traducirlo
-
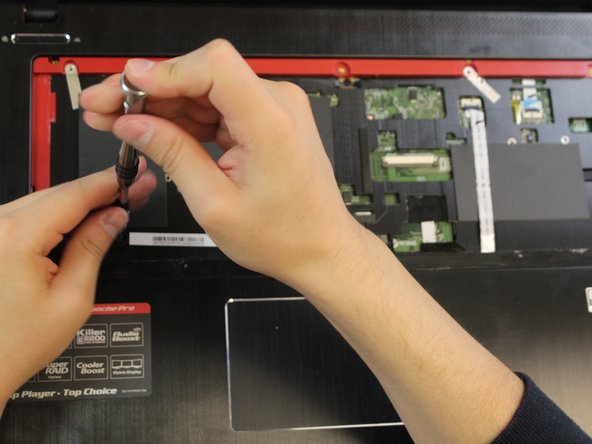
Remove the five 2.5mm screws by using a Phillips #1 screwdriver.
-
-
Este paso está sin traducir. Ayuda a traducirlo
-
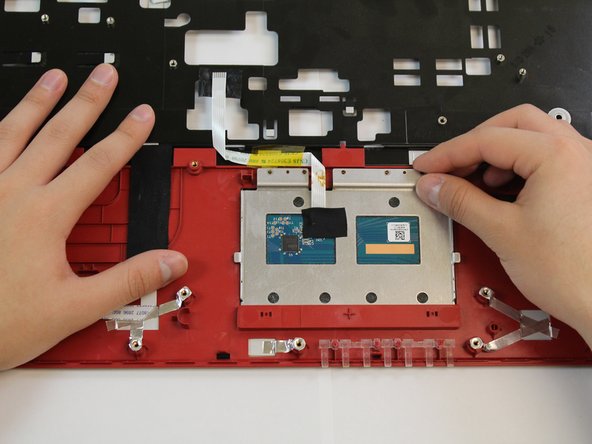
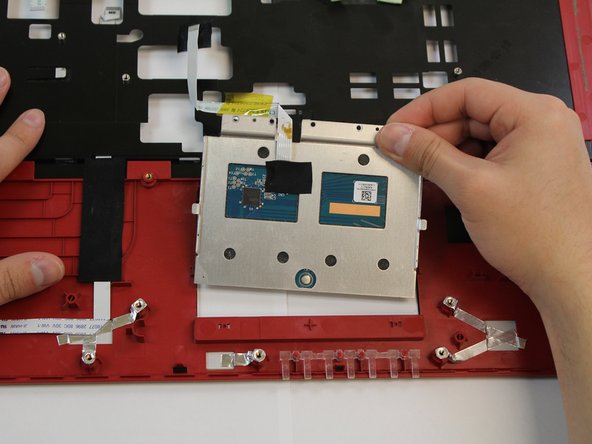
Using the plastic opening tool, pry the touchpad off and remove it.
-


Cancelar: No complete esta guía.
Una persona más ha completado esta guía.
Equipo

Oregon Institute of Technology, Team S1-G6, Lancaster Fall 2018 Miembro de Oregon Institute of Technology, Team S1-G6, Lancaster Fall 2018
OIT-LANCASTER-F18S1G6
3 Miembros
8 Guías creadas
2 comentarios
Do you know where the replacement touchpads for MSI laptops can be purchased? The touchpad getting stuck seems to be a common issue on their forums
i looking for touchpad part also…