Introducción
You will need a screw driver and prying tool for this guide. Some of the parts are hard to remove at first and have some force applied to them.
Qué necesitas
-
-
The battery compartment cover is located on the top of the mouse. The seam running horizontally across the mouse is the top of the cover.
-
There is a button to pop off the cover. It is located on the bottom of the mouse. you may need to press hard on this button to pop the cover.
-
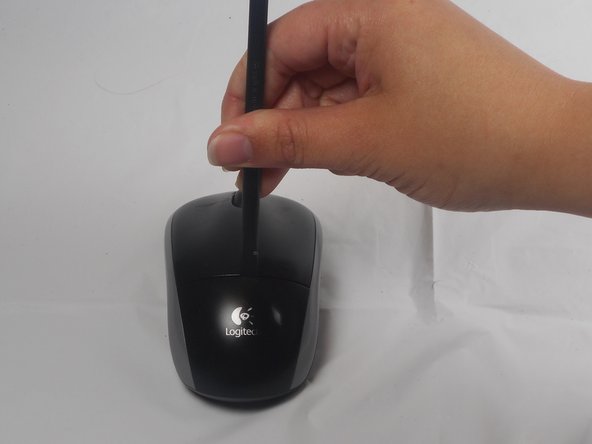
If the button does not work, you will need to pry off the cover. You can use your fingernails or a prying tool in order to do this, as seen in the third image.
-
-
-
Remember to insert the new battery in the same orientation as the old one. The positive (plus) end should be facing away from the buttons.
-
-
-
-
The pads on the underside of the mouse hide the screws. Remove these first. You may need to use your fingernails or a prying tool.
-
There will be two 0.5mm phillips head screws. Both will be underneath the bottom two pads.
-
-
-
Use your fingernail to carefully remove the two skid stickers from the fat (non-button) end of the bottom of the mouse to reveal two Philips head screws. Remove these, then unclip the bottom cover. Don't get the sticky dusty. Now remove buttons; they're both attached by one 0.5mm Phillips head screw. It is located in the center of the top cover.
-
-
-
The button are now only attached by a small overhang near the front. You will need to use the pry tool to push the button plate off of this overhang as shown.
-
The button plate should be able to be completely removed at this point.
-


To reassemble your device, follow these instructions in reverse order.
To reassemble your device, follow these instructions in reverse order.
Cancelar: No complete esta guía.
Una persona más ha completado esta guía.

Equipo

USF Tampa, Team 1-1, Watkins Winter 2015 Miembro de USF Tampa, Team 1-1, Watkins Winter 2015
USFT-WATKINS-W15S1G1
4 Miembros
28 Guías creadas