Saltar al contenido principal

Logitech K345 On/Off Button Replacement

Qué necesitas

  1. Logitech K345 On/Off Button Replacement, Membrane: paso 1, imagen 1 de 1
    • Remove the thirteen 5.3 mm screws from the back of the keyboard using a Phillips #0 screwdriver.

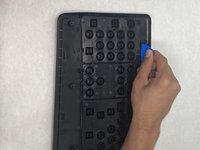
  2. Logitech K345 On/Off Button Replacement: paso 2, imagen 1 de 2 Logitech K345 On/Off Button Replacement: paso 2, imagen 2 de 2
    • Pry up the corner rubber pads using a Jimmy.

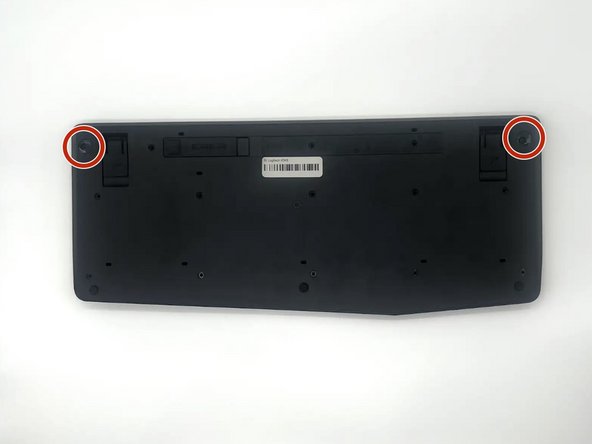
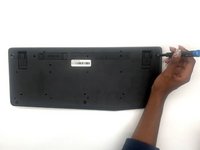
  3. Logitech K345 On/Off Button Replacement: paso 3, imagen 1 de 2 Logitech K345 On/Off Button Replacement: paso 3, imagen 2 de 2
    • Remove the two 5.3 mm screws from the corners with a Phillips #0 screwdriver.

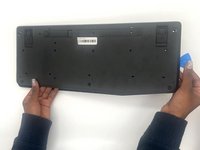
  4. Logitech K345 On/Off Button Replacement: paso 4, imagen 1 de 2 Logitech K345 On/Off Button Replacement: paso 4, imagen 2 de 2
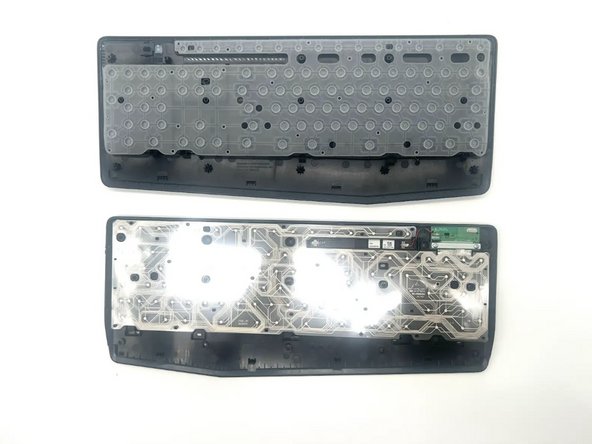
    • Use your hands and opening picks to remove the back of the keyboard.

  5. Logitech K345 On/Off Button Replacement: paso 5, imagen 1 de 3 Logitech K345 On/Off Button Replacement: paso 5, imagen 2 de 3 Logitech K345 On/Off Button Replacement: paso 5, imagen 3 de 3
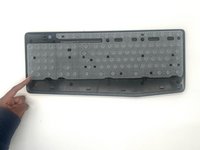
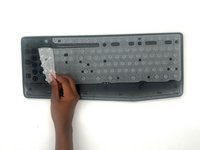
    • Remove the keyboard membrane.

  6. Logitech K345 On/Off Button Replacement, On/Off Button: paso 6, imagen 1 de 2 Logitech K345 On/Off Button Replacement, On/Off Button: paso 6, imagen 2 de 2
    • Pry open the sides holding the On/Off button using an opening pick.

  7. Logitech K345 On/Off Button Replacement: paso 7, imagen 1 de 1
    • Remove the on/off button.

Conclusión

To reassemble your device, follow these instructions in reverse order. Take your e-waste to an R2 or e-Stewards certified recycler.

Una persona más ha completado esta guía.

0Guía Comentarios

Agregar Comentario

Ver Estadísticas:

Ultimas 24 horas: 0

Ultimos 7 días: 13

Ultimos 30 días: 37

Todo El Tiempo: 314