Saltar al contenido principal
Únete a la Comunidad de Reparación - Crear Cuenta

Logitech K120 Keyboard Disassembly

Qué necesitas

Resumen del Video

  1. Logitech K120 Keyboard Disassembly, Removing Screws: paso 1, imagen 1 de 2 Logitech K120 Keyboard Disassembly, Removing Screws: paso 1, imagen 2 de 2
    • Remove the Phillips #000 screw. Turn the screwdriver counter-clockwise.

    Pregunta a FixBot

    Agregar Comentario

  2. Logitech K120 Keyboard Disassembly, Separating The Keyboard's Chassis: paso 2, imagen 1 de 3 Logitech K120 Keyboard Disassembly, Separating The Keyboard's Chassis: paso 2, imagen 2 de 3 Logitech K120 Keyboard Disassembly, Separating The Keyboard's Chassis: paso 2, imagen 3 de 3
    • Use the spudger to separate the top of keyboard from the bottom of the keyboard.

    Pregunta a FixBot

    Agregar Comentario

  3. Logitech K120 Keyboard Disassembly, Removing The Top Of The Keyboard: paso 3, imagen 1 de 1
    • Remove the top of the keyboard and put it aside.

    Pregunta a FixBot

    Agregar Comentario

  4. Logitech K120 Keyboard Disassembly, Removing The Bracket: paso 4, imagen 1 de 3 Logitech K120 Keyboard Disassembly, Removing The Bracket: paso 4, imagen 2 de 3 Logitech K120 Keyboard Disassembly, Removing The Bracket: paso 4, imagen 3 de 3
    • Unscrew the highlighted screws using a Phillips #000 Screwdriver. Turn the screwdriver counter-clockwise.

    Pregunta a FixBot

    Agregar Comentario

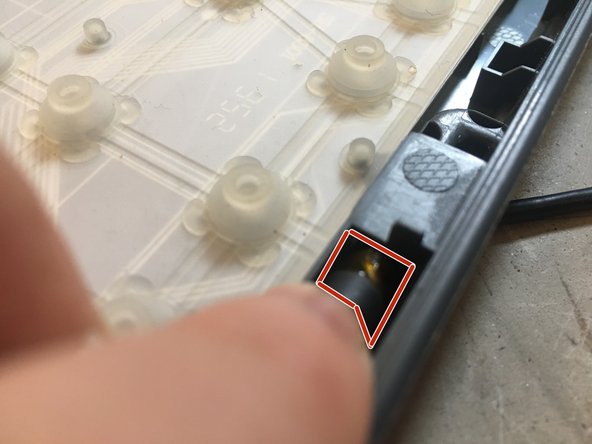
  5. Logitech K120 Keyboard Disassembly, Removing The Circuit Board: paso 5, imagen 1 de 3 Logitech K120 Keyboard Disassembly, Removing The Circuit Board: paso 5, imagen 2 de 3 Logitech K120 Keyboard Disassembly, Removing The Circuit Board: paso 5, imagen 3 de 3
    • Use the spudger and carefully pry the connector out of its socket. (Highlighted in the pictures)

    Pregunta a FixBot

    Agregar Comentario

  6. Logitech K120 Keyboard Disassembly, Removing The Cable: paso 6, imagen 1 de 2 Logitech K120 Keyboard Disassembly, Removing The Cable: paso 6, imagen 2 de 2
    • Carefully nudge the connector out of the hole in which the cable enters the keyboard's chassis.

    Pregunta a FixBot

    Agregar Comentario

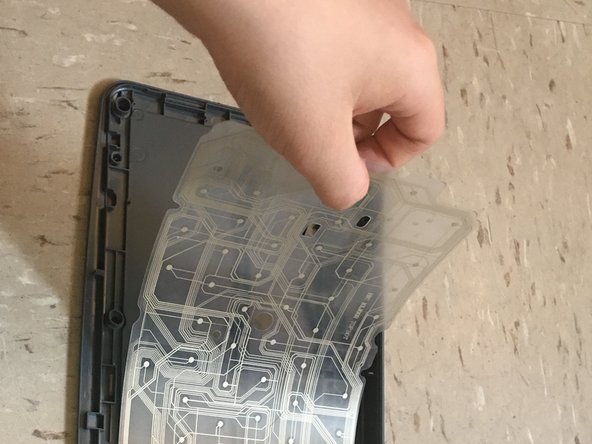
  7. Logitech K120 Keyboard Disassembly, Removing The Membrane: paso 7, imagen 1 de 2 Logitech K120 Keyboard Disassembly, Removing The Membrane: paso 7, imagen 2 de 2
    • Peel the membrane off carefully so that the membrane doesn't rip.

    Pregunta a FixBot

    Agregar Comentario

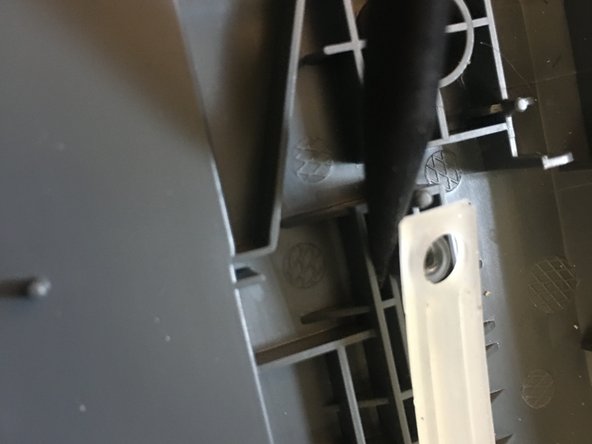
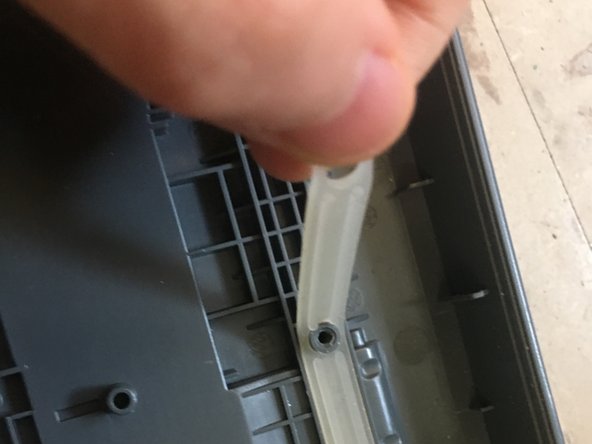
  8. Logitech K120 Keyboard Disassembly, Remove The 2nd Membrane: paso 8, imagen 1 de 3 Logitech K120 Keyboard Disassembly, Remove The 2nd Membrane: paso 8, imagen 2 de 3 Logitech K120 Keyboard Disassembly, Remove The 2nd Membrane: paso 8, imagen 3 de 3
    • Stick the sharp end of the spudger into the corner of the second membrane and bring the spudger partly underneath the membrane.

    • Lift the membrane off of the first standoff.

    • Peel the rest of the membrane off carefully so the membrane doesn't rip.

    Pregunta a FixBot

    Agregar Comentario

Linea de Meta

Cancelar: No complete esta guía.

4 personas más completaron esta guía.

Camuise

Miembro Desde 11/22/18

1,675 Reputación

7 Guías creadas

4Guía Comentarios

I followed your guide for disassembly and did the opposite for reassembly, now all three leds turn on when plugged in but none of the keys respond. Any idea what I should do?

Jacob Sileski - Contestar Compartir

Make sure that the rubber membrane is making contact with the pads on the plastic sheets. If they are, make sure the connector is fully plugged in. If it is, make sure the keyboard is plugged into the right USB port.

Camuise - Contestar Compartir

Haven't answered my real question does one repair or replace circuit membrane when liquid has shorted on line? Or throw out and buy a new keyboard?

KimKostyna - Contestar Compartir

Your best bet is to try and clean up the membrane using isopropyl alcohol. There doesn't seem to be anywhere to buy a new circuit membrane, so if that doesn't work you'll most likely have to buy a new keyboard.

Camuise - Contestar Compartir

Agregar Comentario

Ver Estadísticas:

Ultimas 24 horas: 2

Ultimos 7 días: 24

Ultimos 30 días: 156

Todo El Tiempo: 13,689