Esta versión puede contener ediciones incorrectas. Cambie a la última instantánea verificada.
Qué necesitas
-
Este paso está sin traducir. Ayuda a traducirlo
-
Press the oval shaped button on the lower back of the remote to release the battery cover.
-
While pressing the button, remove the cover.
-
-
Este paso está sin traducir. Ayuda a traducirlo
-
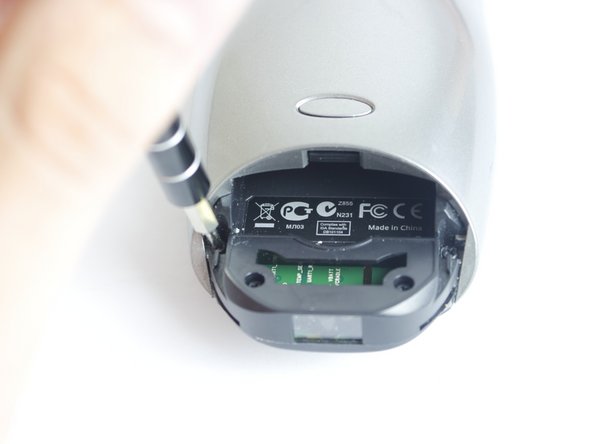
Using tweezers, peel off the sticker located under the battery cover to reveal two screws.
-
-
Este paso está sin traducir. Ayuda a traducirlo
-
Locate and unscrew the four 50mm screws using the Philips #0 screwdriver.
-
-
-
Este paso está sin traducir. Ayuda a traducirlo
-
Use a credit card to pry the black, plastic, back cover off of the device.
-
-
Este paso está sin traducir. Ayuda a traducirlo
-
Locate the three 50mm screws on the back of the remote and remove them using the Phillips #0 screwdriver.
-
-
Este paso está sin traducir. Ayuda a traducirlo
-
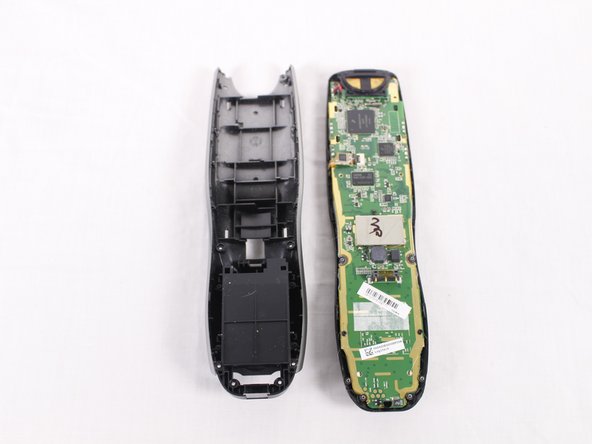
Pry the black, front face of the remote from the back silver part by inserting a credit card in between and sliding down.
-
-
Este paso está sin traducir. Ayuda a traducirlo
-
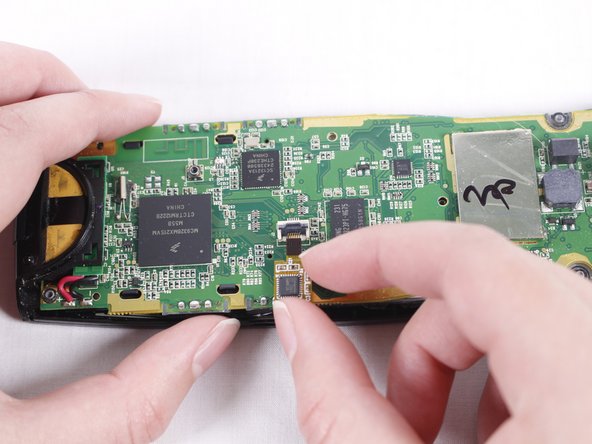
When you look at the circuit board, you should see a ribbon attaching the board to the plastic casing.
-
A little lever is holding the ribbon in place. Lift the lever with your nail or a 2.5mm flat-head screwdriver. Move the ribbon away from the circuit board.
-
-
Este paso está sin traducir. Ayuda a traducirlo
-
Using the Philips #0 screwdriver, remove the three 50mm screws from the circuit board.
-
-
Este paso está sin traducir. Ayuda a traducirlo
-
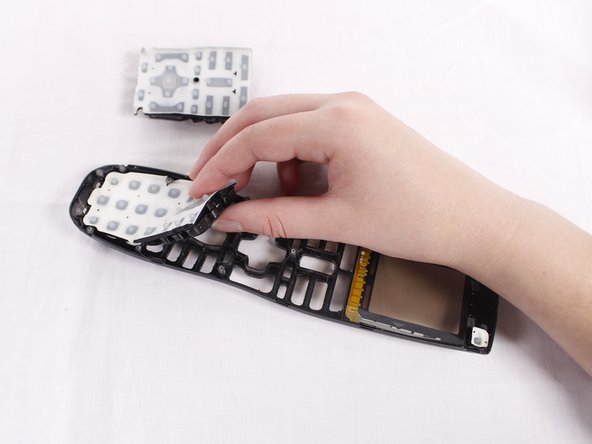
Using your hands, carefully separate the motherboard from the rest of the remote.
-


Cancelar: No complete esta guía.
Una persona más ha completado esta guía.
Equipo

USF Tampa, Team S4-G5, Eyestone Fall 2017 Miembro de USF Tampa, Team S4-G5, Eyestone Fall 2017
USFT-EYESTONE-F17S4G5
4 Miembros
4 Guías creadas