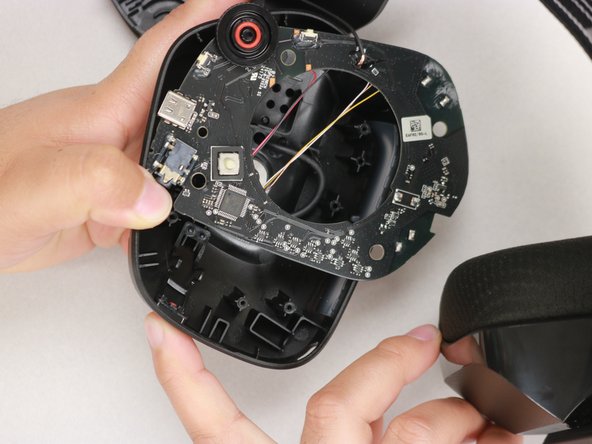
Saltar al contenido principal

Logitech G733 Charging Port Replacement

Qué necesitas

  1. Logitech G733 Charging Port Replacement, Charging Port: paso 1, imagen 1 de 2 Logitech G733 Charging Port Replacement, Charging Port: paso 1, imagen 2 de 2
    • Gently begin to pull the left ear pad off, starting from the top.

    • Slide your finger around the edges until it releases entirely.

  2. Logitech G733 Charging Port Replacement: paso 2, imagen 1 de 3 Logitech G733 Charging Port Replacement: paso 2, imagen 2 de 3 Logitech G733 Charging Port Replacement: paso 2, imagen 3 de 3
    • Remove the four securing the speaker housing with the T4 Torx screwdriver.

    • Place these screws on the magnetic project mat so you don't lose them.

    • Lift the speaker housing away from the chassis, with care not to strain the connected speaker cable.

  3. Logitech G733 Charging Port Replacement: paso 3, imagen 1 de 3 Logitech G733 Charging Port Replacement: paso 3, imagen 2 de 3 Logitech G733 Charging Port Replacement: paso 3, imagen 3 de 3
    • Remove the screw on the bottom right-hand side of the headphone using a Phillips #000 screwdriver.

    • Use your thumb to gently pull back the tab at the upper right-hand corner of the headphone and simultaneously pull the motherboard out.

    • The scroll wheel may fly out when you pop the circuit board out. If so, just put it back in by lining up the two flat surfaces of the connectors.

  4. Logitech G733 Charging Port Replacement: paso 4, imagen 1 de 2 Logitech G733 Charging Port Replacement: paso 4, imagen 2 de 2
    • Once the motherboard is loose, pull the wire out of its harness.

    • The wiring harness is glued, so be careful with it. It should pull out easily.

  5. Logitech G733 Charging Port Replacement: paso 5, imagen 1 de 2 Logitech G733 Charging Port Replacement: paso 5, imagen 2 de 2
    • Using the soldering iron, apply heat to three pins on one side and wiggle the port free from the melted pool of solder.

    • Repeat for the opposite side.

    • This step takes a lot of skill. Be careful not to melt the circuit board with the soldering iron, and always solder in a well-ventilated area.

Conclusión

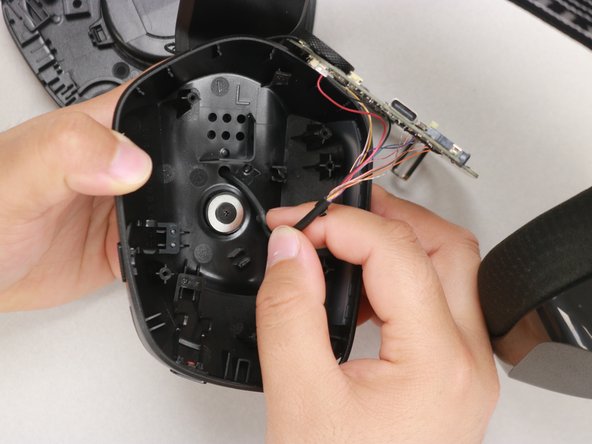
To reassemble your device, follow these instructions in reverse order.

Un comentario

Where did you get the spare USB Port from?

The Red Warrior - Contestar

Agregar Comentario

Ver Estadísticas:

Ultimas 24 horas: 8

Ultimos 7 días: 50

Ultimos 30 días: 203

Todo El Tiempo: 1,684