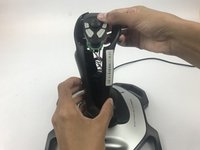
Saltar al contenido principal

Logitech Extreme 3D Pro Joystick Trigger Replacement

Qué necesitas

  1. Logitech Extreme 3D Pro Joystick Trigger  Replacement, Disassembly of the handle: paso 1, imagen 1 de 1
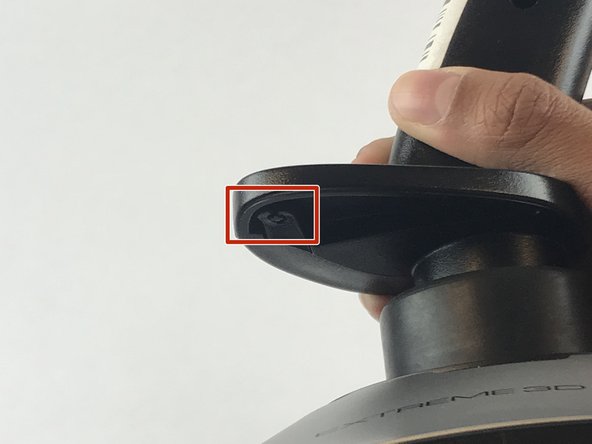
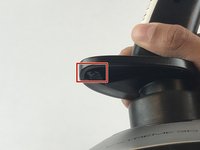
    • Remove these three Phillips #1 screws:

    • Two 10mm screws.

    • One 7mm screw.

  2. Logitech Extreme 3D Pro Joystick Trigger  Replacement: paso 2, imagen 1 de 1
    • Using your fingers, lower the rubber boot to reveal two screws underneath the joystick.

    • Remove the two 10mm Phillips #1 screws.

  3. Logitech Extreme 3D Pro Joystick Trigger  Replacement: paso 3, imagen 1 de 2 Logitech Extreme 3D Pro Joystick Trigger  Replacement: paso 3, imagen 2 de 2
    • Pull apart the joystick chassis by hand.

    • Release this clip located underneath the hand rest

    • The circuit board will be loose and may fall down.

  4. Logitech Extreme 3D Pro Joystick Trigger  Replacement, Joystick Trigger: paso 4, imagen 1 de 1
    • Remove the plastic trigger from the joystick.

Conclusión

To reassemble your device, follow these instructions in reverse order.

Una persona más ha completado esta guía.

Emanuel Canela

Miembro Desde 01/25/18

1,297 Reputación

7 Guías creadas

Equipo

USF Tampa, Team S7-G1, Passmore Spring 2018 Miembro de USF Tampa, Team S7-G1, Passmore Spring 2018

USFT-PASSMORE-S18S7G1

4 Miembros

7 Guías creadas

0 comentarios

Agregar Comentario

Ver Estadísticas:

Ultimas 24 horas: 0

Ultimos 7 días: 3

Ultimos 30 días: 15

Todo El Tiempo: 1,416