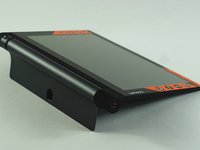
Introducción
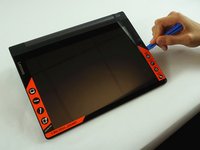
Use this guide to replace your wifi module
Qué necesitas


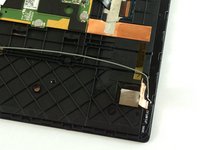


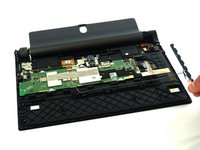
Casi Terminas!
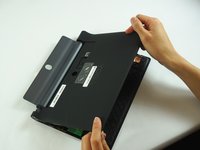
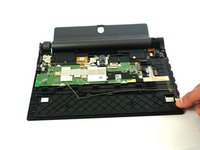
To reassemble your device, follow these instructions in reverse order.
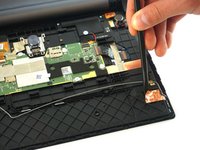
Conclusión
To reassemble your device, follow these instructions in reverse order.
Cancelar: No complete esta guía.
Una persona más ha completado esta guía.
Equipo

USF Tampa, Team S3-G2, Sullivan Spring 2017 Miembro de USF Tampa, Team S3-G2, Sullivan Spring 2017
USFT-SULLIVAN-S17S3G2
Miembros de 4
18 Guías creadas