Esta versión puede contener ediciones incorrectas. Cambie a la última instantánea verificada.
Qué necesitas
-
Este paso está sin traducir. Ayuda a traducirlo
-
Below the battery are two small tabs. These function as a lock for the battery.
-
Push the tabs towards each other to release the battery.
-
-
-
Este paso está sin traducir. Ayuda a traducirlo
-
Using a Phillips screwdriver, remove the four screws around the edges of the rectangular panel.
-
-
Este paso está sin traducir. Ayuda a traducirlo
-
Once all the screws are removed, gently slide the metal scalp around the edge of the panel to pry it open.
-
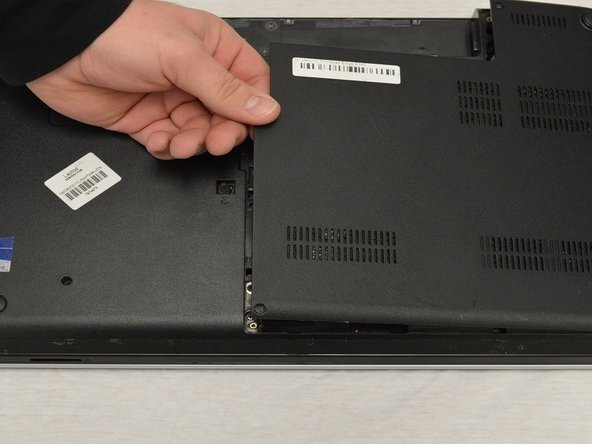
Slowly lift the left edge side of the panel with your fingers. Once the left side is up, continue lifting the right edge of the panel.
-
-
Este paso está sin traducir. Ayuda a traducirlo
-
Remove the back panel.
-
The back of the laptop will be exposed once the panel is removed.
-
Cancelar: No complete esta guía.
Una persona más ha completado esta guía.


