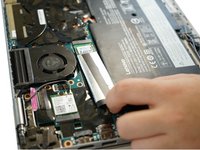
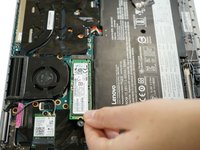
Introducción
If you are running out of storage space on your laptop, you can either transfer files to an external storage device or follow this guide to replace and upgrade your solid-state drive. Before you do so, check how much storage space you have on your laptop, which will help you decide if you need to upgrade the SSD or not. The Lenovo X1 ThinkPad Yoga 2nd Generation comes with a 256 GB SSD, so you have the option to upgrade to a 512 GB or 1 TB SSD.
Additionally, back up your SSD before you replace it so you do not lose any data. These instructions can also be followed to simply transfer files to an external storage device.
Qué necesitas
To reassemble your device, follow these instructions in reverse order.
To reassemble your device, follow these instructions in reverse order.
Cancelar: No complete esta guía.
9 personas más completaron esta guía.
Un comentario
What kind of SSD is this compatible with? There are several different connector standards…


