Esta versión puede contener ediciones incorrectas. Cambiar a la última instantánea verificada.
Qué necesitas
-
Este paso está sin traducir. Ayuda a traducirlo
-
Start at the microSD slot.
-
Use the opening pick to slide underneath the back cover of the tablet.
-
Slide the opening pick around the tablet until the back cover is off.
-
-
Este paso está sin traducir. Ayuda a traducirlo
-
Remove the 8 screws with a Phillips #000 screwdriver [bit].
-
There is a screw under the blue "s" sticker.
-
Remove tape holding plate down.
-
Use precision tweezers or your fingers to remove plate.
-
-
Este paso está sin traducir. Ayuda a traducirlo
-
Remove yellow tape.
-
Use a spudger or plastic opening tool to remove the battery's ribbon cable from the motherboard.
-
-
Este paso está sin traducir. Ayuda a traducirlo
-
Gently pull on the two stretch release adhesive strips. Do not pull up, pull away from battery.
-
Once the tabs are off, lift the battery up from the frame.
-
-
Este paso está sin traducir. Ayuda a traducirlo
-
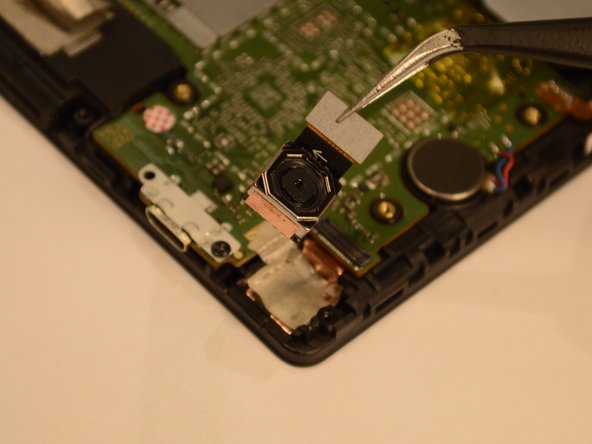
Use a spudger to lift the rear camera press-fit connector up and free.
-
Use tweezers to lift the rear camera out of the frame.
-


