Introducción
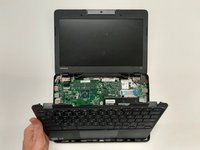
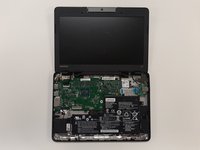
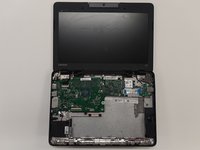
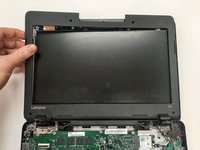
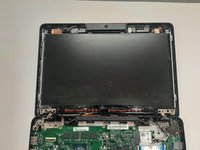
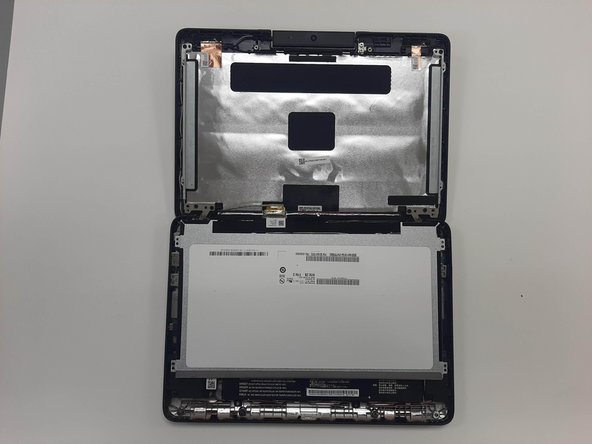
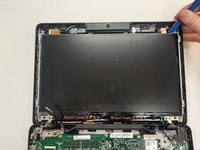
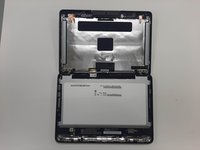
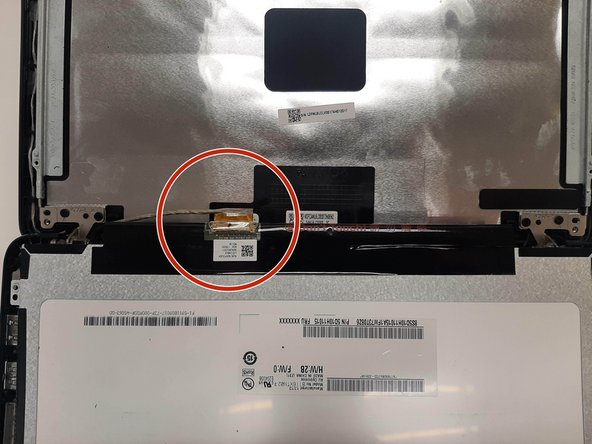
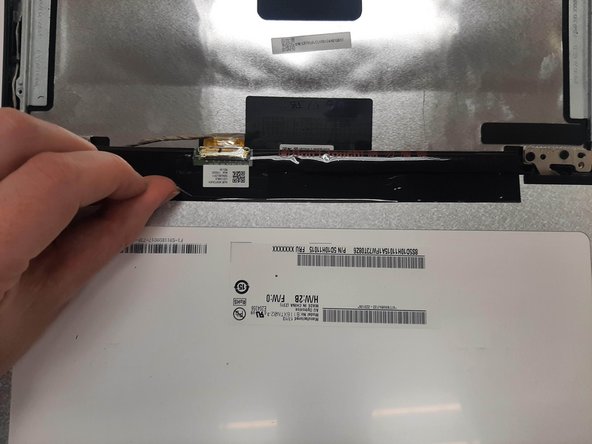
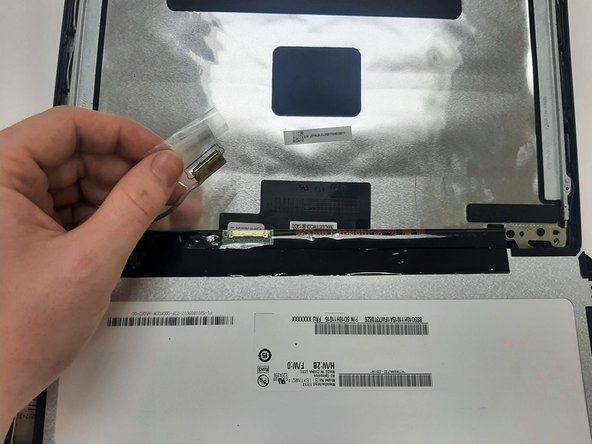
If your Lenovo N23 Chromebook’s screen has defects, glitches, or is broken, follow this guide to replace the screen.
The screen is the main display of the laptop. It allows the computer to take computer outputs and display them in a way that we can see and understand. A faulty or broken screen will have blemishes, visual glitches, or won't be able to turn on at all.
Before using this guide, try rebooting the laptop. Sometimes some video glitches may happen that can be resolved with a hard restart. If the laptop still does not work correctly, that indicates that there may be a problem with the screen.
No special skills are required to follow this guide.
Qué necesitas
-
-
Remove the eight 6.0 mm screws holding the back cover into place using a Phillips #0 screwdriver.
-
-
-
Flip the device over.
-
Slide a plastic opening tool between the back cover and keyboard.
-
Carefully pry upwards until you hear a click.
-
Following the seam, slide the opening tool all the way around the front cover, prying upwards occasionally until the keyboard and trackpad are loose from the back cover.
-
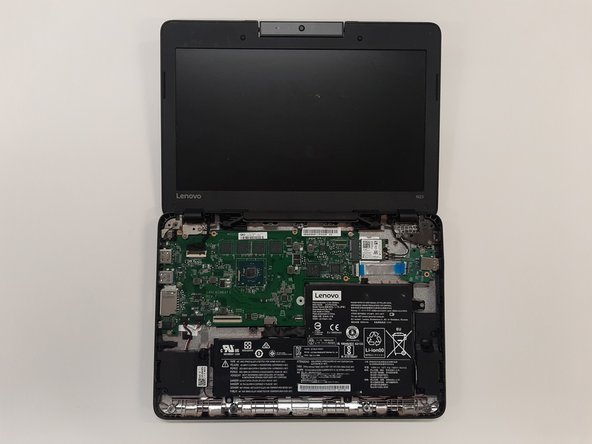
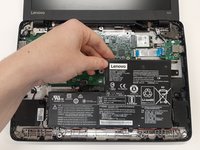
Lift the keyboard panel up to reveal the internals.
-
-
-
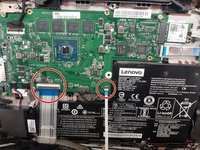
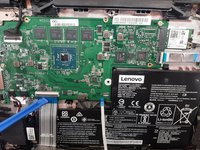
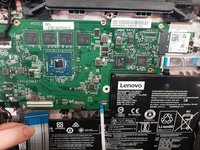
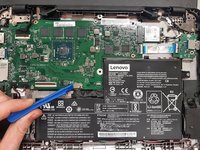
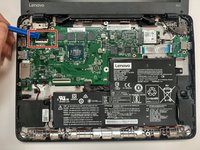
Disconnect the two ribbon cables that connect from the motherboard to the front cover.
-
Using the iFixit opening tool, flip up the black tab holding the keyboard ribbon cable and then pull the cable out.
-
Using the opening tool, flip the white tab holding the mouse ribbon cable and then pull the cable out.
-
-
-
-
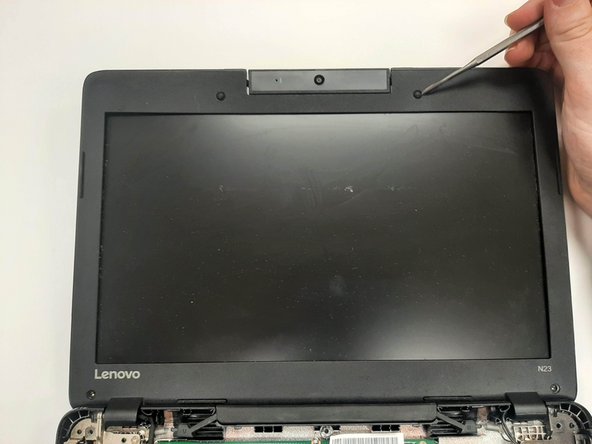
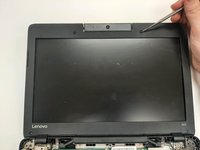
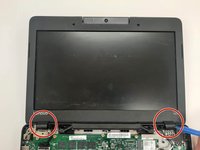
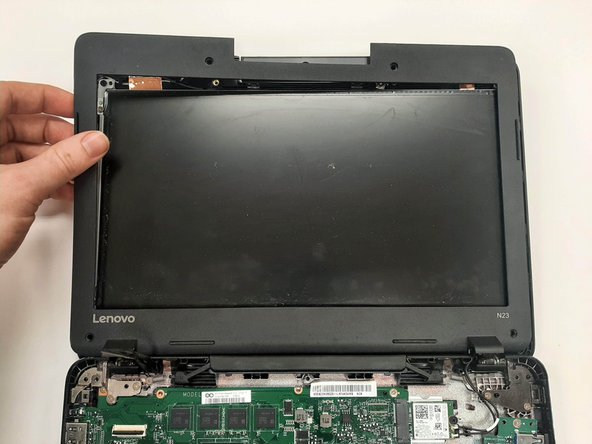
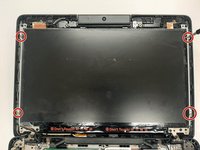
Remove the two rubber stoppers and two paper covers on the screen bezel using a metal spudger.
-
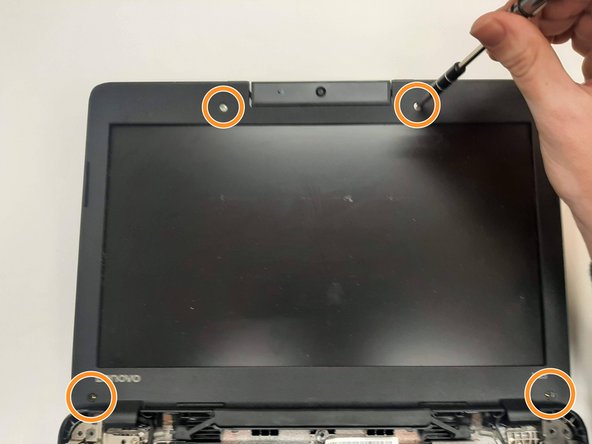
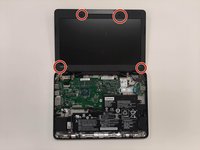
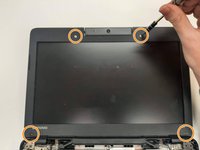
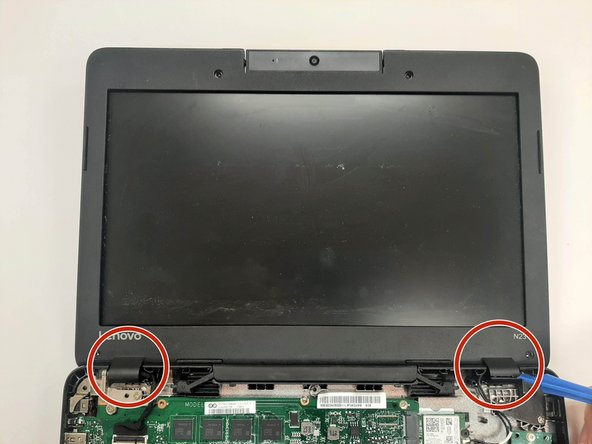
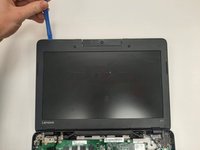
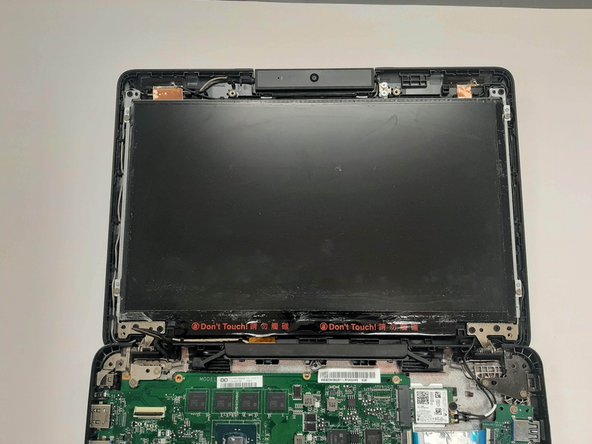
Remove the four 3.0 mm Phillips #0 screws holding the screen and bezel in place.
-
To reassemble your device, follow these instructions in reverse order.
To reassemble your device, follow these instructions in reverse order.


