Esta versión puede contener ediciones incorrectas. Cambie a la última instantánea verificada.
Qué necesitas
-
Este paso está sin traducir. Ayuda a traducirlo
-
Flip the Chromebook so that the bottom is facing up.
-
Use a Phillips #1 screwdriver to remove the six 6.6 mm screws on the bottom.
-
Use a spudger to remove each of the 4 rubber feet.
-
Use a Phillips #1 screwdriver to remove the four additional screws under the rubber feet.
-
-
Este paso está sin traducir. Ayuda a traducirlo
-
Flip the Chromebook back over and open the screen.
-
Wedge the plastic opening tool between the keyboard and the bottom of the Chromebook.
-
Run the plastic opening tool along the seam between the keyboard and the bottom of the Chromebook until the keyboard moves freely. Several tabs will pop out.
-
-
Este paso está sin traducir. Ayuda a traducirlo
-
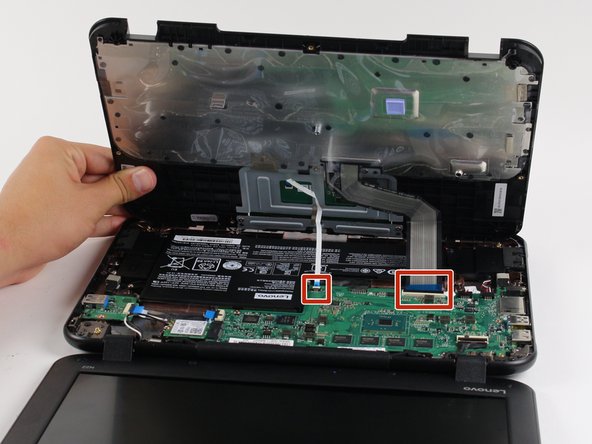
Once the keyboard is released, grab the two top corners closest to the screen and slowly lift the keyboard up.
-
Disconnect the cables by lifting up the retaining flaps on the black ZIF connectors.
-
Slowly pull the cables up and out of the connectors.
-
-
Este paso está sin traducir. Ayuda a traducirlo
-
Lift the keyboard up and off the back panel, exposing the motherboard and battery.
-
-
-
Este paso está sin traducir. Ayuda a traducirlo
-
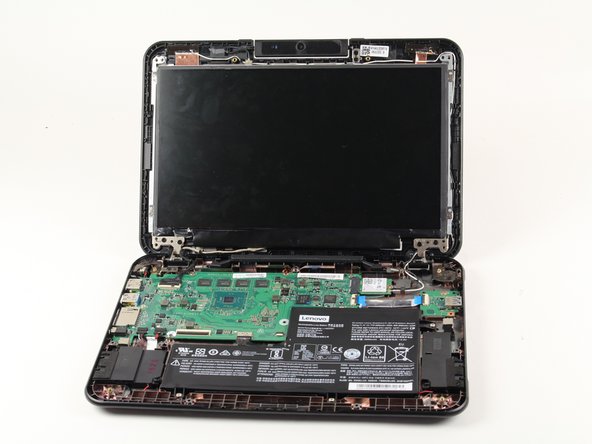
Open the Chromebook all the way so that the top and bottom both lay flat on the table.
-
Use the flat end of the spudger to remove the six black raised rubber circles on the front of the screen. This reveals the screws.
-
-
Este paso está sin traducir. Ayuda a traducirlo
-
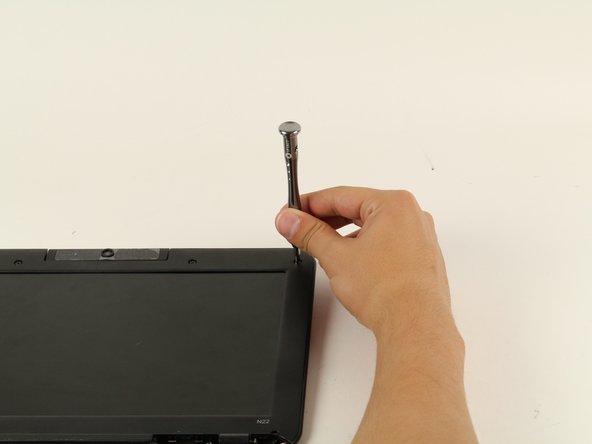
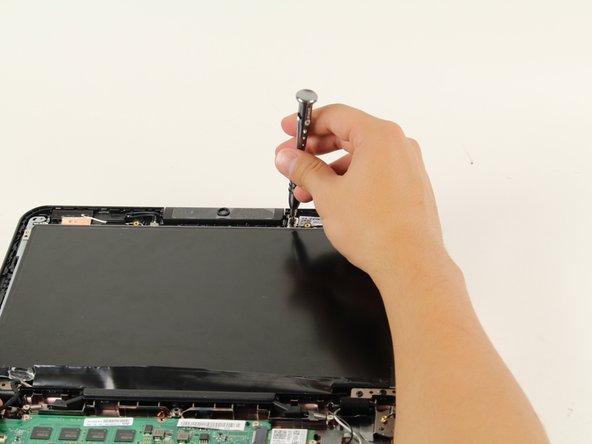
Use a Phillips #1 screwdriver to remove the six 4mm screws. Rotate the screws to the left with the screwdriver.
-
-
Este paso está sin traducir. Ayuda a traducirlo
-
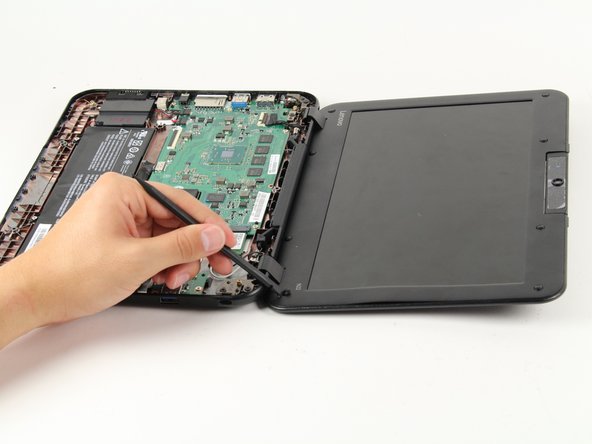
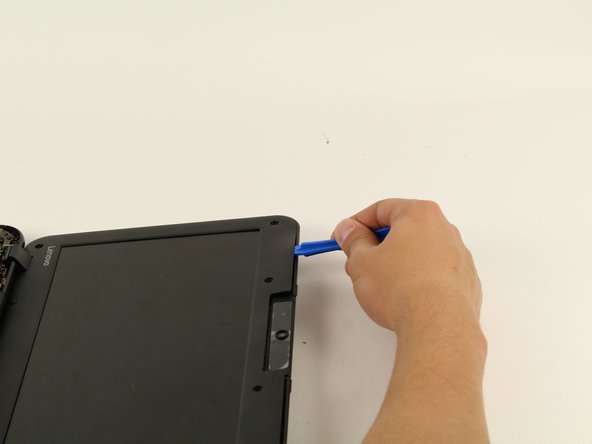
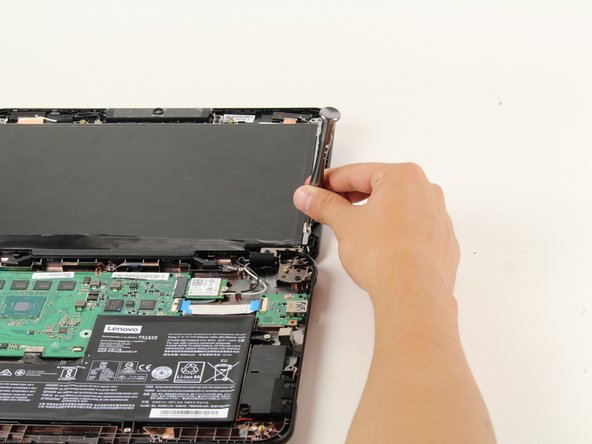
Place the plastic opening tool in the seam between the outer casing and the screen.
-
Run the plastic opening tool along the seam to disconnect the tabs attaching the panel to the outer casing until the panel moves freely.
-
-
Este paso está sin traducir. Ayuda a traducirlo
-
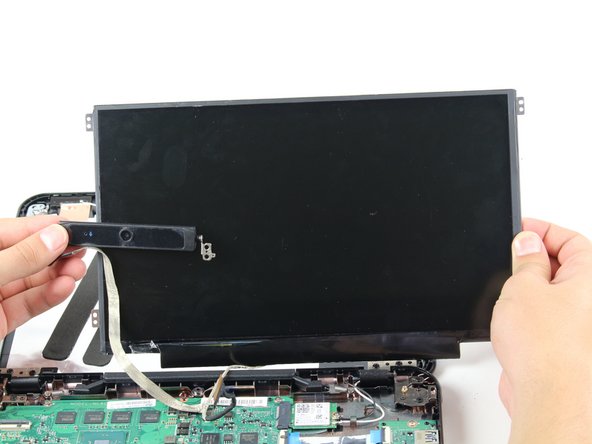
Remove the panel from the front casing by lifting any two corners.
-
-
Este paso está sin traducir. Ayuda a traducirlo
-
Disconnect the cable that connects the screen to the motherboard by flipping up the small black retaining flap on the ZIF connector.
-
Carefully pull the cable up towards the screen.
-
-
Este paso está sin traducir. Ayuda a traducirlo
-
Use a Phillips #1 screwdriver to remove the four 2.8 mm screws at each corner of the screen. Turn the screwdriver to the left to remove the screws.
-
-
Este paso está sin traducir. Ayuda a traducirlo
-
Use a Phillips #1 screwdriver to remove the two 2.8 mm screws to the right of the camera. Turn the screwdriver to the left to remove the screws.
-
-
Este paso está sin traducir. Ayuda a traducirlo
-
Slowly peel back the camera adhesive cable from the metal panel to fully remove the screen and camera.
-


Cancelar: No complete esta guía.
8 personas más completaron esta guía.
Equipo

Cal Poly, Team S21-G1, Livingston Spring 2017 Miembro de Cal Poly, Team S21-G1, Livingston Spring 2017
CPSU-LIVINGSTON-S17S21G1
4 Miembros
14 Guías creadas