Saltar al contenido principal

Lenovo Ideapad S415 Touch Fan Replacement

Qué necesitas

  1. Lenovo Ideapad S415 Touch Fan Replacement, Battery: paso 1, imagen 1 de 1
    • Flip laptop over bottom side up.

    • Locate the two battery release switches.

  2. Lenovo Ideapad S415 Touch Fan Replacement: paso 2, imagen 1 de 1
    • Use your finger to push the battery release switch labeled "1." The red indicates that the switch is unlocked.

  3. Lenovo Ideapad S415 Touch Fan Replacement: paso 3, imagen 1 de 1
    • Use your finger to push the battery switch labeled "2."

  4. Lenovo Ideapad S415 Touch Fan Replacement: paso 4, imagen 1 de 1
    • Once both switches are unlocked, the battery will release.

  5. Lenovo Ideapad S415 Touch Fan Replacement: paso 5, imagen 1 de 1
    • When replacing the battery make sure the two protruding holes line up with the slot.

    • Carefully remove the battery.

  6. Lenovo Ideapad S415 Touch Fan Replacement, Fan: paso 6, imagen 1 de 2 Lenovo Ideapad S415 Touch Fan Replacement, Fan: paso 6, imagen 2 de 2
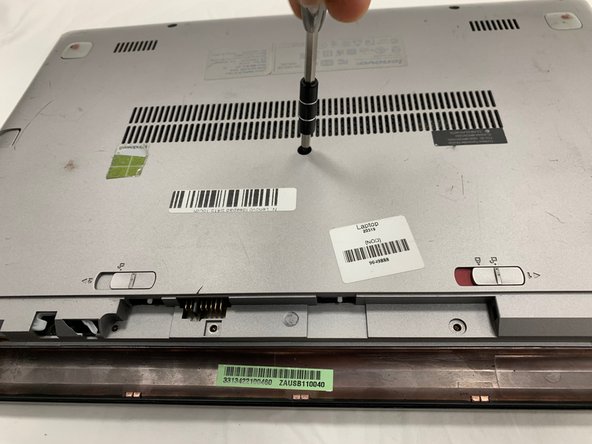
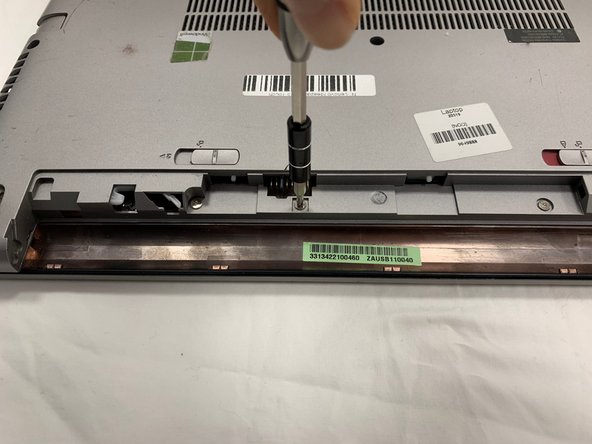
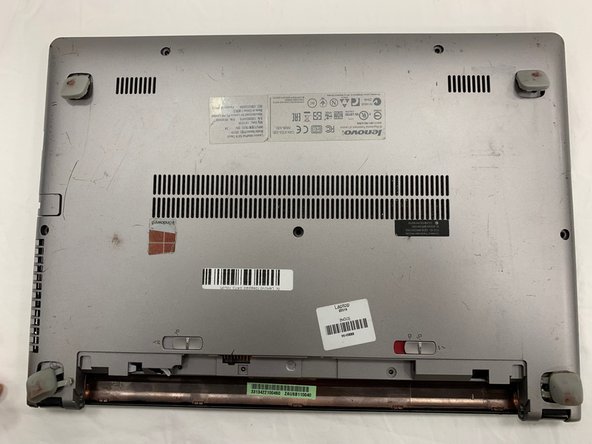
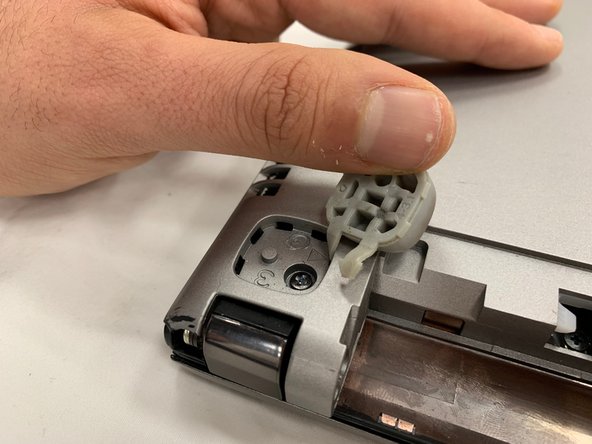
    • Locate the five 6mm black screws on the bottom.

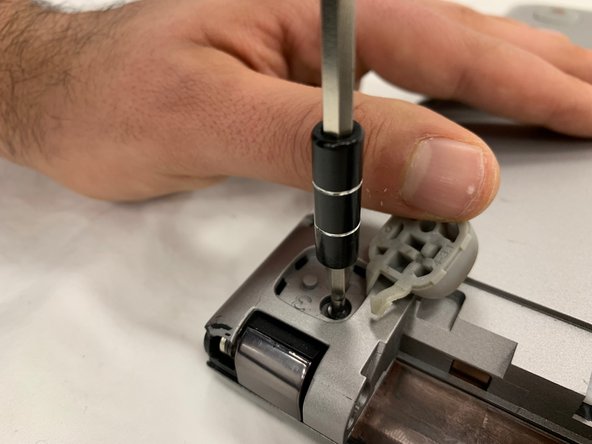
    • Using a Phillips #0 screwdriver, remove all five black screws.

  7. Lenovo Ideapad S415 Touch Fan Replacement: paso 7, imagen 1 de 2 Lenovo Ideapad S415 Touch Fan Replacement: paso 7, imagen 2 de 2
    • Locate the three 4mm silver screws on the bottom area where the battery was removed.

    • Using the Phillips #0 screwdriver, remove all three silver screws.

  8. Lenovo Ideapad S415 Touch Fan Replacement: paso 8, imagen 1 de 3 Lenovo Ideapad S415 Touch Fan Replacement: paso 8, imagen 2 de 3 Lenovo Ideapad S415 Touch Fan Replacement: paso 8, imagen 3 de 3
    • Locate the four rubber stoppers near each corner of the laptop.

    • Open up the stoppers by lifting each with your fingers.

  9. Lenovo Ideapad S415 Touch Fan Replacement: paso 9, imagen 1 de 3 Lenovo Ideapad S415 Touch Fan Replacement: paso 9, imagen 2 de 3 Lenovo Ideapad S415 Touch Fan Replacement: paso 9, imagen 3 de 3
    • Under each of the four stoppers, there will be a 6mm screw.

    • Use the Phillips #0 screwdriver to remove all four screws.

  10. Lenovo Ideapad S415 Touch Fan Replacement: paso 10, imagen 1 de 2 Lenovo Ideapad S415 Touch Fan Replacement: paso 10, imagen 2 de 2
    • Carefully open up the laptop to reveal the internal components.

  11. Lenovo Ideapad S415 Touch Fan Replacement: paso 11, imagen 1 de 2 Lenovo Ideapad S415 Touch Fan Replacement: paso 11, imagen 2 de 2
    • Locate the silver 6mm screw on the top of the fan

    • Locate the silver 4mm screw on the bottom of the fan

    • Use a Phillips #0 screwdriver to remove both screws.

  12. Lenovo Ideapad S415 Touch Fan Replacement: paso 12, imagen 1 de 2 Lenovo Ideapad S415 Touch Fan Replacement: paso 12, imagen 2 de 2
    • Locate the fan power connector.

    • Use a spudger or your hands to disconnect the fan power connector from its port.

  13. Lenovo Ideapad S415 Touch Fan Replacement: paso 13, imagen 1 de 2 Lenovo Ideapad S415 Touch Fan Replacement: paso 13, imagen 2 de 2
    • Once the fan power connector is disconnected, lift up the bronze heatsink and pull the wires out from underneath it.

    • Lift up the fan and pull free.

Conclusión

To reassemble your device, follow these instructions in reverse order.

Alexandria

Miembro Desde 02/05/19

363 Reputación

2 Guías creadas

Equipo

UC Davis, Team S20-G5, Lore Winter 2019 Miembro de UC Davis, Team S20-G5, Lore Winter 2019

UCD-LORE-W19S20G5

3 Miembros

4 Guías creadas

0 comentarios

Agregar Comentario

Ver Estadísticas:

Ultimas 24 horas: 0

Ultimos 7 días: 2

Ultimos 30 días: 3

Todo El Tiempo: 189