Saltar al contenido principal

Esta versión puede contener ediciones incorrectas. Cambie a la última instantánea verificada.

Qué necesitas

  1. Este paso está sin traducir. Ayuda a traducirlo

    : paso 1, imagen 1 de 1
    • Power off your Lenovo Ideapad Flex4-1130 before beginning disassembly.

    • Remove the ten 4mm screws from the back panel.

  2. Este paso está sin traducir. Ayuda a traducirlo

    : paso 2, imagen 1 de 1
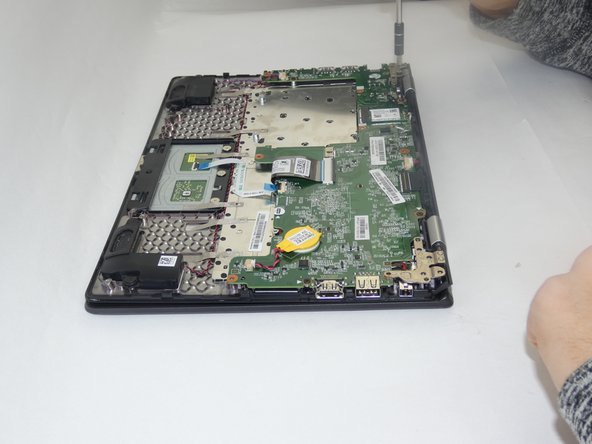
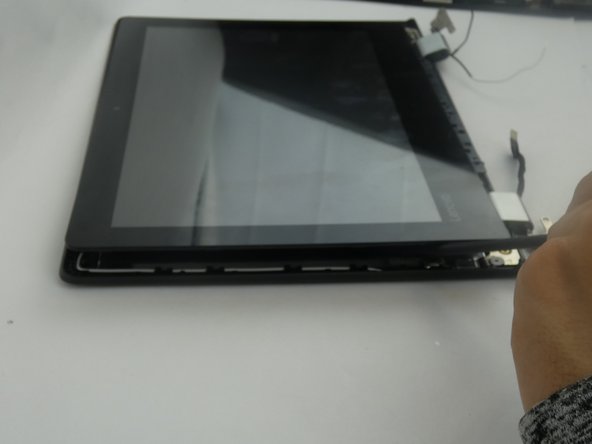
    • Insert the spudger into the groove work your way around the laptop to separate the bottom from the case.

    • Do not insert the spudger too deep! This could potentially damage a device part.

  3. Este paso está sin traducir. Ayuda a traducirlo

    : paso 3, imagen 1 de 1
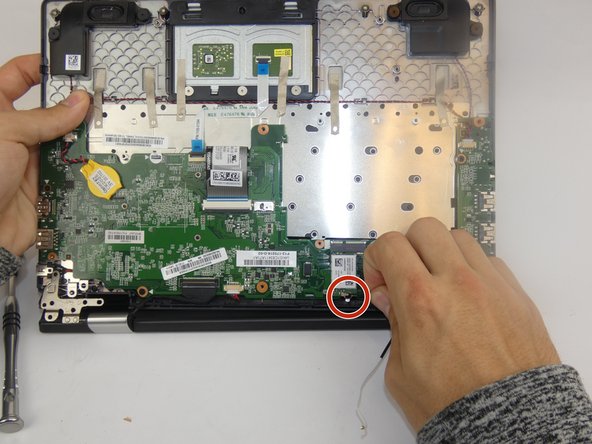
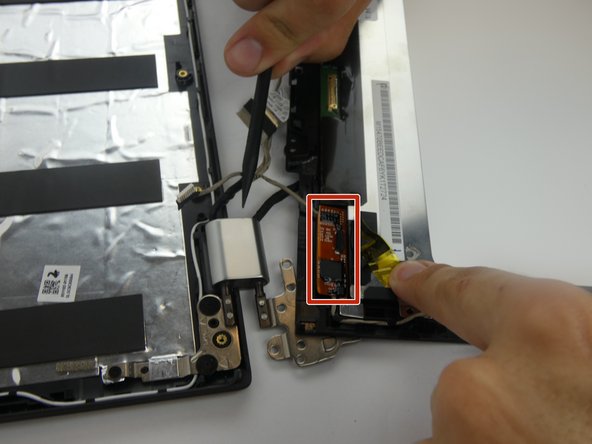
    • Remove the connector attaching the battery to the motherboard.

  4. Este paso está sin traducir. Ayuda a traducirlo

    : paso 4, imagen 1 de 1
    • Remove the four 4mm screws on the battery.

  5. Este paso está sin traducir. Ayuda a traducirlo

    : paso 5, imagen 1 de 1
    • Lift the battery with a spudger and remove.

  6. Este paso está sin traducir. Ayuda a traducirlo

    : paso 6, imagen 1 de 2 : paso 6, imagen 2 de 2
    • Remove six 7mm screws.

  7. Este paso está sin traducir. Ayuda a traducirlo

    : paso 7, imagen 1 de 2 : paso 7, imagen 2 de 2
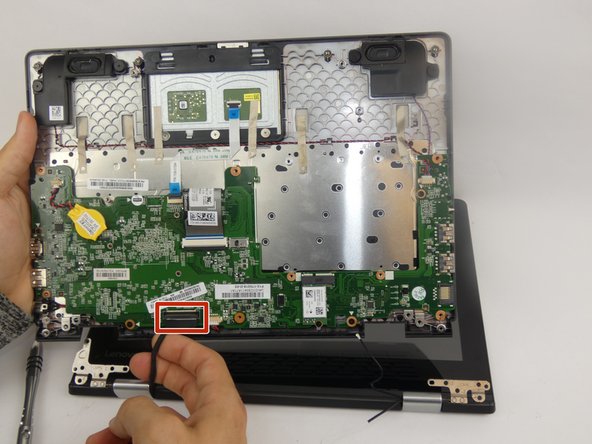
    • Remove two connector cables.

    • Separate the two unhinged parts.

  8. Este paso está sin traducir. Ayuda a traducirlo

    : paso 8, imagen 1 de 1
    • Use the spudger to remove the plastic caps, uncovering the screws underneath.

    • Remove the two 6mm screws.

  9. Este paso está sin traducir. Ayuda a traducirlo

    : paso 9, imagen 1 de 2 : paso 9, imagen 2 de 2
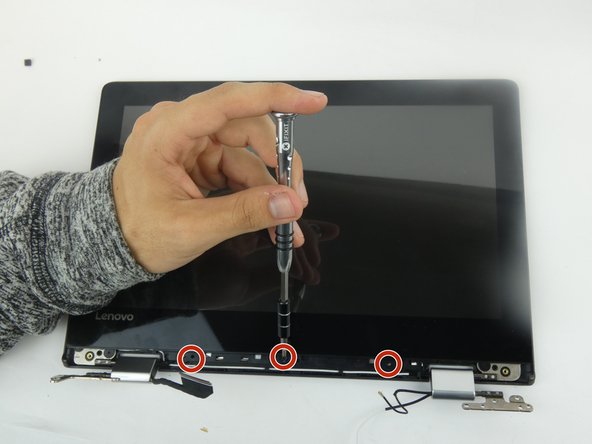
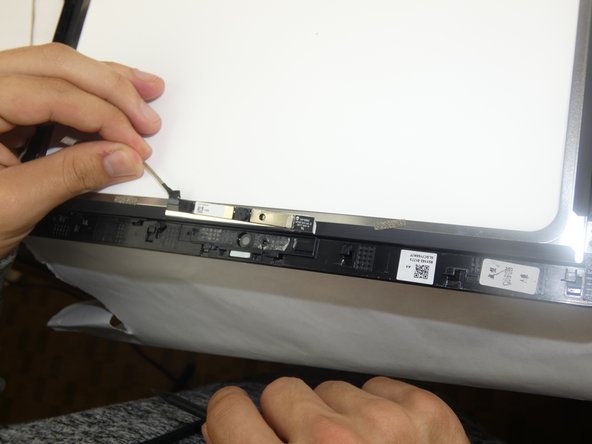
    • Use the black nylon spudger to remove the long plastic covering underneath the screen.

    • Remove three 6mm screws.

  10. Este paso está sin traducir. Ayuda a traducirlo

    : paso 10, imagen 1 de 2 : paso 10, imagen 2 de 2
    • Use the black nylon spudger to lift and separate the screen from the plastic back cover.

  11. Este paso está sin traducir. Ayuda a traducirlo

    : paso 11, imagen 1 de 2 : paso 11, imagen 2 de 2
    • Peel off tape and remove the cable.

  12. Este paso está sin traducir. Ayuda a traducirlo

    : paso 12, imagen 1 de 2 : paso 12, imagen 2 de 2
    • Remove the connector chip.

  13. Este paso está sin traducir. Ayuda a traducirlo

    : paso 13, imagen 1 de 2 : paso 13, imagen 2 de 2
    • Peel tape and remove cable underneath.

Linea de Meta

Adrian Miranda

Miembro Desde 02/15/18

677 Reputación

5 Guías creadas

Equipo

USF Tampa, Team S17-G5, Boczar Spring 2018 Miembro de USF Tampa, Team S17-G5, Boczar Spring 2018

USFT-BOCZAR-S18S17G5

3 Miembros

5 Guías creadas

0 comentarios

Agregar Comentario

Ver Estadísticas:

Ultimas 24 horas: 3

Ultimos 7 días: 10

Ultimos 30 días: 12

Todo El Tiempo: 1,700