Introducción
Use this guide to replace a faulty or failing I/O board in your Lenovo IdeaPad 3-1481W000NGUS.
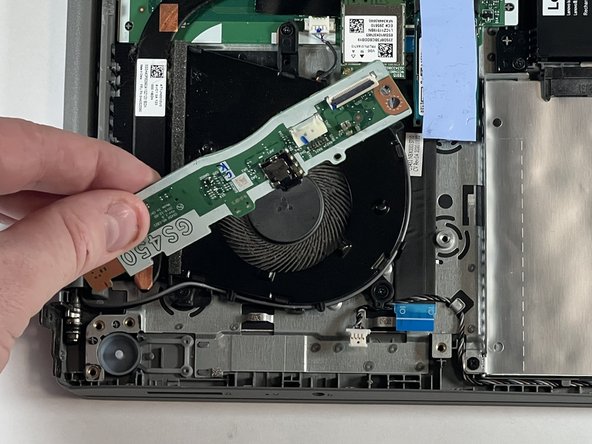
The I/O board handles the connections for the SD card and headphone jack. Internally, it also handles the reset button and power button. If SD cards are unable to be read, the audio connection is crackly or quiet, or if the computer cannot be reset or turned on, the I/O board may be at fault.
Before using this guide, make sure to review the troubleshooting page. Oftentimes, audio and connection issues can be fixed without replacing the I/O board.
Never work on an electronic device that is plugged into a power outlet. Before starting this guide, ensure that the laptop is fully powered off and that the power adapter is disconnected. Follow the steps in order as the battery must be disconnected before removing other connectors.
Qué necesitas
-
-
Orient the laptop so that the bottom is facing up.
-
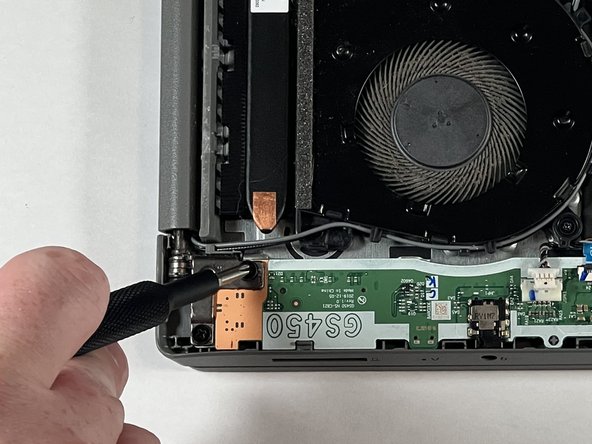
Remove the six 7 mm screws using a Phillips #00 screwdriver.
-
Remove the four 4 mm screws using a Phillips #00 screwdriver.
-
-
-
-
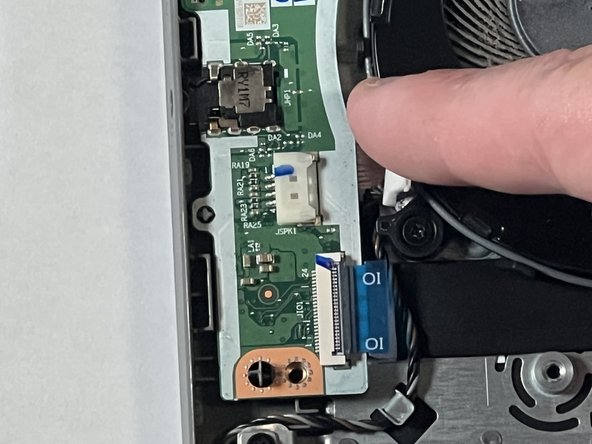
Use your fingernail or an opening tool to gently pull out and disconnect the battery pack cable.
-


To reassemble your device, follow these instructions in reverse order.
To reassemble your device, follow these instructions in reverse order.
Cancelar: No complete esta guía.
Una persona más ha completado esta guía.

Equipo

University of Delaware, Team 11-4, McGuire Spring 2023 Miembro de University of Delaware, Team 11-4, McGuire Spring 2023
UD-MCGUIRE-S23S11G4
5 Miembros
6 Guías creadas