Saltar al contenido principal

Lenovo G70-70 Screen Replacement

Qué necesitas

  1. Lenovo G70-70 Screen Replacement, Battery: paso 1, imagen 1 de 2 Lenovo G70-70 Screen Replacement, Battery: paso 1, imagen 2 de 2
    • Ensure the battery is removed before attempting to fix anything on the laptop.

    • Orient the laptop so the bottom side is facing you.

    • To unlock the battery, place your thumb over the left switch and slide it to the left.

  2. Lenovo G70-70 Screen Replacement: paso 2, imagen 1 de 2 Lenovo G70-70 Screen Replacement: paso 2, imagen 2 de 2
    • To access the battery, place your thumb over the right switch and slide it to the right.

    • When the battery is unlocked, it will automatically pop up.

  3. Lenovo G70-70 Screen Replacement: paso 3, imagen 1 de 3 Lenovo G70-70 Screen Replacement: paso 3, imagen 2 de 3 Lenovo G70-70 Screen Replacement: paso 3, imagen 3 de 3
    • Remove the battery by lifting it up and away from yourself.

  4. Lenovo G70-70 Screen Replacement, Screen: paso 4, imagen 1 de 3 Lenovo G70-70 Screen Replacement, Screen: paso 4, imagen 2 de 3 Lenovo G70-70 Screen Replacement, Screen: paso 4, imagen 3 de 3
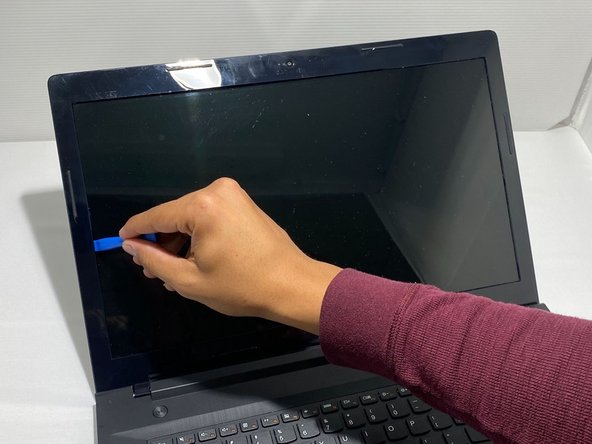
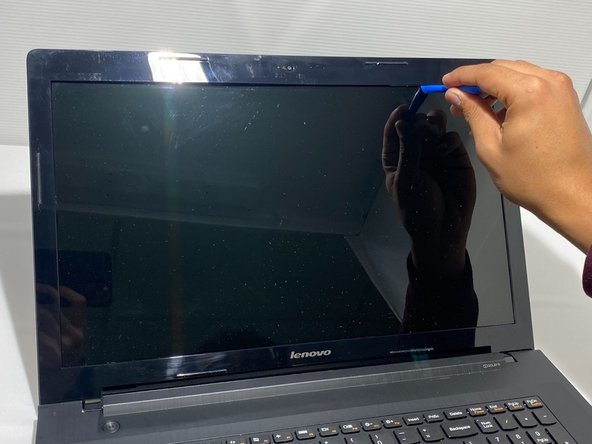
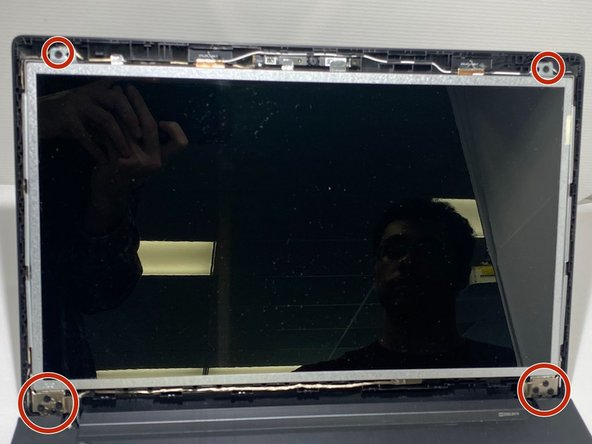
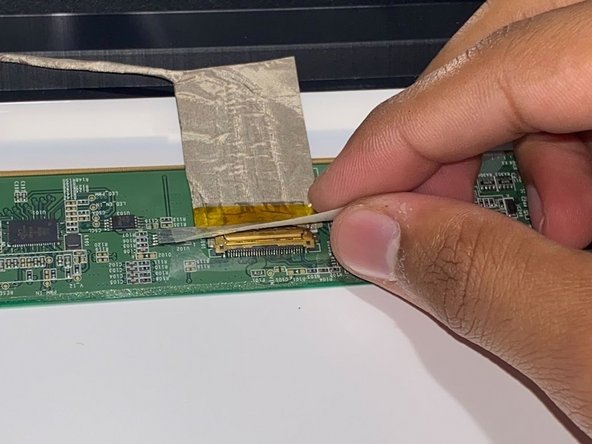
    • Pry open the plastic casing surrounding the screen with the opening tool.

    • You will hear loud popping noises as you separate the plastic casing from the screen.

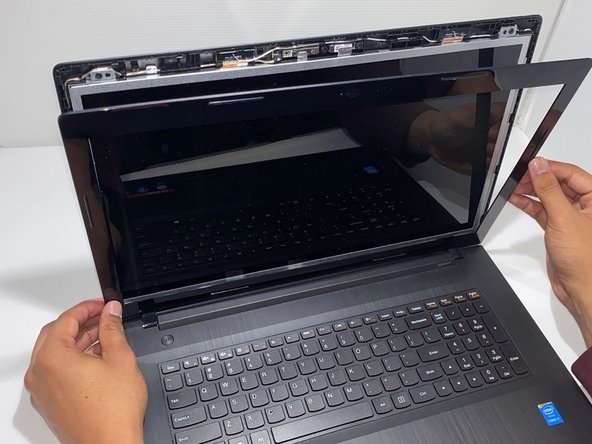
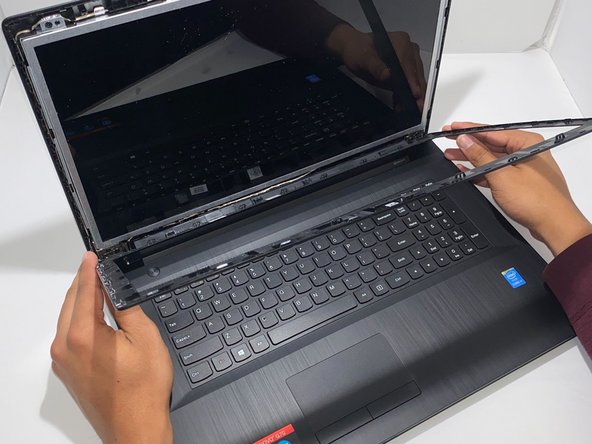
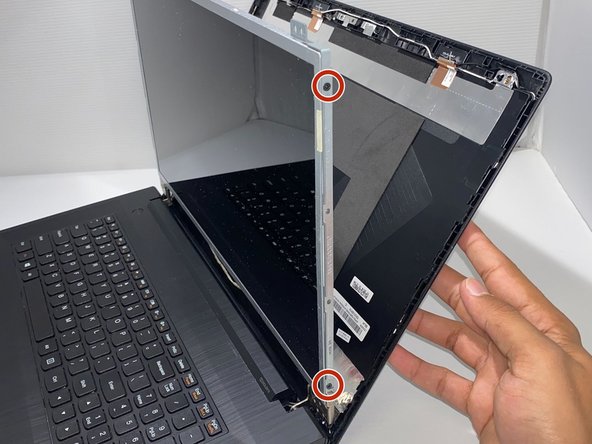
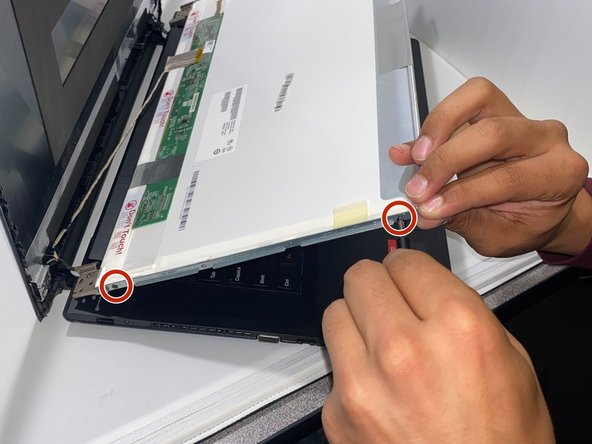
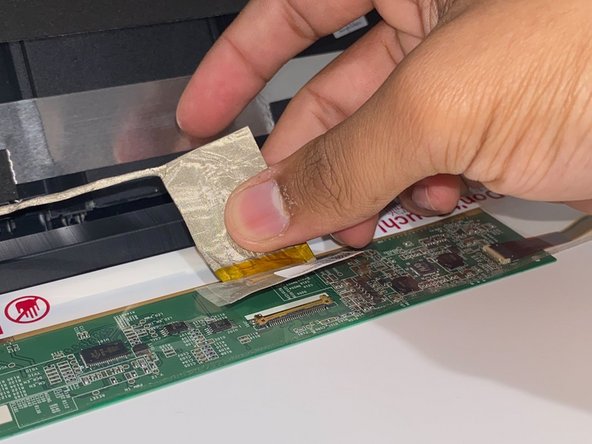
    • Pull the plastic casing toward yourself and separate it from the screen.

  5. Lenovo G70-70 Screen Replacement: paso 5, imagen 1 de 3 Lenovo G70-70 Screen Replacement: paso 5, imagen 2 de 3 Lenovo G70-70 Screen Replacement: paso 5, imagen 3 de 3
    • Pull the plastic casing upward and toward yourself to completely remove it from the laptop.

    • Remove eight 4.5 mm screws from the front of the metal casing with a Phillips #0 screwdriver.

    • There are three screws on the bottom left and right sides of the screen. There is one screw on the top left and right side of the screen.

  6. Lenovo G70-70 Screen Replacement: paso 6, imagen 1 de 3 Lenovo G70-70 Screen Replacement: paso 6, imagen 2 de 3 Lenovo G70-70 Screen Replacement: paso 6, imagen 3 de 3
    • Lower the screen to separate it from the plastic casing behind it.

    • Remove four 3.2 mm screws from the sides of the metal casing with a Phillips #0 screwdriver.

    • There are two screws on each side of the metal casing.

  7. Lenovo G70-70 Screen Replacement: paso 7, imagen 1 de 3 Lenovo G70-70 Screen Replacement: paso 7, imagen 2 de 3 Lenovo G70-70 Screen Replacement: paso 7, imagen 3 de 3
    • Lay the screen down on the keyboard to gain access to the cable on the back of the screen.

    • Use your hands or a sturdy object to prop the rear plastic casing up to avoid damaging the cable.

    • Pull the plastic off of the top of the cable.

  8. Lenovo G70-70 Screen Replacement: paso 8, imagen 1 de 1
    • Carefully pull the golden part of the cable towards yourself to remove it from the bottom part of the screen.

  9. Lenovo G70-70 Screen Replacement: paso 9, imagen 1 de 3 Lenovo G70-70 Screen Replacement: paso 9, imagen 2 de 3 Lenovo G70-70 Screen Replacement: paso 9, imagen 3 de 3
    • Detach the cable by pulling it away from yourself.

    • Once the cable is detached from the screen you will be able to remove it.

Conclusión

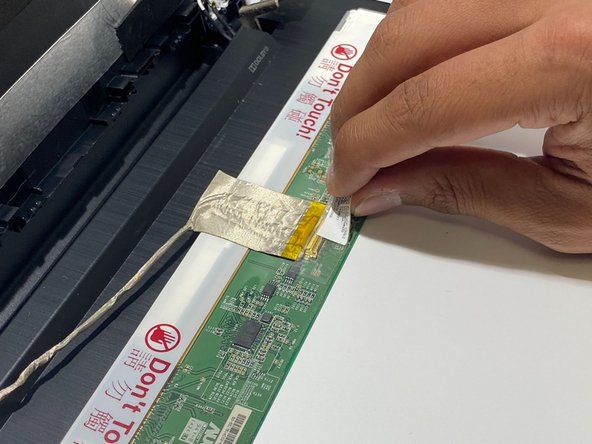
To reassemble your device, follow these instructions in reverse order.

Una persona más ha completado esta guía.

Joseph Crews

Miembro Desde 09/15/22

815 Reputación

5 Guías creadas

0 comentarios

Agregar Comentario

Ver Estadísticas:

Ultimas 24 horas: 0

Ultimos 7 días: 0

Ultimos 30 días: 3

Todo El Tiempo: 126