Esta versión puede contener ediciones incorrectas. Cambie a la última instantánea verificada.
Qué necesitas
-
Este paso está sin traducir. Ayuda a traducirlo
-
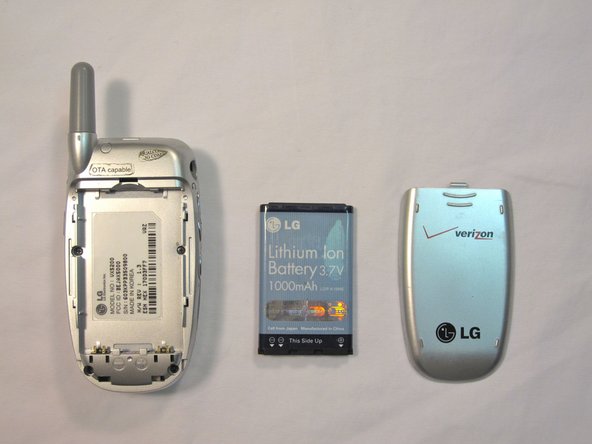
Orient the phone as shown.
-
Remove the battery cover by pushing upward with your thumb.
-
-
Este paso está sin traducir. Ayuda a traducirlo
-
Place your fingernail at the top of the battery and pry the battery out towards you.
-
-
-
Este paso está sin traducir. Ayuda a traducirlo
-
Flip the phone open.
-
Remove the four rubber plugs, located at the corners of the LCD screen, with a push-pin.
-
Use a Phillips #00 screwdriver to remove the four screws located underneath the rubber plugs.
-
-
Este paso está sin traducir. Ayuda a traducirlo
-
Insert the opening tool in the seam of the top portion of the flip phone.
-
Gently pry the seam open.
-
Move the opening tool around the perimeter of the seam and gently take the front LCD face plate out.
-
-
Este paso está sin traducir. Ayuda a traducirlo
-
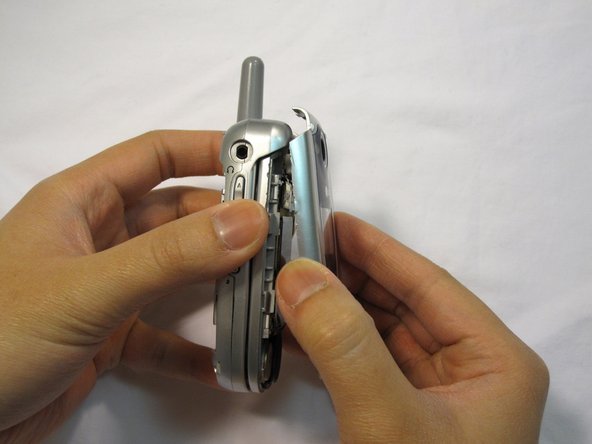
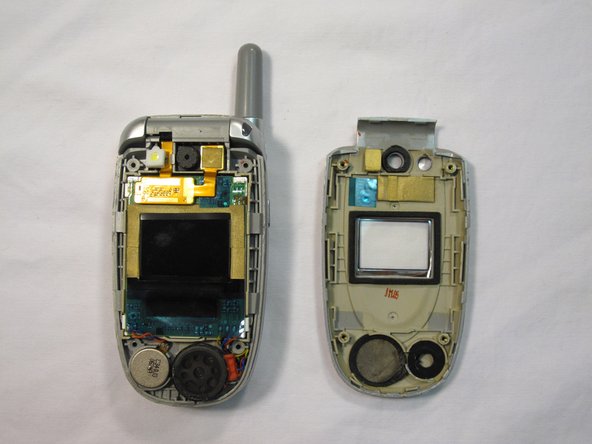
Close the flip phone.
-
Hold the base of the phone and gently remove the faceplate.
-
Place the phone and the faceplate on a clean, flat surface.
-
-
Este paso está sin traducir. Ayuda a traducirlo
-
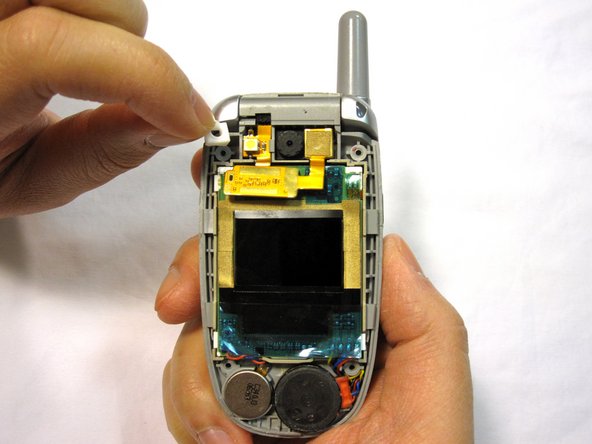
Locate the phone camera.
-
Locate the white rubber stopper to left of the camera.
-
Remove white rubber stopper by grabbing an edge with your fingers and gently pulling it off.
-
-
Este paso está sin traducir. Ayuda a traducirlo
-
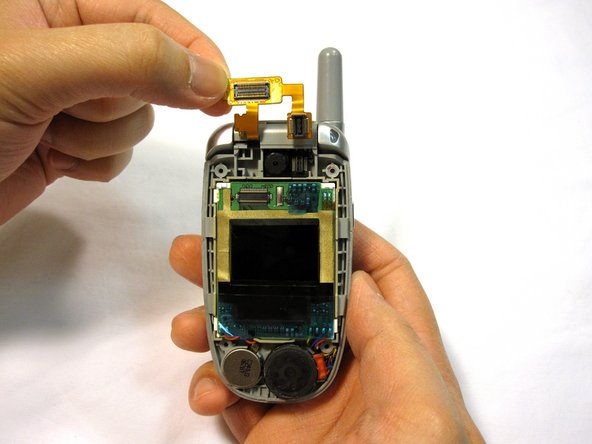
Lift the copper ribbon cable up from the bottom right hand corner.
-
-
Este paso está sin traducir. Ayuda a traducirlo
-
While holding the copper connection out of the way, use your fingernail to pry the camera out of its socket.
-
Cancelar: No complete esta guía.
2 personas más completaron esta guía.


