Saltar al contenido principal

LG Rebel Rear Camera Replacement

Qué necesitas

  1. LG Rebel Rear Camera Replacement, Rear Camera: paso 1, imagen 1 de 2 LG Rebel Rear Camera Replacement, Rear Camera: paso 1, imagen 2 de 2
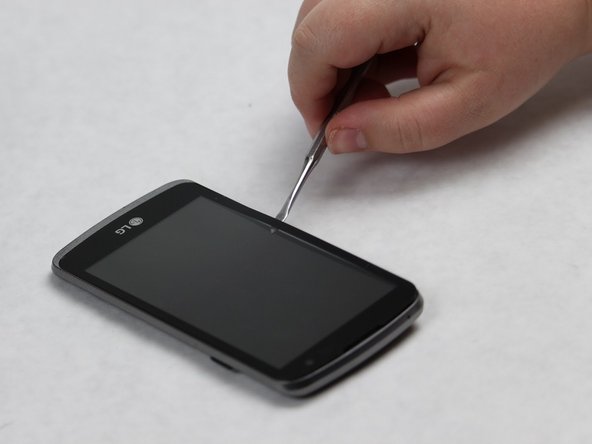
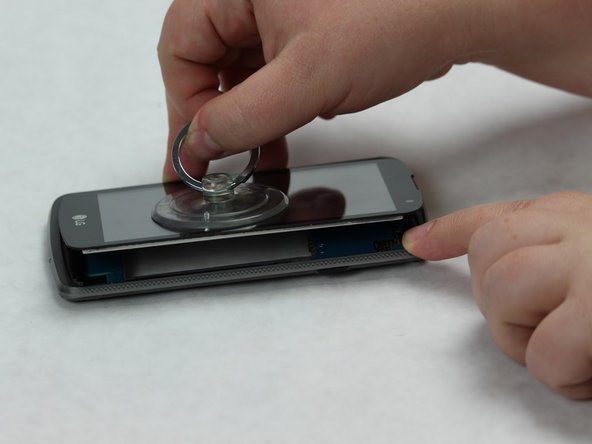
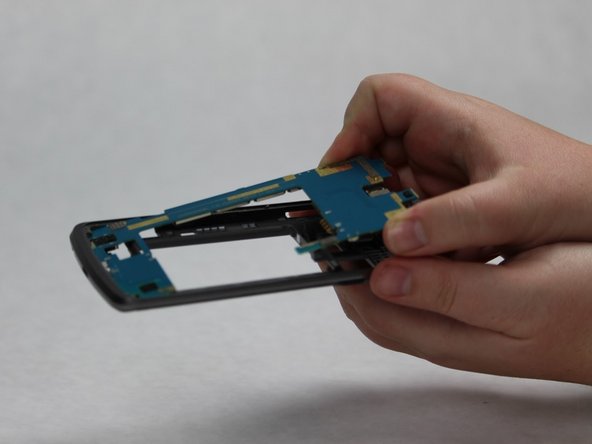
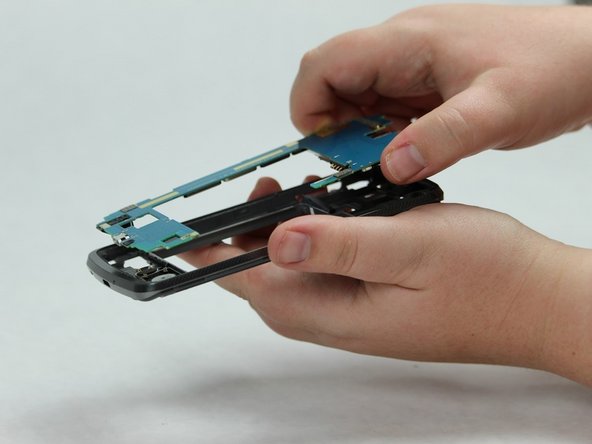
    • Turn the phone on its side and locate the small groove.

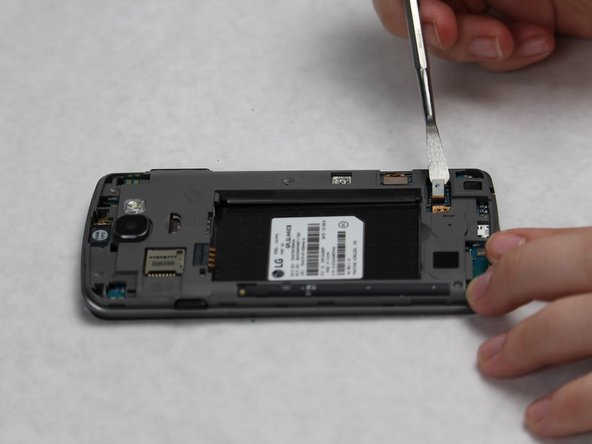
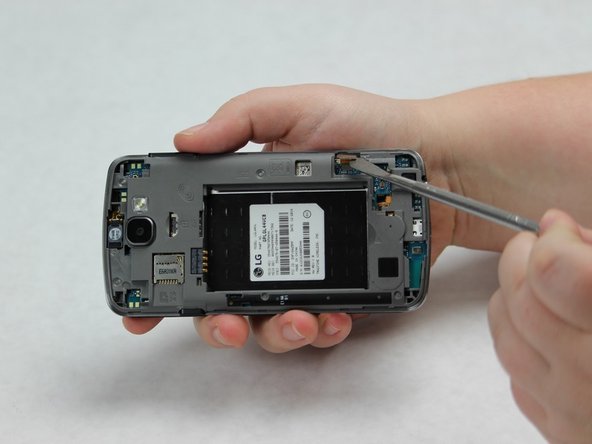
    • Use the plastic opening tool to take the back cover off of the phone.

  2. LG Rebel Rear Camera Replacement: paso 2, imagen 1 de 3 LG Rebel Rear Camera Replacement: paso 2, imagen 2 de 3 LG Rebel Rear Camera Replacement: paso 2, imagen 3 de 3
    • Locate the small groove on the back of the phone near the bottom.

    • Use the metal spudger to pop open the black plastic covering.

    • Remove black plastic covering.

  3. LG Rebel Rear Camera Replacement: paso 3, imagen 1 de 2 LG Rebel Rear Camera Replacement: paso 3, imagen 2 de 2
    • Use the metal spudger to pop up the black plastic covering near top of phone.

    • Remove the black plastic covering.

  4. LG Rebel Rear Camera Replacement: paso 4, imagen 1 de 3 LG Rebel Rear Camera Replacement: paso 4, imagen 2 de 3 LG Rebel Rear Camera Replacement: paso 4, imagen 3 de 3
    • Locate the connective pieces on the back of the phone.

    • Use the metal spudger to disconnect both of the connective pieces from the back.

  5. LG Rebel Rear Camera Replacement: paso 5, imagen 1 de 3 LG Rebel Rear Camera Replacement: paso 5, imagen 2 de 3 LG Rebel Rear Camera Replacement: paso 5, imagen 3 de 3
    • Flip the phone over so the screen is facing up.

    • Slide the metal spudger around the perimeter of the phone until the entire seal has been broken.

    • Use the small suction cup to remove the screen.

  6. LG Rebel Rear Camera Replacement: paso 6, imagen 1 de 2 LG Rebel Rear Camera Replacement: paso 6, imagen 2 de 2
    • Locate the black bumper at the bottom of the front of the phone.

    • Use the metal spudger to slide the bumper out.

  7. LG Rebel Rear Camera Replacement: paso 7, imagen 1 de 3 LG Rebel Rear Camera Replacement: paso 7, imagen 2 de 3 LG Rebel Rear Camera Replacement: paso 7, imagen 3 de 3
    • Use the metal spudger to carefully loosen the motherboard from the body of the phone.

    • Slowly slide the motherboard out of the body of the phone.

    • Remove the motherboard.

  8. LG Rebel Rear Camera Replacement: paso 8, imagen 1 de 2 LG Rebel Rear Camera Replacement: paso 8, imagen 2 de 2
    • Locate the rear camera on the motherboard.

    • Use the metal spudger to disconnect the connective piece at the base of the camera.

    • Remove the camera.

Conclusión

To reassemble your device, follow these instructions in reverse order.

Una persona más ha completado esta guía.

Emma Johnson

Miembro Desde 02/08/18

184 Reputación

1 Guía escrita

0 comentarios

Agregar Comentario

Ver Estadísticas:

Ultimas 24 horas: 0

Ultimos 7 días: 5

Ultimos 30 días: 8

Todo El Tiempo: 487