Saltar al contenido principal

LG Optimus V Camera Replacement

Qué necesitas

  1. LG Optimus V Camera Replacement, Battery: paso 1, imagen 1 de 1
    • Turn the LG Optimus V over, so that the back cover is facing upward.

  2. LG Optimus V Camera Replacement: paso 2, imagen 1 de 1
    • Locate the opening above the camera.

    • Use a spudger to detach the back cover.

  3. LG Optimus V Camera Replacement: paso 3, imagen 1 de 3 LG Optimus V Camera Replacement: paso 3, imagen 2 de 3 LG Optimus V Camera Replacement: paso 3, imagen 3 de 3
    • Gently remove the battery with your spudger.

  4. LG Optimus V Camera Replacement, Camera: paso 4, imagen 1 de 2 LG Optimus V Camera Replacement, Camera: paso 4, imagen 2 de 2
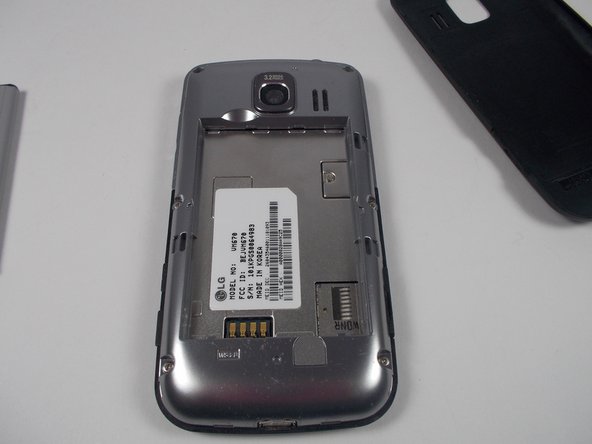
    • Remove the six screws on the silver casing.

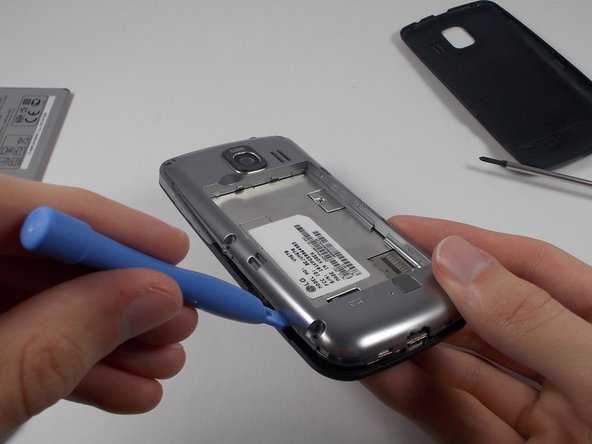
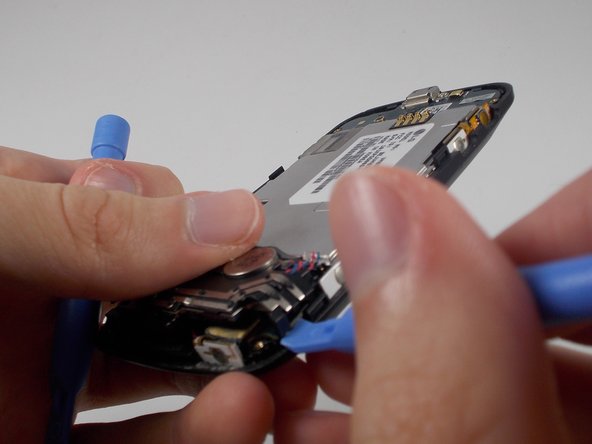
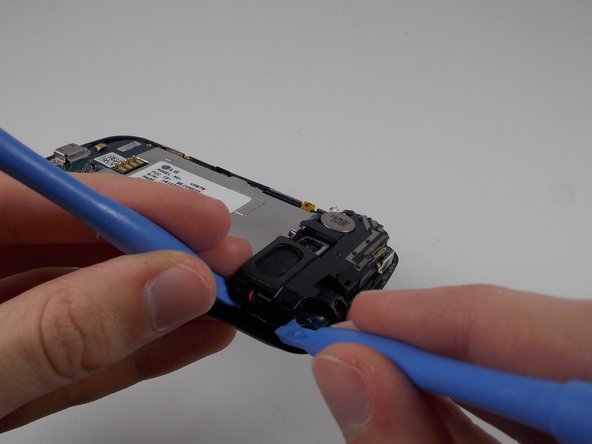
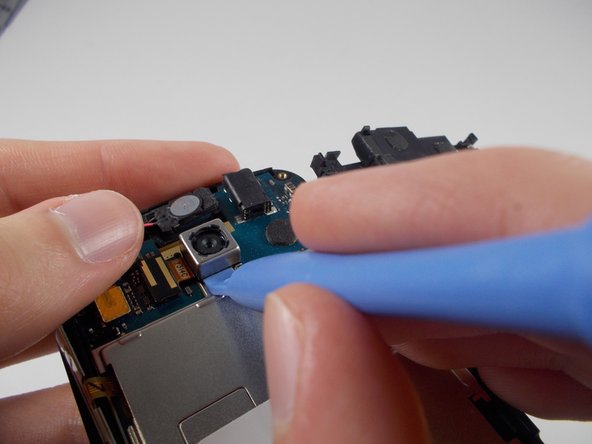
    • Use the plastic opening tool to remove the silver casing.

  5. LG Optimus V Camera Replacement: paso 5, imagen 1 de 3 LG Optimus V Camera Replacement: paso 5, imagen 2 de 3 LG Optimus V Camera Replacement: paso 5, imagen 3 de 3
    • Use a plastic opening tool to remove each area holding the parts together.

  6. LG Optimus V Camera Replacement: paso 6, imagen 1 de 2 LG Optimus V Camera Replacement: paso 6, imagen 2 de 2
    • Use a plastic opening tool to remove the small black and yellow piece that reads Y3114C.

    • Use a plastic opening tool to pry off the camera.

Conclusión

To reassemble your device, follow these instructions in reverse order.

Una persona más ha completado esta guía.

Equipo

UMass Dartmouth, Team 1-2, Shastany Fall 2013 Miembro de UMass Dartmouth, Team 1-2, Shastany Fall 2013

UMASSD-SHASTANY-F13S1G2

3 Miembros

5 Guías creadas

0 comentarios

Agregar Comentario

Ver Estadísticas:

Ultimas 24 horas: 0

Ultimos 7 días: 4

Ultimos 30 días: 5

Todo El Tiempo: 527