Saltar al contenido principal

LG Optimus L9 P769 Rear Facing Camera Replacement

Qué necesitas

  1. LG Optimus L9 P769 Rear Facing Camera Replacement, Removing the Back Panel: paso 1, imagen 1 de 2 LG Optimus L9 P769 Rear Facing Camera Replacement, Removing the Back Panel: paso 1, imagen 2 de 2
    • Pry the back panel from the frame of the phone to reveal the motherboard.

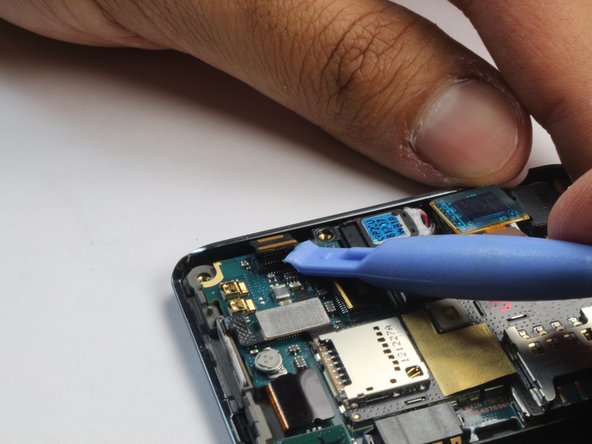
  2. LG Optimus L9 P769 Rear Facing Camera Replacement, Unpluging the Motherboard: paso 2, imagen 1 de 3 LG Optimus L9 P769 Rear Facing Camera Replacement, Unpluging the Motherboard: paso 2, imagen 2 de 3 LG Optimus L9 P769 Rear Facing Camera Replacement, Unpluging the Motherboard: paso 2, imagen 3 de 3
    • Detach the connectors on the motherboard.

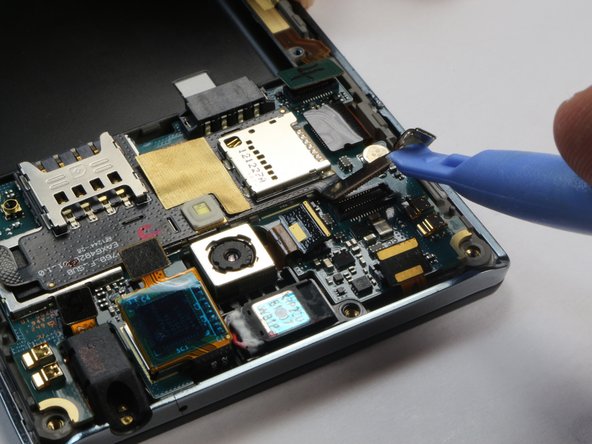
  3. LG Optimus L9 P769 Rear Facing Camera Replacement, Unpluging the Motherboard Cont.: paso 3, imagen 1 de 3 LG Optimus L9 P769 Rear Facing Camera Replacement, Unpluging the Motherboard Cont.: paso 3, imagen 2 de 3 LG Optimus L9 P769 Rear Facing Camera Replacement, Unpluging the Motherboard Cont.: paso 3, imagen 3 de 3
    • Continue to lift the connectors off the motherboard.

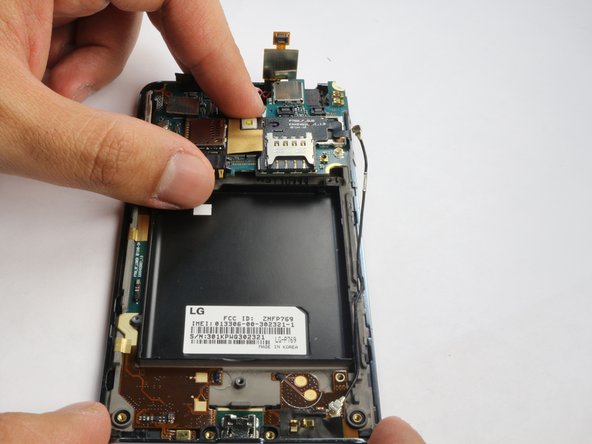
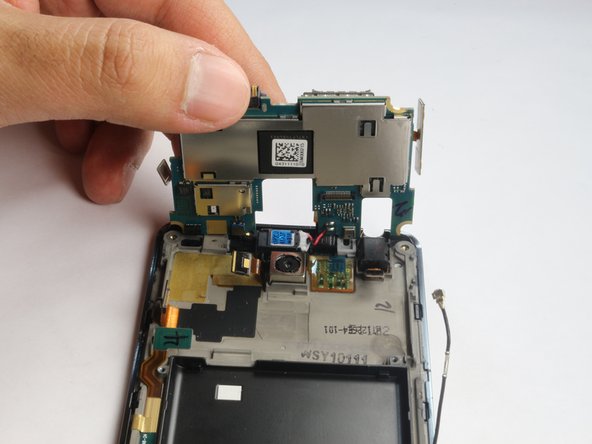
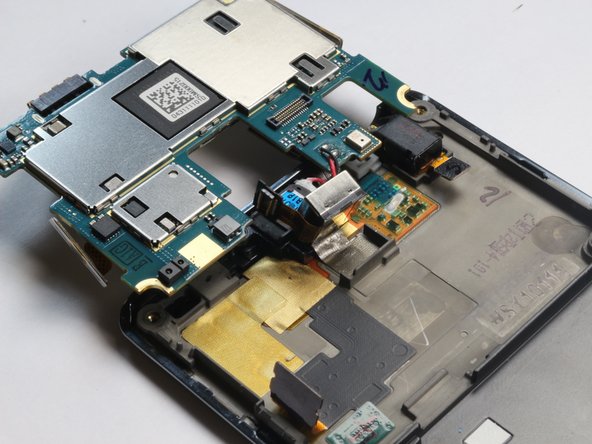
  4. LG Optimus L9 P769 Rear Facing Camera Replacement, Lifting Motherboard from the Phone: paso 4, imagen 1 de 3 LG Optimus L9 P769 Rear Facing Camera Replacement, Lifting Motherboard from the Phone: paso 4, imagen 2 de 3 LG Optimus L9 P769 Rear Facing Camera Replacement, Lifting Motherboard from the Phone: paso 4, imagen 3 de 3
    • Lift the speaker cable off the motherboard.

    • Lift the motherboard up. It will Still be connected to the frame.

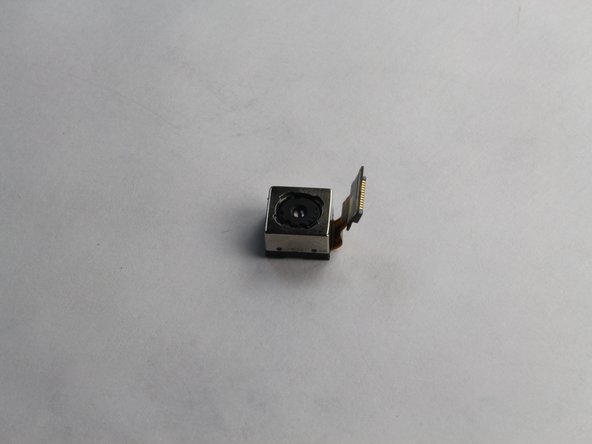
  5. LG Optimus L9 P769 Rear Facing Camera Replacement, Pry and remove the camera: paso 5, imagen 1 de 3 LG Optimus L9 P769 Rear Facing Camera Replacement, Pry and remove the camera: paso 5, imagen 2 de 3 LG Optimus L9 P769 Rear Facing Camera Replacement, Pry and remove the camera: paso 5, imagen 3 de 3
    • Pry under the camera to lift it off the frame.

    • There is some adhesive that will keep it attached to the frame, pulling the camera off will not damage the phone.

    • The camera should now be entirely separated from the phone.

Conclusión

To reassemble your device, follow these instructions in reverse order.

Una persona más ha completado esta guía.

Paul

Miembro Desde 10/07/14

145 Reputación

4 Guías creadas

Equipo

USF Tampa, Team 8-1, Leahy Fall 2014 Miembro de USF Tampa, Team 8-1, Leahy Fall 2014

USFT-LEAHY-F14S8G1

4 Miembros

5 Guías creadas

0 comentarios

Agregar Comentario

Ver Estadísticas:

Ultimas 24 horas: 0

Ultimos 7 días: 4

Ultimos 30 días: 9

Todo El Tiempo: 972