Esta versión puede contener ediciones incorrectas. Cambie a la última instantánea verificada.
Qué necesitas
-
Este paso está sin traducir. Ayuda a traducirlo
-
Place phone face-down and use your nail to pry the back off the back.
-
-
Este paso está sin traducir. Ayuda a traducirlo
-
Use a plastic spudger or your nail to lift the battery out of the device and put it to the side.
-
The battery should lift out with little effort. If it does not, do not force it.
-
-
Este paso está sin traducir. Ayuda a traducirlo
-
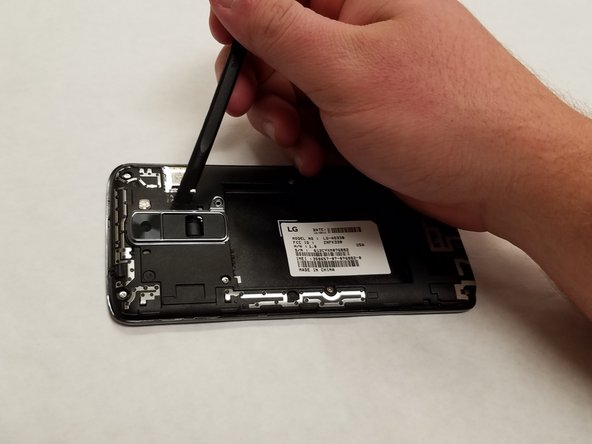
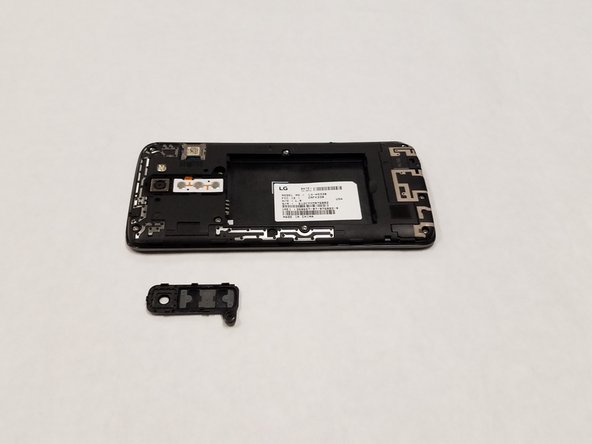
Use a Phillips #0 screwdriver to remove the single 3.5 mm screw holding the power button and volume rocker in place and lift it out and put it to the side.
-
-
-
Este paso está sin traducir. Ayuda a traducirlo
-
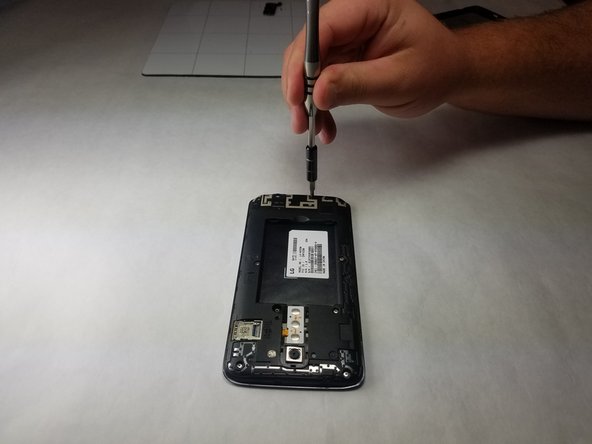
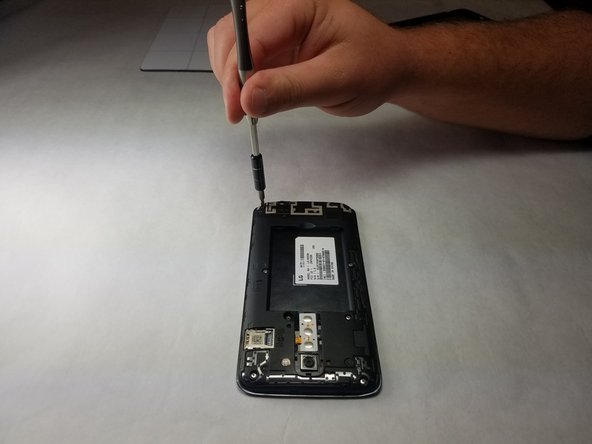
Use a Phillips #0 screwdriver to unscrew the three 3.5mm screws in the bottom portion of the phone and put them to the side.
-
-
Este paso está sin traducir. Ayuda a traducirlo
-
Use a spudger to pry the plastic bit off. Be warned, it will snap out and might fling itself when you attempt prying it out.
-
-
Este paso está sin traducir. Ayuda a traducirlo
-
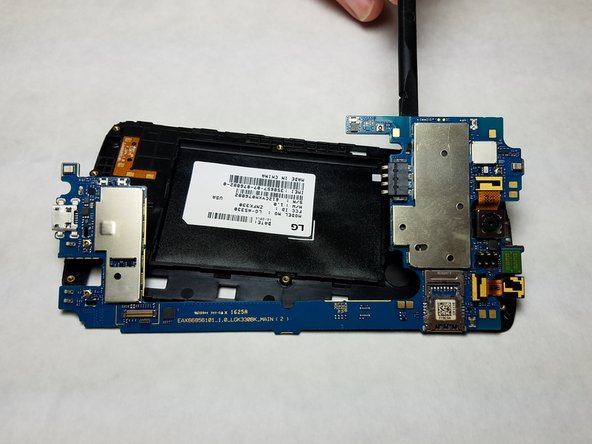
Use a Phillips #0 screwdriver to unscrew the five 3.5 mm screws holding the housing into the device and use a spudger to pop it out of the back of the device exposing the motherboard.
-
-
Este paso está sin traducir. Ayuda a traducirlo
-
Use a plastic spudger to lift the motherboard out of the casing.
-
You must use a plastic tool for this step or you may risk shorting the logic board.
-
-
Este paso está sin traducir. Ayuda a traducirlo
-
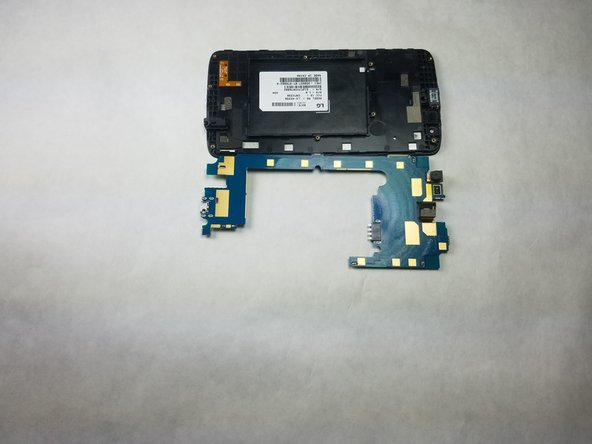
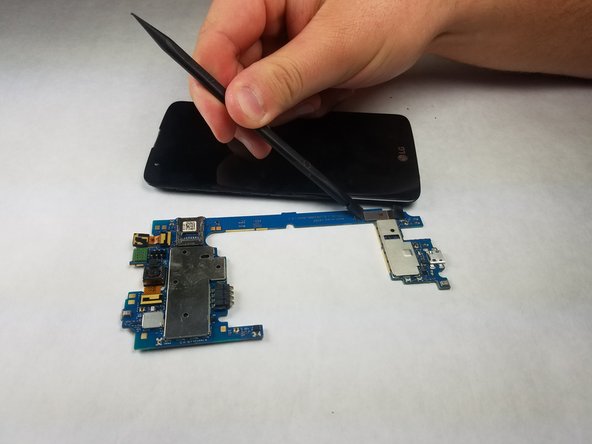
Turn the device over and locate the connector between the digitizer and the motherboard.
-
Use a plastic spudger to disconnect the connector.
-
-
Este paso está sin traducir. Ayuda a traducirlo
-
You have now successfully removed the motherboard from your LG K7.
-


Cancelar: No complete esta guía.
Una persona más ha completado esta guía.
Equipo

IUPUI, Team S3-G4, Harley Fall 2018 Miembro de IUPUI, Team S3-G4, Harley Fall 2018
IUPUI-HARLEY-F18S3G4
3 Miembros
4 Guías creadas