Saltar al contenido principal

Esta versión puede contener ediciones incorrectas. Cambie a la última instantánea verificada.

Qué necesitas

  1. Este paso está sin traducir. Ayuda a traducirlo

    : paso 1, imagen 1 de 2 : paso 1, imagen 2 de 2
    • Remove the back cover by firmly pressing the triangle and push upwards.

    • Lift the bottom section to remove the cover.

  2. Este paso está sin traducir. Ayuda a traducirlo

    : paso 2, imagen 1 de 2 : paso 2, imagen 2 de 2
    • Remove the battery by lifting from the bottom.

  3. Este paso está sin traducir. Ayuda a traducirlo

    : paso 3, imagen 1 de 1
    • Remove six 3mm PH000 screws.

  4. Este paso está sin traducir. Ayuda a traducirlo

    : paso 4, imagen 1 de 3 : paso 4, imagen 2 de 3 : paso 4, imagen 3 de 3
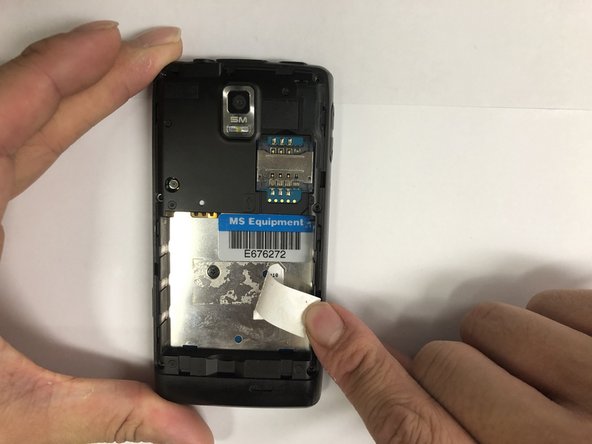
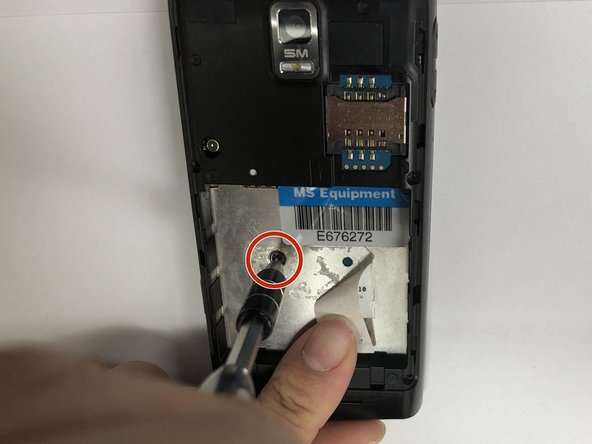
    • Peel off the sticker with the metal spudger.

    • Remove one 1mm PH000 screw.

  5. Este paso está sin traducir. Ayuda a traducirlo

    : paso 5, imagen 1 de 1
    • Pry open all four sides of the back-frame gently, using the metal spudger.

    • The back-frame should come out easily.

    • Volume button and shutter button may fall out during the process.

  6. Este paso está sin traducir. Ayuda a traducirlo

    : paso 6, imagen 1 de 1
    • Pry off the connector using the iFixit opening tool to remove the communication board.

  7. Este paso está sin traducir. Ayuda a traducirlo

    : paso 7, imagen 1 de 3 : paso 7, imagen 2 de 3 : paso 7, imagen 3 de 3
    • Pry off the connectors using the iFixit opening tool.

    • Disconnect the antenna using the iFixit opening tool.

    • The motherboard should be able to be removed easily.

  8. Este paso está sin traducir. Ayuda a traducirlo

    : paso 8, imagen 1 de 1
    • Remove six 1mm PH00 screws.

  9. Este paso está sin traducir. Ayuda a traducirlo

    : paso 9, imagen 1 de 2 : paso 9, imagen 2 de 2
    • Peel off the tape to expose the hidden screw.

    • Remove one 1mm PH000 screw.

    • Replacement tape might be needed.

  10. Este paso está sin traducir. Ayuda a traducirlo

    : paso 10, imagen 1 de 2 : paso 10, imagen 2 de 2
    • Pry off the board from the side using the metal spudger tool.

    • Disconnect the antenna.

  11. Este paso está sin traducir. Ayuda a traducirlo

    : paso 11, imagen 1 de 1
    • Remove the keyboard assembly from the main frame.

    • The keyboard cover is loose.

    • Make sure to pull the small keyboard battery out with the whole assembly

Linea de Meta

Una persona más ha completado esta guía.

Jonas Ke

Miembro Desde 11/06/18

492 Reputación

3 Guías creadas

Equipo

IUPUI, Team S1-G6, Hovde Fall 2018 Miembro de IUPUI, Team S1-G6, Hovde Fall 2018

IUPUI-HOVDE-F18S1G6

3 Miembros

6 Guías creadas

0 comentarios

Agregar Comentario

Ver Estadísticas:

Ultimas 24 horas: 0

Ultimos 7 días: 7

Ultimos 30 días: 10

Todo El Tiempo: 111