Saltar al contenido principal

LG G Stylo Speaker Replacement

Qué necesitas

  1. LG G Stylo Speaker Replacement, Battery: paso 1, imagen 1 de 2 LG G Stylo Speaker Replacement, Battery: paso 1, imagen 2 de 2
    • Make sure that you power off the phone before beginning.

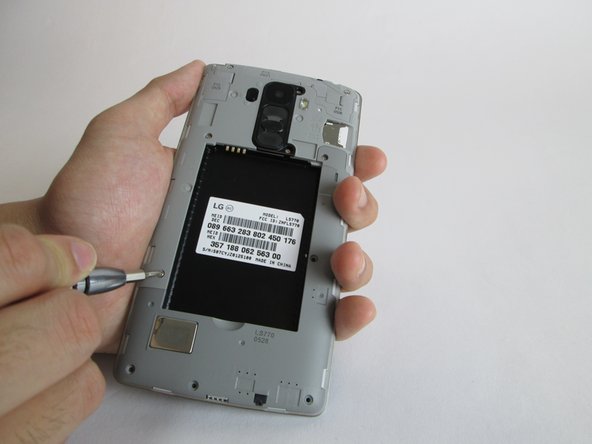
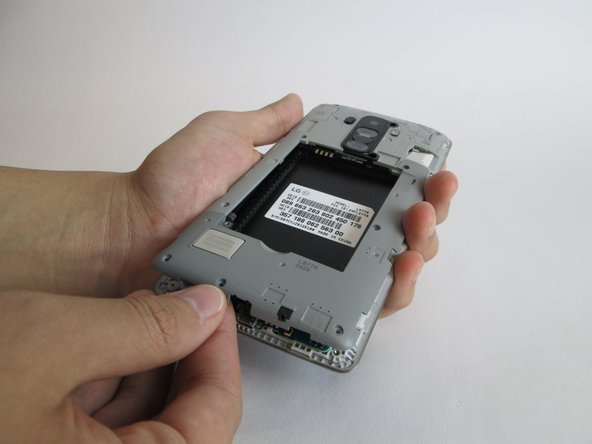
    • Remove the back cover by placing the plastic opening tool on the bottom left side of the device and gently prying up.

    • There is a small slit that fits the plastic opening tool perfectly on the left side.

  2. LG G Stylo Speaker Replacement: paso 2, imagen 1 de 2 LG G Stylo Speaker Replacement: paso 2, imagen 2 de 2
    • Insert the plastic opening tool into the indent at the bottom of the battery and lift up. Fully remove the battery with your fingers.

  3. LG G Stylo Speaker Replacement, Speaker: paso 3, imagen 1 de 2 LG G Stylo Speaker Replacement, Speaker: paso 3, imagen 2 de 2
    • Carefully use the 3.9mm Phillips #00 screwdriver to remove the eleven visible screws found on the back. The screws to be removed are marked with the given indicators.

  4. LG G Stylo Speaker Replacement: paso 4, imagen 1 de 2 LG G Stylo Speaker Replacement: paso 4, imagen 2 de 2
    • When you have finished removing all of the screws, place the plastic opening tool in the groove at the bottom left corner of the motherboard cover and lift up.

    • This part could be more difficult if you have never removed the motherboard cover. If difficulty arises, pry the plastic opening tool into each groove along the edge of the motherboard cover until it releases.

    • Once a clip is released, you can detach the motherboard cover with your fingers and set aside.

  5. LG G Stylo Speaker Replacement: paso 5, imagen 1 de 3 LG G Stylo Speaker Replacement: paso 5, imagen 2 de 3 LG G Stylo Speaker Replacement: paso 5, imagen 3 de 3
    • Once you have the plastic back cover exposed you can detach the speaker

    • Indicated on the back panel is where you will use your plastic prying tool to remove the top part from the speaker.

    • The bottom part of the plastic panel contains the speaker which should be placed all as one part.

Conclusión

To reassemble your device, follow these instructions in reverse order.

6 personas más completaron esta guía.

Equipo

USF Tampa, Team 11-7, Cheng Spring 2016 Miembro de USF Tampa, Team 11-7, Cheng Spring 2016

USFT-CHENG-S16S11G7

4 Miembros

14 Guías creadas

0 comentarios

Agregar Comentario

Ver Estadísticas:

Ultimas 24 horas: 0

Ultimos 7 días: 0

Ultimos 30 días: 8

Todo El Tiempo: 4,998