Saltar al contenido principal

LG Encore GT550 Audio Jack Replacement

Qué necesitas

  1. LG Encore GT550 Audio Jack Replacement, Audio Jack: paso 1, imagen 1 de 2 LG Encore GT550 Audio Jack Replacement, Audio Jack: paso 1, imagen 2 de 2
    • Turn the device over so the backside is facing up.

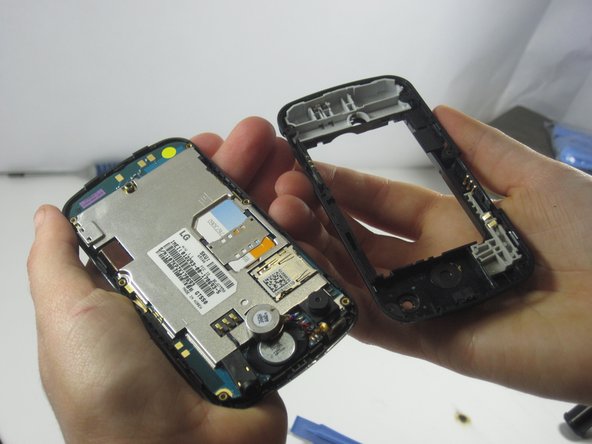
    • Use your fingers or an opening tool to remove the back cover in order to expose the battery.

  2. LG Encore GT550 Audio Jack Replacement: paso 2, imagen 1 de 2 LG Encore GT550 Audio Jack Replacement: paso 2, imagen 2 de 2
    • Use your fingers or a spudger to remove the battery. Lift it from the side opposite of the camera.

  3. LG Encore GT550 Audio Jack Replacement: paso 3, imagen 1 de 1
    • Use a Phillips #0 screwdriver to remove six screws around the perimeter of the phone.

  4. LG Encore GT550 Audio Jack Replacement: paso 4, imagen 1 de 2 LG Encore GT550 Audio Jack Replacement: paso 4, imagen 2 de 2
    • Place the opening tool in the seam of the device and pry around the perimeter to separate the top case from the bottom case.

  5. LG Encore GT550 Audio Jack Replacement: paso 5, imagen 1 de 2 LG Encore GT550 Audio Jack Replacement: paso 5, imagen 2 de 2
    • Place the opening tool on the top on the device between the phone casing and motherboard.

    • Separate the screen and the motherboard.

  6. LG Encore GT550 Audio Jack Replacement: paso 6, imagen 1 de 1
    • Push the audio jack out and replace it.

Conclusión

To reassemble your device, follow these instructions in reverse order.

Una persona más ha completado esta guía.

Lindsey Harding

Miembro Desde 11/04/13

501 Reputación

5 Guías creadas

Equipo

UMass Dartmouth, Team 1-4, Shastany Fall 2013 Miembro de UMass Dartmouth, Team 1-4, Shastany Fall 2013

UMASSD-SHASTANY-F13S1G4

2 Miembros

10 Guías creadas

0 comentarios

Agregar Comentario

Ver Estadísticas:

Ultimas 24 horas: 0

Ultimos 7 días: 6

Ultimos 30 días: 12

Todo El Tiempo: 223