Introducción
In order to insure this is your device please follow our first few steps to identify your device. Once this is completed you may begin the process of replacing your screen.
Qué necesitas
-
-
Pry open the back case on the device with a plastic opening tool and remove it.
-
-
-
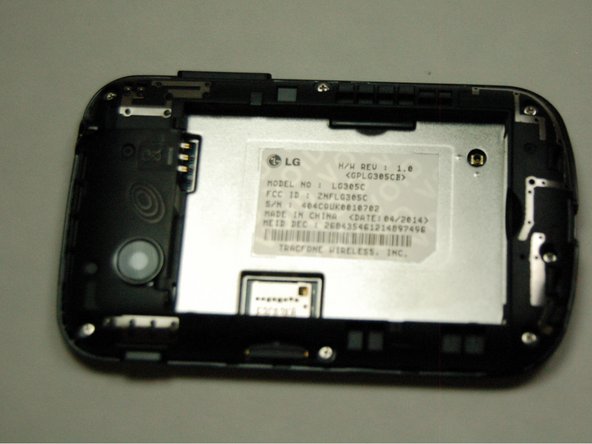
Here you can identify your device by reading the Model number which should read LG 305C.
-
Having done this you can be sure your device is an LG 305C and we can continue onto replacing the screen.
-
-
-
-
From here you can refer to our SD Card replacement guide in order to continue to the next step.
-
-
-
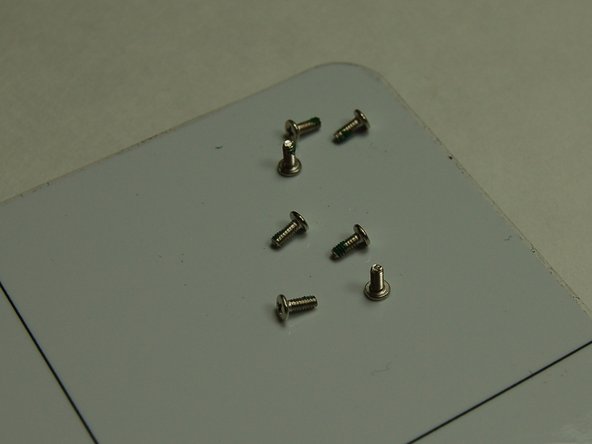
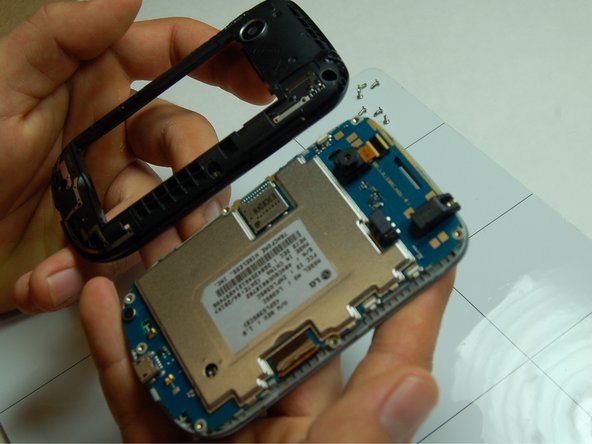
Once finished removing all seven Phillips screws we can begin to separate the first layer of the screen and back.
-
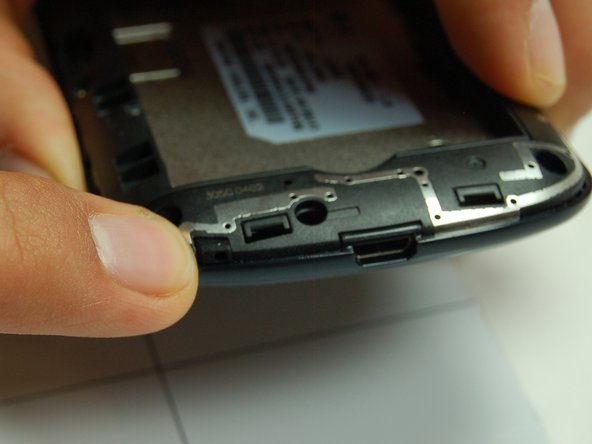
Here you will need to use your plastic pry tool for this step. Along the edges of the device you should be able to pry on the plastic side of the screen to loosen it.
-
There is also a notch shown in picture 2 you will need to push in.
-
-
-
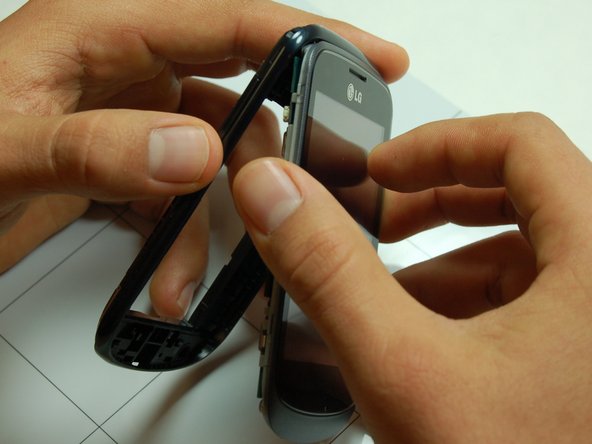
This step we will be separating the motherboard and the plastic screen mold.
-
You will need to gentle with your finger pry the Touch screen connection that is attached to the motherboard off.
-
Once detached you will gentle separate the two pieces.
-
When finished it should look like picture 2.
-


To reassemble your device, follow these instructions in reverse order.
To reassemble your device, follow these instructions in reverse order.
Equipo

Texas Tech, Team 1-3, Bennett Fall 2016 Miembro de Texas Tech, Team 1-3, Bennett Fall 2016
TTU-BENNETT-F16S1G3
6 Miembros
2 Guías creadas