Introducción
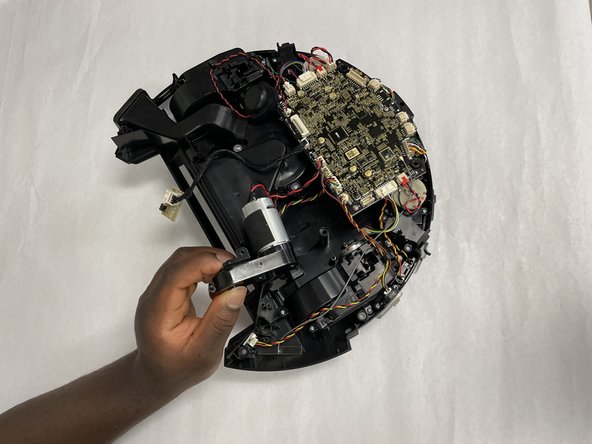
If your Kyvol Cybovac L20 is struggling to vacuum the floor effectively, spin the brush roll, or clean, use this guide to replace the main motor.
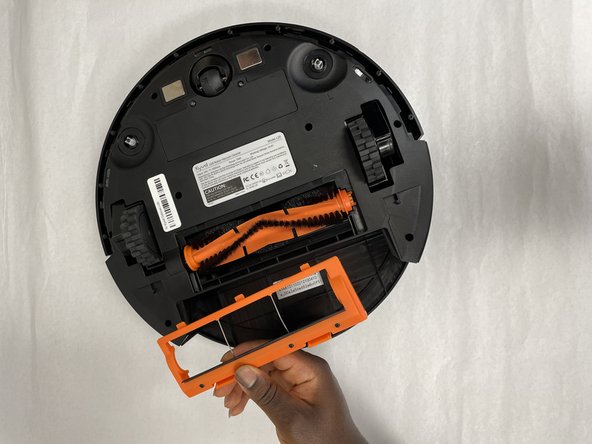
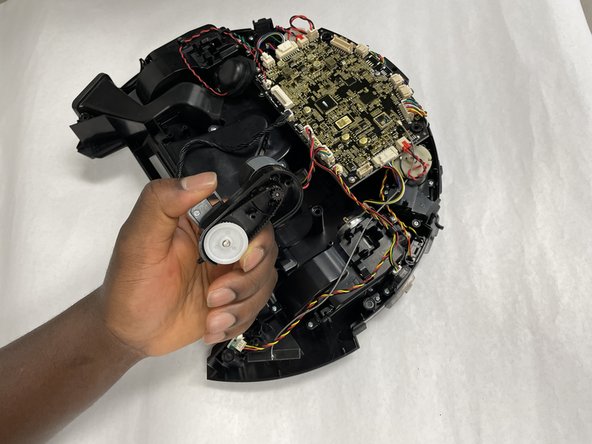
This main motor is responsible for rotating the main brush roll. This component not working correctly will lead to dirt being left on the ground. Before using this guide, make sure to take out the brush and ensure that it is placed properly in its position as well as that it is clean and not clogged up.
Qué necesitas
-
-
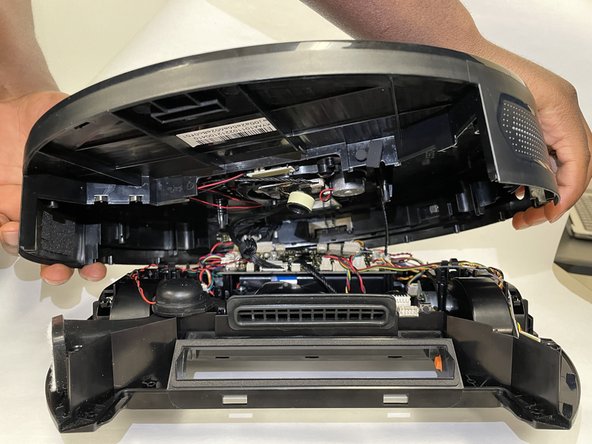
Begin with the device laying on a flat surface with the power button facing up.
-
-


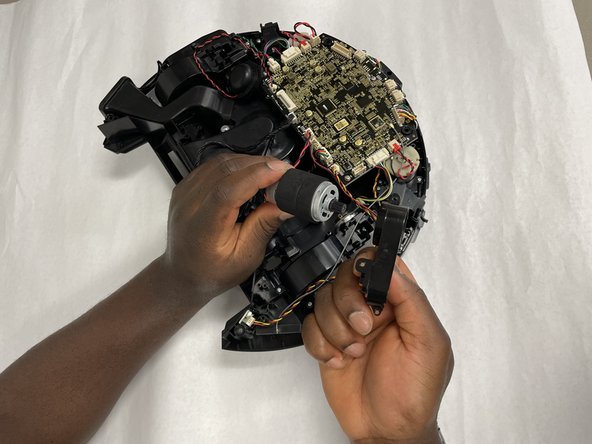

To reassemble your device, follow these instructions in reverse order.
To reassemble your device, follow these instructions in reverse order.
Equipo

IUPUI, Team 1-1, Harley Spring 2024 Miembro de IUPUI, Team 1-1, Harley Spring 2024
IUPUI-HARLEY-S24S1G1
3 Miembros
3 Guías creadas