Saltar al contenido principal

Kyocera QCP-2035 Speaker Replacement

Qué necesitas

  1. Kyocera QCP-2035 Speaker Replacement, Remove Back Cover: paso 1, imagen 1 de 3 Kyocera QCP-2035 Speaker Replacement, Remove Back Cover: paso 1, imagen 2 de 3 Kyocera QCP-2035 Speaker Replacement, Remove Back Cover: paso 1, imagen 3 de 3
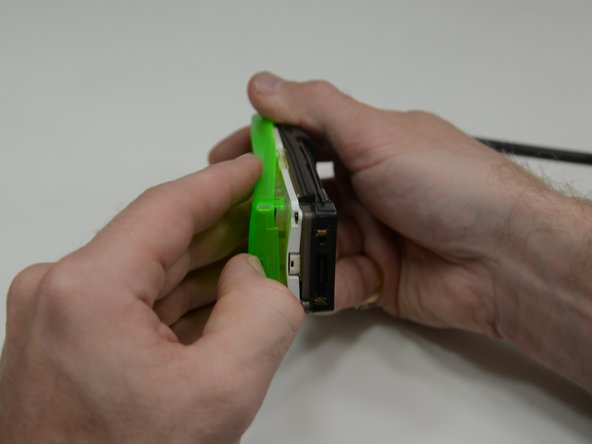
    • When looking at the back of the phone, you will see a horizontal line and three raised segments of plastic in the form of a triangle.

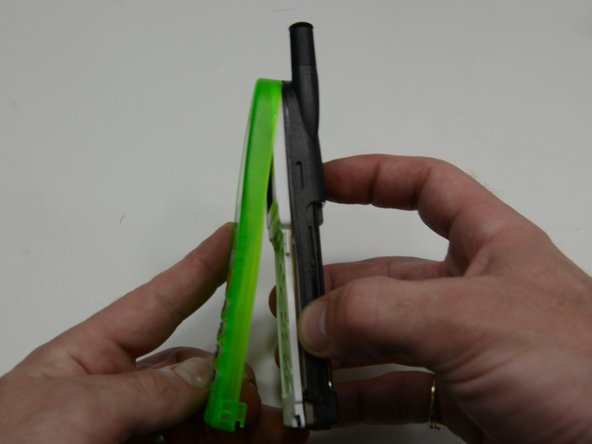
    • Place thumb on top of the triangle and press into the phone while sliding your thumb towards the bottom of the phone.

    • In 5 mm it will stop sliding.

  2. Kyocera QCP-2035 Speaker Replacement: paso 2, imagen 1 de 3 Kyocera QCP-2035 Speaker Replacement: paso 2, imagen 2 de 3 Kyocera QCP-2035 Speaker Replacement: paso 2, imagen 3 de 3
    • Grab the bottom of the back cover with your other hand and pull the cover the rest of the way off.

    • Turn the phone over slowly. The battery will fall out on its own.

  3. Kyocera QCP-2035 Speaker Replacement: paso 3, imagen 1 de 3 Kyocera QCP-2035 Speaker Replacement: paso 3, imagen 2 de 3 Kyocera QCP-2035 Speaker Replacement: paso 3, imagen 3 de 3
    • Rotate the phone so the bottom is facing you. There is a small indent on the plastic face.

    • Using the tip of your fingernail or a spudger, pry the cover away from the rest of the phone.

    • Once the cover starts to part, keep separating until the top notches detach.

  4. Kyocera QCP-2035 Speaker Replacement: paso 4, imagen 1 de 3 Kyocera QCP-2035 Speaker Replacement: paso 4, imagen 2 de 3 Kyocera QCP-2035 Speaker Replacement: paso 4, imagen 3 de 3
    • With the cover plate separated, you will see (6) T6x11mm torx screws recessed in the white plastic.

    • Remove screws.

    • The white plastic face plate lifts right off, exposing the main board.

  5. Kyocera QCP-2035 Speaker Replacement, Speaker: paso 5, imagen 1 de 3 Kyocera QCP-2035 Speaker Replacement, Speaker: paso 5, imagen 2 de 3 Kyocera QCP-2035 Speaker Replacement, Speaker: paso 5, imagen 3 de 3
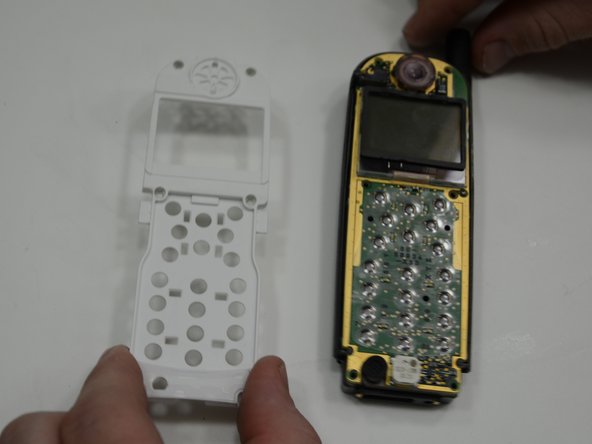
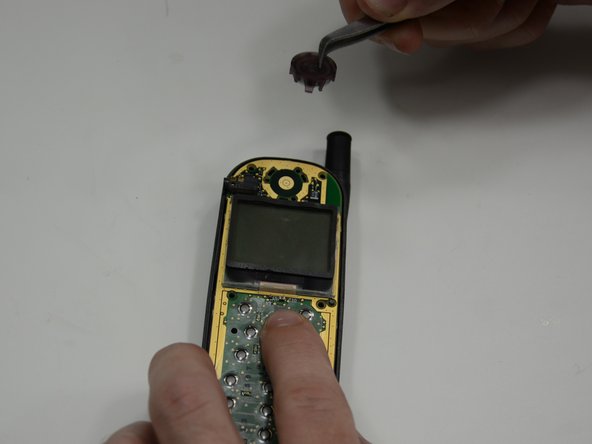
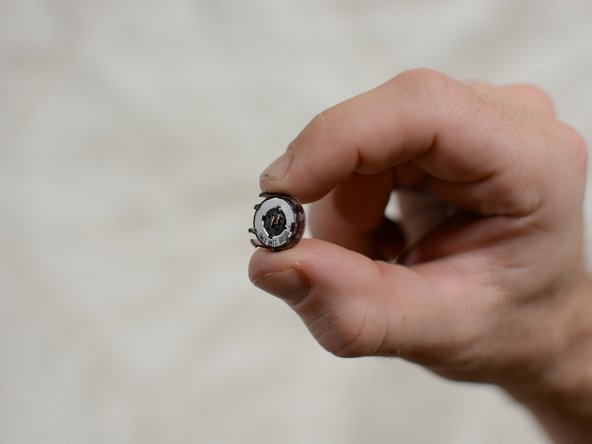
    • Locate the speaker at the top of the phone right above the screen.

    • Using a spudger or pair of tweezers, gently rock and pry from between the speaker and the main board.

    • There are three plastic tabs holding the speaker, which are located at the back of the speaker.

Conclusión

To reassemble your device, follow these instructions in reverse order.

Una persona más ha completado esta guía.

Jeremiah

Miembro Desde 01/21/15

122 Reputación

1 Guía escrita

Equipo

USF Tampa, Team 5-3, Brown Winter 2015 Miembro de USF Tampa, Team 5-3, Brown Winter 2015

USFT-BROWN-W15S5G3

4 Miembros

12 Guías creadas

0 comentarios

Agregar Comentario

Ver Estadísticas:

Ultimas 24 horas: 0

Ultimos 7 días: 0

Ultimos 30 días: 1

Todo El Tiempo: 133