Saltar al contenido principal
Únete a la Comunidad de Reparación - Crear Cuenta
Kodak Easyshare C813 Logic Board Replacement

Qué necesitas

    1. Kodak Easyshare C813 Logic Board Replacement, Battery: paso 1, imagen 1 de 1
      • Turn off camera by firmly pressing the power button that is located on the top of the camera near the selector dial.

      Pregunta a FixBot

      Agregar Comentario

    2. Kodak Easyshare C813 Logic Board Replacement: paso 2, imagen 1 de 3 Kodak Easyshare C813 Logic Board Replacement: paso 2, imagen 2 de 3 Kodak Easyshare C813 Logic Board Replacement: paso 2, imagen 3 de 3
      • Press thumb firmly on battery door and slide it in the direction of the arrow.

      • Lift thumb allowing the door to swing open.

      Pregunta a FixBot

      Agregar Comentario

    1. Kodak Easyshare C813 Logic Board Replacement, Back Cover: paso 3, imagen 1 de 1
      Herramienta utilizada en este paso:
      Anti-Static Wrist Strap
      $7.95
      Pregunta a FixBot

      Agregar Comentario

    2. Kodak Easyshare C813 Logic Board Replacement: paso 4, imagen 1 de 1
      • Turn the camera off by firmly pressing the power button located on top of the camera.

      Pregunta a FixBot

      Agregar Comentario

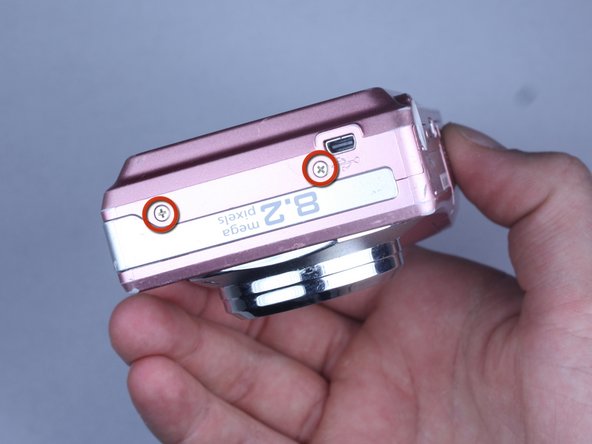
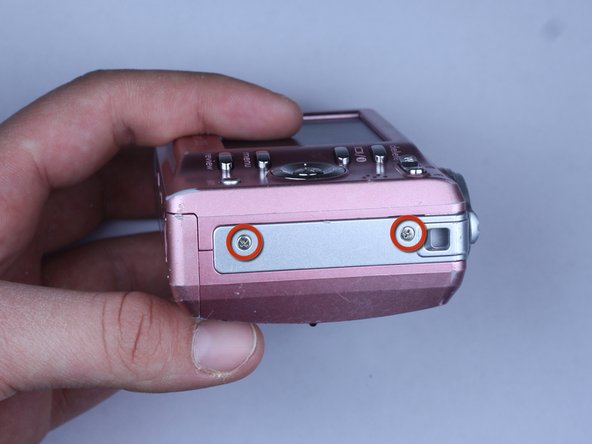
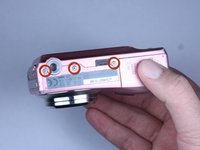
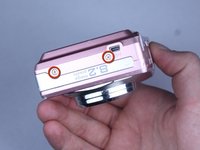
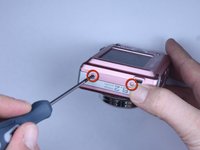
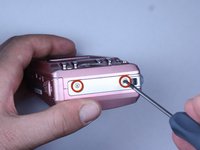
    3. Kodak Easyshare C813 Logic Board Replacement: paso 5, imagen 1 de 3 Kodak Easyshare C813 Logic Board Replacement: paso 5, imagen 2 de 3 Kodak Easyshare C813 Logic Board Replacement: paso 5, imagen 3 de 3
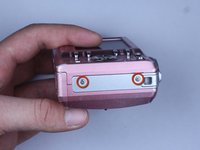
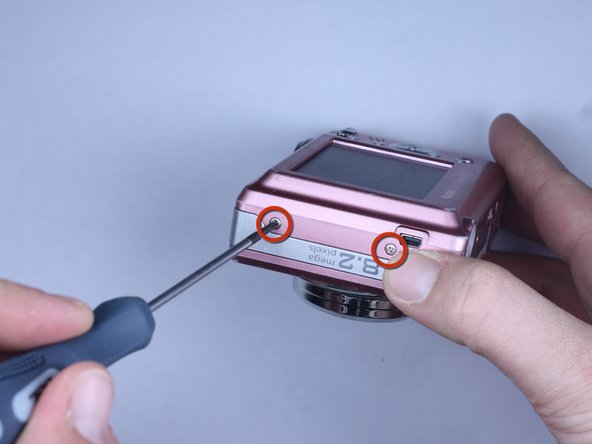
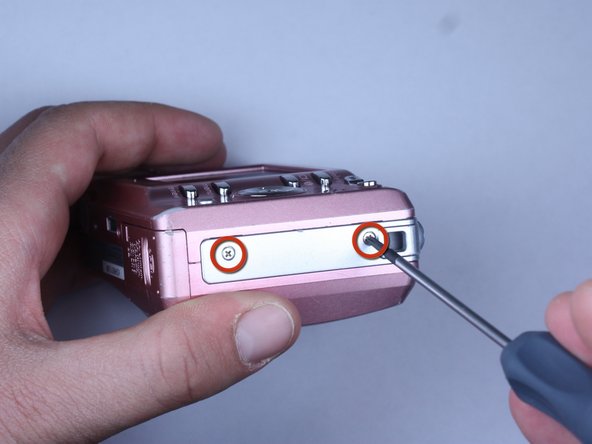
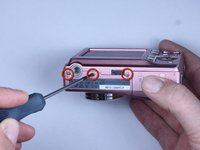
      • Locate the 7 screws holding the back cover on.

      • Three screws are located on the bottom of the camera.

      • Two screws are located on the side shown in the photograph.

      • Two final screws are located on the opposite side shown in the photograph.

      Pregunta a FixBot

      Agregar Comentario

    4. Kodak Easyshare C813 Logic Board Replacement: paso 6, imagen 1 de 3 Kodak Easyshare C813 Logic Board Replacement: paso 6, imagen 2 de 3 Kodak Easyshare C813 Logic Board Replacement: paso 6, imagen 3 de 3
      • Remove all 7 screws:

      • Hold the camera firmly with one hand so that you can still see a screw.

      • Place the Philips 00(Found here)screwdriver into the screw.

      • Turn the screwdriver to the left until it is free.

      • Repeat for the remaining screws.

      Pregunta a FixBot

      Agregar Comentario

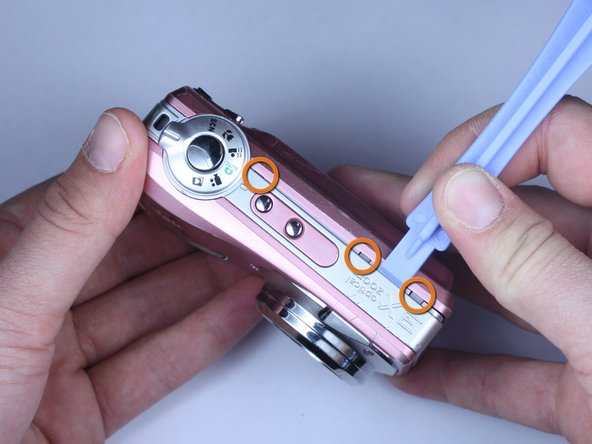
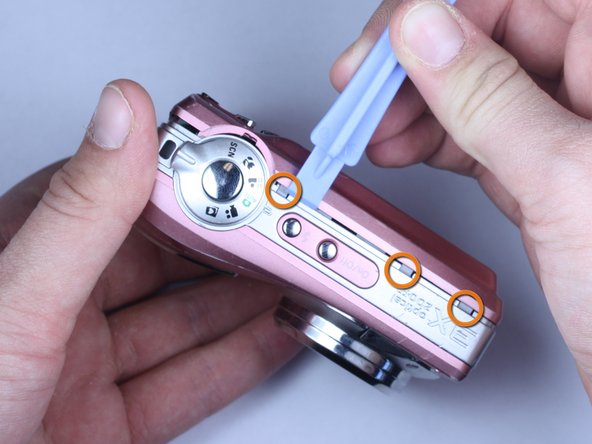
    5. Kodak Easyshare C813 Logic Board Replacement: paso 7, imagen 1 de 3 Kodak Easyshare C813 Logic Board Replacement: paso 7, imagen 2 de 3 Kodak Easyshare C813 Logic Board Replacement: paso 7, imagen 3 de 3
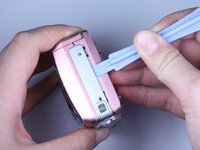
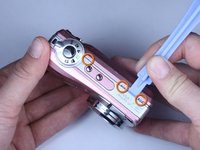
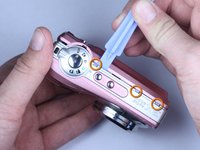
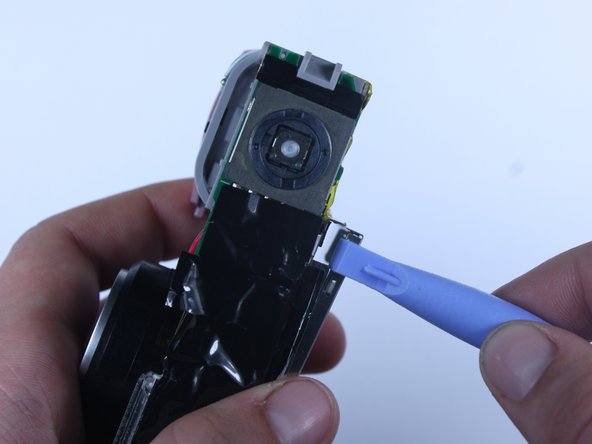
      • Use plastic opening tools to slightly open the side of the case.

      • Insert a plastic opening tool and apply pressure to the internal three tabs at the top.

      • The first two are near the words "3X Optical Zoom".

      • The third is near the shutter button.

      Pregunta a FixBot

      Agregar Comentario

    6. Kodak Easyshare C813 Logic Board Replacement: paso 8, imagen 1 de 3 Kodak Easyshare C813 Logic Board Replacement: paso 8, imagen 2 de 3 Kodak Easyshare C813 Logic Board Replacement: paso 8, imagen 3 de 3
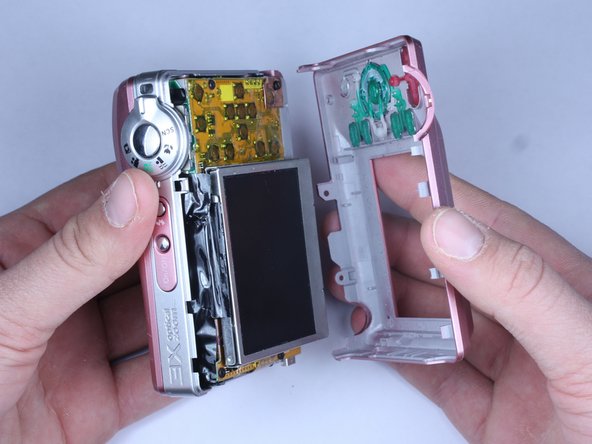
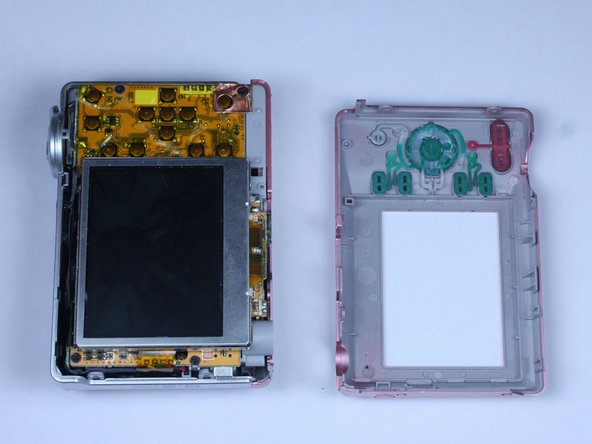
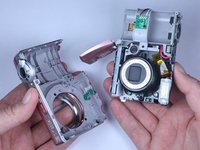
      • Gently pull apart the back cover from the rest of the camera.

      • Make sure there are no more screws or tabs keeping the cover on.

      • Use the plastic opening tool to separate any sides still closely connected.

      Pregunta a FixBot

      Agregar Comentario

    1. Kodak Easyshare C813 Logic Board Replacement, Front Cover: paso 9, imagen 1 de 2 Kodak Easyshare C813 Logic Board Replacement, Front Cover: paso 9, imagen 2 de 2
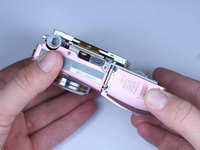
      • Open the battery door.

      • Press thumb firmly on battery door and slide it in the direction of the arrow.

      • Lift thumb allowing the door to swing open.

      Pregunta a FixBot

      Agregar Comentario

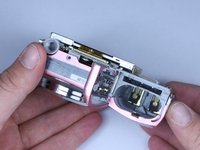
    2. Kodak Easyshare C813 Logic Board Replacement: paso 10, imagen 1 de 3 Kodak Easyshare C813 Logic Board Replacement: paso 10, imagen 2 de 3 Kodak Easyshare C813 Logic Board Replacement: paso 10, imagen 3 de 3
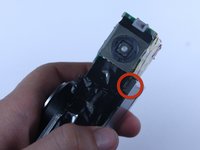
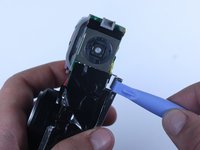
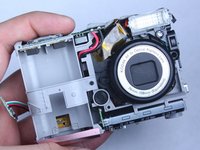
      • Use the plastic opening tool to lift the casing around the shutter button.

      • Gently remove the front cover from the device.

      Pregunta a FixBot

      Agregar Comentario

    3. Kodak Easyshare C813 Logic Board Replacement: paso 11, imagen 1 de 1
      • Do not touch the terminals shown in the photo. These link to the capacitor which could shock you if not discharged.

      • To discharge the capacitor follow this guide.

      Pregunta a FixBot

      Agregar Comentario

    1. Kodak Easyshare C813 Logic Board Replacement, LCD: paso 12, imagen 1 de 3 Kodak Easyshare C813 Logic Board Replacement, LCD: paso 12, imagen 2 de 3 Kodak Easyshare C813 Logic Board Replacement, LCD: paso 12, imagen 3 de 3
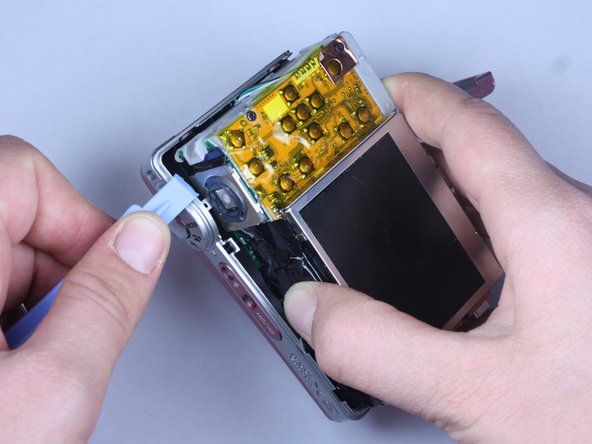
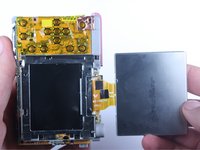
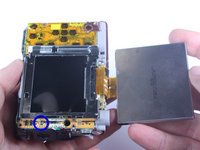
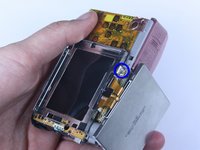
      • Once the front cover is removed, the battery door maybe closed for convenience.

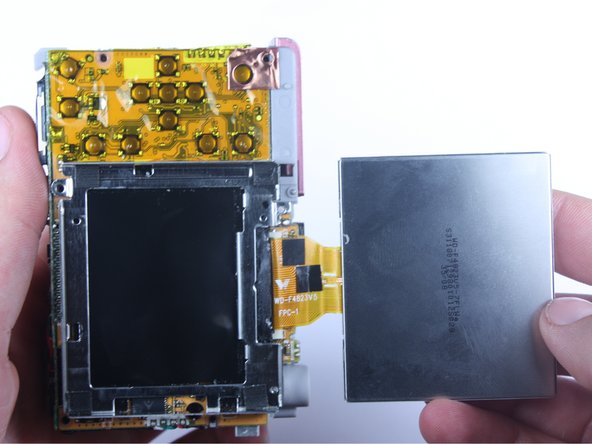
      • Locate the exposed portion of the LCD screen.

      • Use a wedge to free the LCD screen from the medal housing.

      • Do not pull the screen away completely, it is still attached to the logic board via the yellow cable.

      Pregunta a FixBot

      Agregar Comentario

    2. Kodak Easyshare C813 Logic Board Replacement: paso 13, imagen 1 de 1
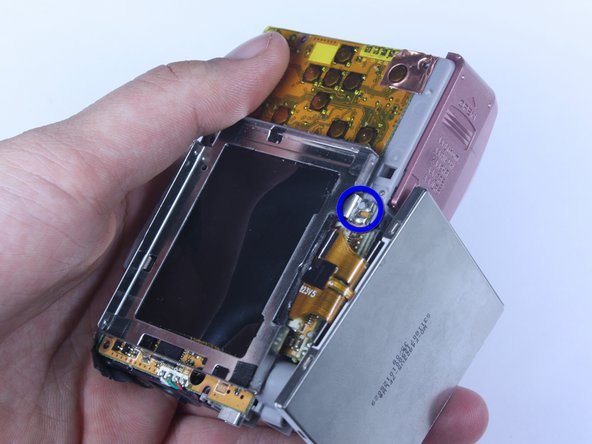
      • Remove the screw at the upper right corner of the metal housing.

      Pregunta a FixBot

      Agregar Comentario

    3. Kodak Easyshare C813 Logic Board Replacement: paso 14, imagen 1 de 3 Kodak Easyshare C813 Logic Board Replacement: paso 14, imagen 2 de 3 Kodak Easyshare C813 Logic Board Replacement: paso 14, imagen 3 de 3
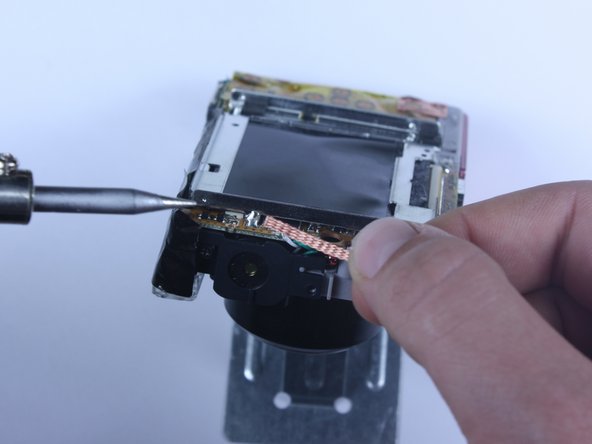
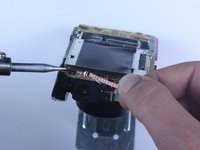
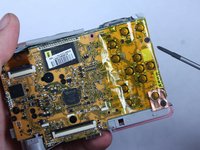
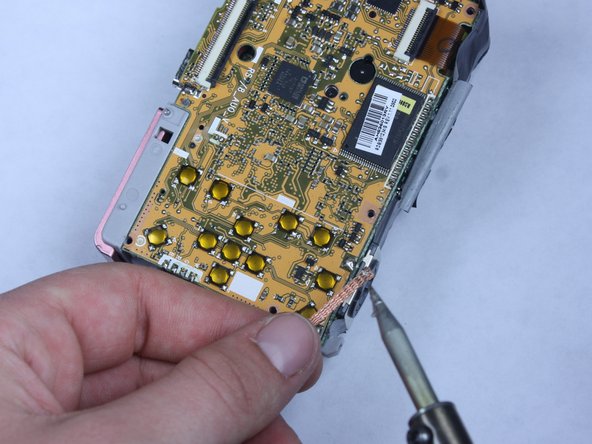
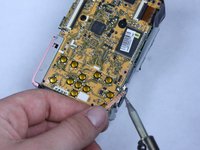
      • Locate the 2 solder joints holding down the medal housing.

      • Remove the solder.

      • Place wick on solder.

      • Place solder iron on wick

      • The wick should be sandwiched between the iron and the solder.

      Pregunta a FixBot

      Agregar Comentario

    4. Kodak Easyshare C813 Logic Board Replacement: paso 15, imagen 1 de 3 Kodak Easyshare C813 Logic Board Replacement: paso 15, imagen 2 de 3 Kodak Easyshare C813 Logic Board Replacement: paso 15, imagen 3 de 3
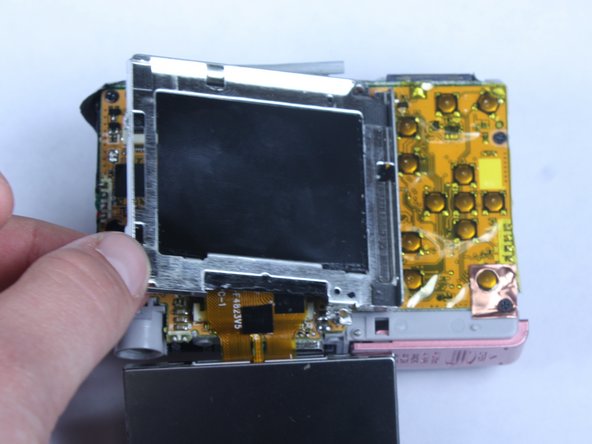
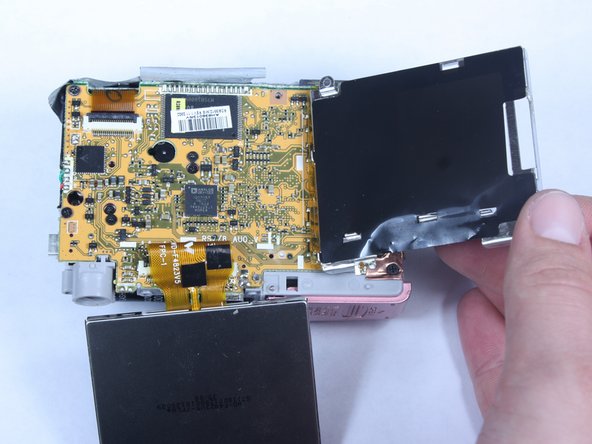
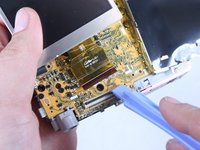
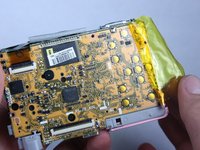
      • Peel back the black tape from the metal housing.

      • Lift the metal housing from the left so that it hinges on its right side.

      • The metal housing is still loosely attached on its right side.

      Pregunta a FixBot

      Agregar Comentario

    5. Kodak Easyshare C813 Logic Board Replacement: paso 16, imagen 1 de 3 Kodak Easyshare C813 Logic Board Replacement: paso 16, imagen 2 de 3 Kodak Easyshare C813 Logic Board Replacement: paso 16, imagen 3 de 3
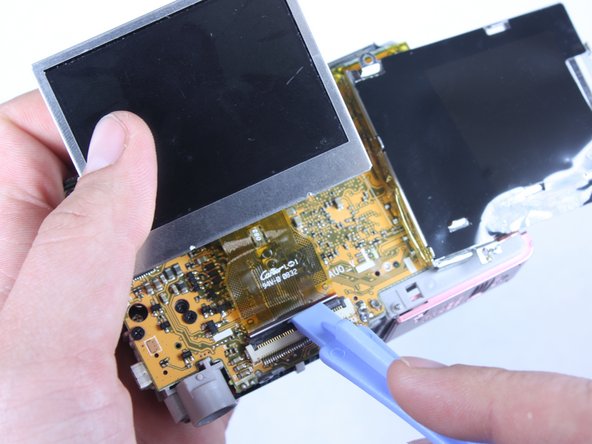
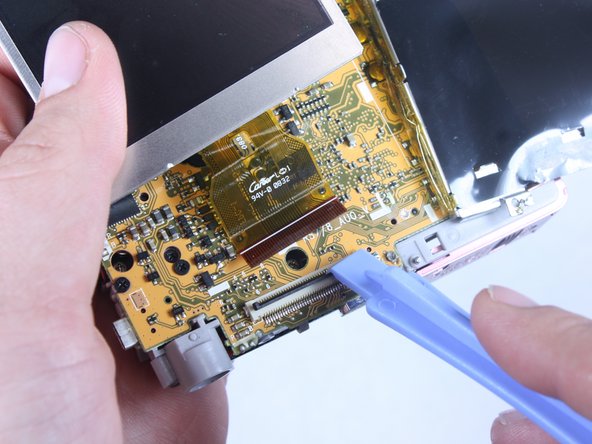
      • Locate black tab holding the LCD screen connector in the port.

      • Use wedge or fingernail to lift the black tab.

      • Pull the the LCD screen connector out of the port.

      Pregunta a FixBot

      Agregar Comentario

    1. Kodak Easyshare C813 Logic Board Replacement, Logic Board: paso 17, imagen 1 de 1
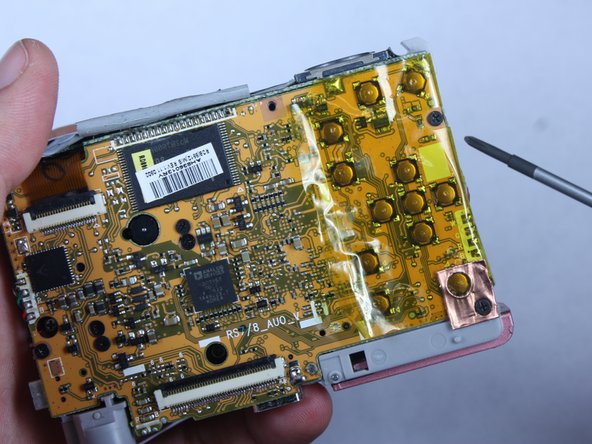
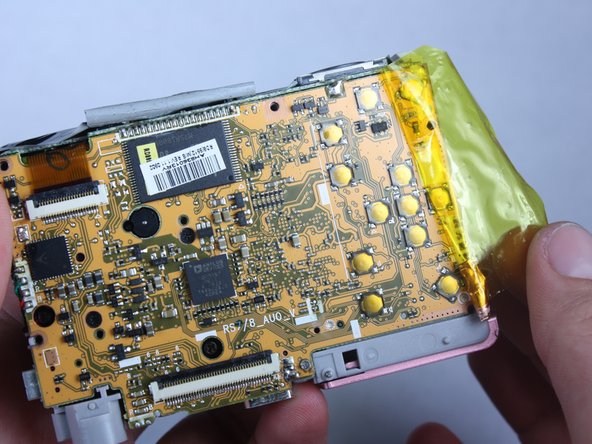
      • Remove the medal housing from the logic board by carefully peeling the yellow tape off of the metal housing.

      Pregunta a FixBot

      Agregar Comentario

    2. Kodak Easyshare C813 Logic Board Replacement: paso 18, imagen 1 de 3 Kodak Easyshare C813 Logic Board Replacement: paso 18, imagen 2 de 3 Kodak Easyshare C813 Logic Board Replacement: paso 18, imagen 3 de 3
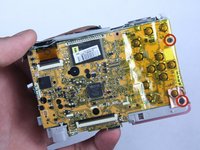
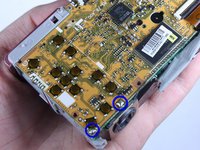
      • Locate the 2 screws on the yellow tape.

      • Remove the 2 screws.

      • Remove the yellow tape.

      Pregunta a FixBot

      Agregar Comentario

    3. Kodak Easyshare C813 Logic Board Replacement: paso 19, imagen 1 de 2 Kodak Easyshare C813 Logic Board Replacement: paso 19, imagen 2 de 2
      • Locate the 2 solder joints near the shutter button.

      • Remove the solder on both joints with the wick and soldering iron in the same manner as Step 11.

      Pregunta a FixBot

      Agregar Comentario

    4. Kodak Easyshare C813 Logic Board Replacement: paso 20, imagen 1 de 3 Kodak Easyshare C813 Logic Board Replacement: paso 20, imagen 2 de 3 Kodak Easyshare C813 Logic Board Replacement: paso 20, imagen 3 de 3
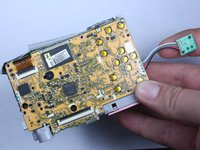
      • Turn the camera over.

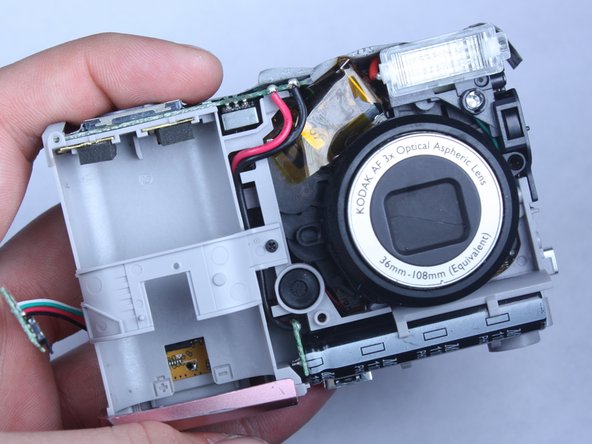
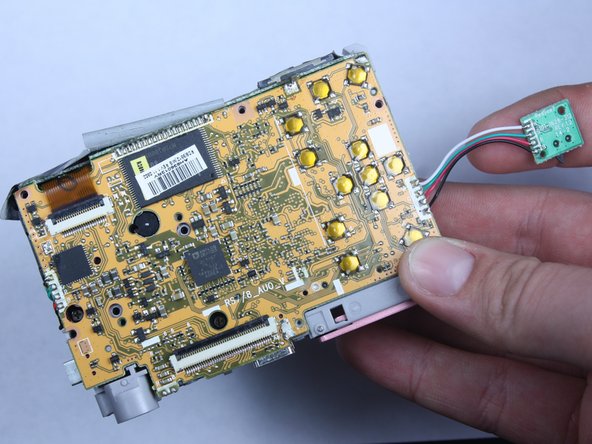
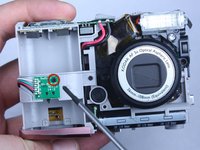
      • Remove the screw holding the small green board.

      • Lift the small green board.

      • The small green board is still attached to the logic board via wires.

      Pregunta a FixBot

      Agregar Comentario

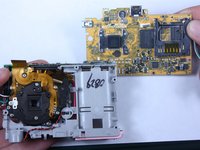
    5. Kodak Easyshare C813 Logic Board Replacement: paso 21, imagen 1 de 1
      • Desolder the remaining 20 solder joints connecting the logic board to the camera.

      Pregunta a FixBot

      Agregar Comentario

    6. Kodak Easyshare C813 Logic Board Replacement: paso 22, imagen 1 de 2 Kodak Easyshare C813 Logic Board Replacement: paso 22, imagen 2 de 2
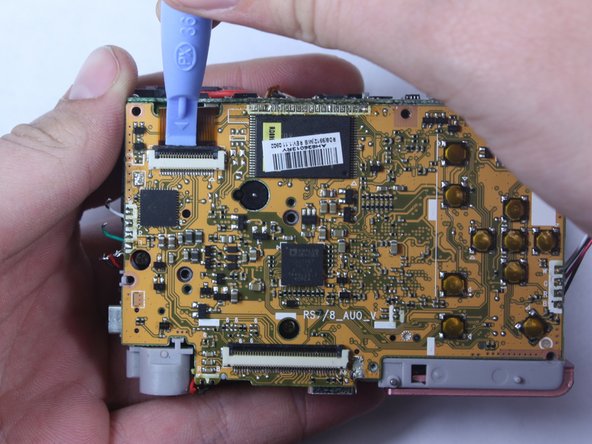
      • Locate the black tab holding the yellow cable in place.

      • Use a plastic opening tool or fingernail to lift the black tab.

      • Pull the yellow cable from the port.

      Pregunta a FixBot

      Agregar Comentario

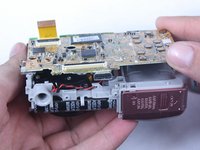
    7. Kodak Easyshare C813 Logic Board Replacement: paso 23, imagen 1 de 3 Kodak Easyshare C813 Logic Board Replacement: paso 23, imagen 2 de 3 Kodak Easyshare C813 Logic Board Replacement: paso 23, imagen 3 de 3
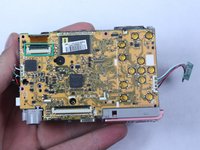
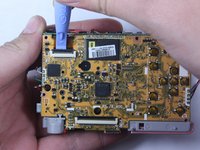
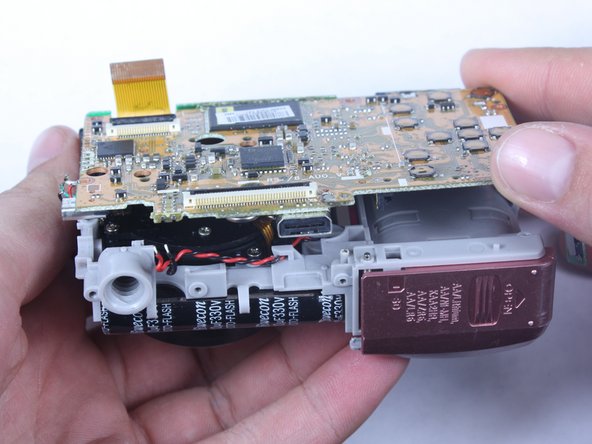
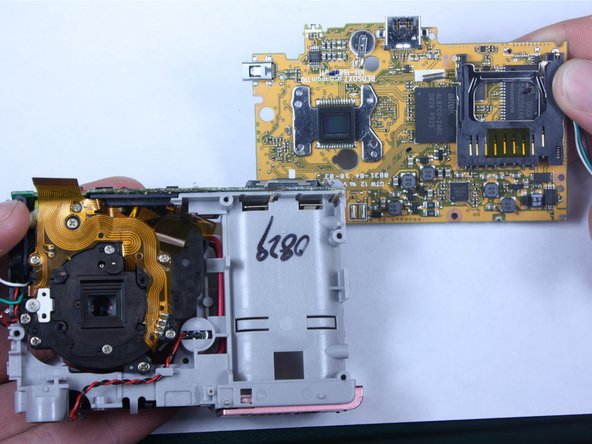
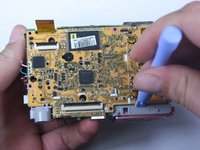
      • Use a plastic opening tool to lift the board from the camera.

      • Continue to remove the board completely.

      Pregunta a FixBot

      Agregar Comentario

Conclusión

To reassemble your device, follow these instructions in reverse order.

Cancelar: No complete esta guía.

Equipo

Cal Poly, Team 24-22, Regan Spring 2010 Miembro de Cal Poly, Team 24-22, Regan Spring 2010

CPSU-REGAN-S10S24G22

Miembros de 4

80 Guías creadas

0Guía Comentarios

Agregar Comentario

Ver Estadísticas:

Ultimas 24 horas: 1

Ultimos 7 días: 8

Ultimos 30 días: 41

Todo El Tiempo: 4,903