Introducción
This guide demonstrates how to replace the door to the battery compartment.
Qué necesitas
-
-
Turn off camera by firmly pressing the power button that is located on the top of the camera near the selector dial.
-
-
-
Before removing back cover, it is advisable to use an anti-static wrist strap to prevent damage to electronics.
-
-
-
-
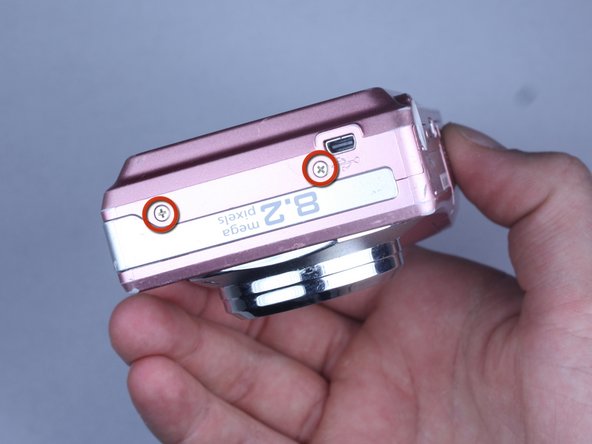
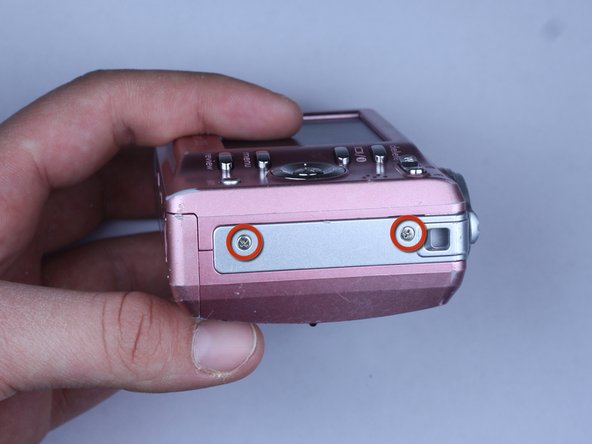
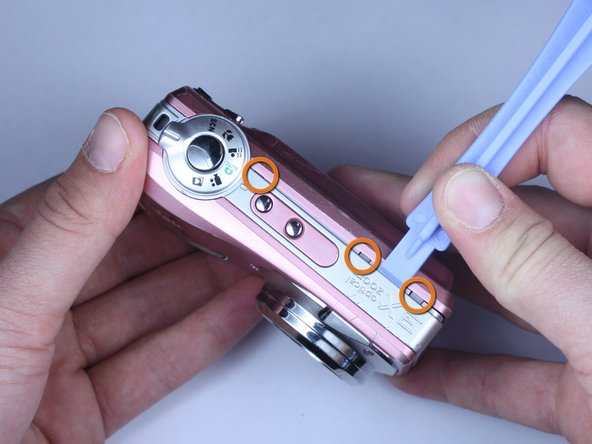
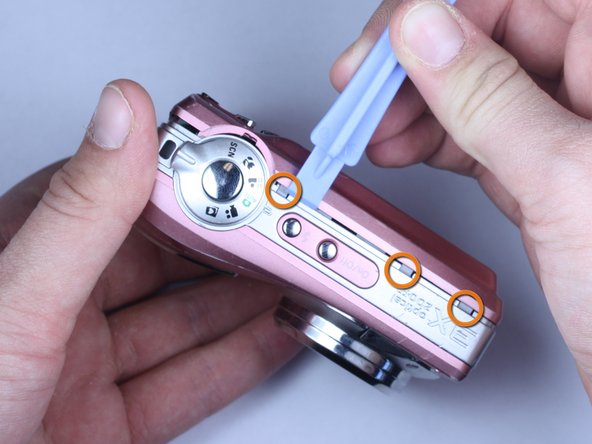
Remove all 7 screws:
-
Hold the camera firmly with one hand so that you can still see a screw.
-
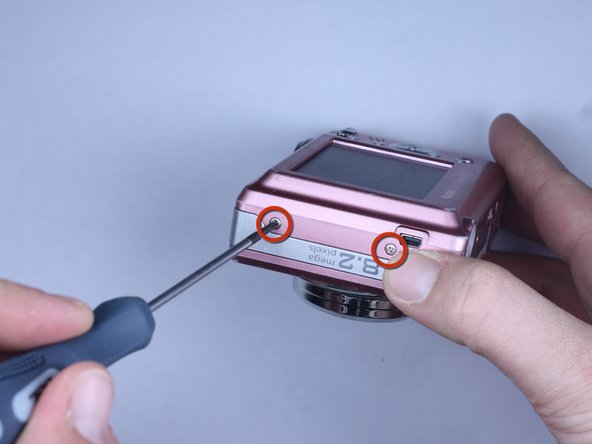
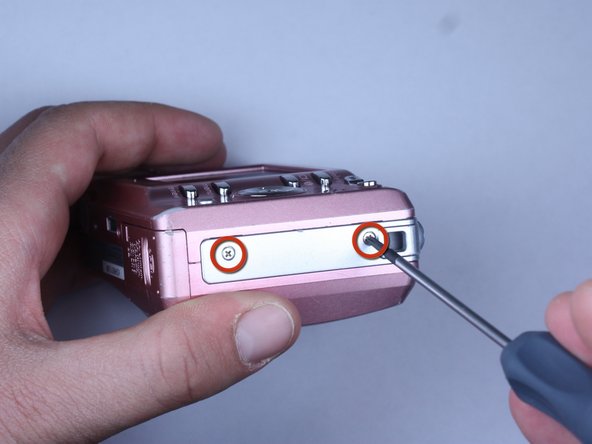
Place the Philips 00(Found here)screwdriver into the screw.
-
Turn the screwdriver to the left until it is free.
-
Repeat for the remaining screws.
-
-
-
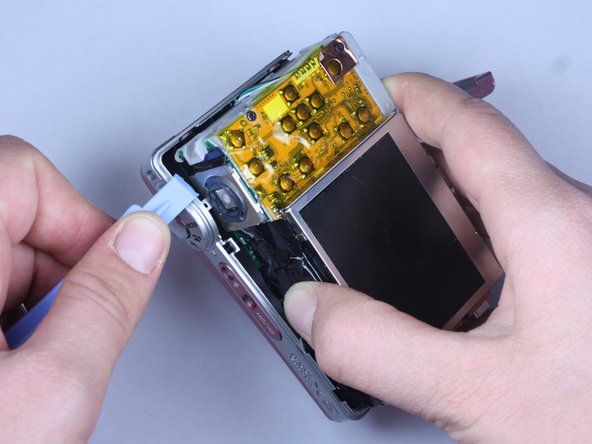
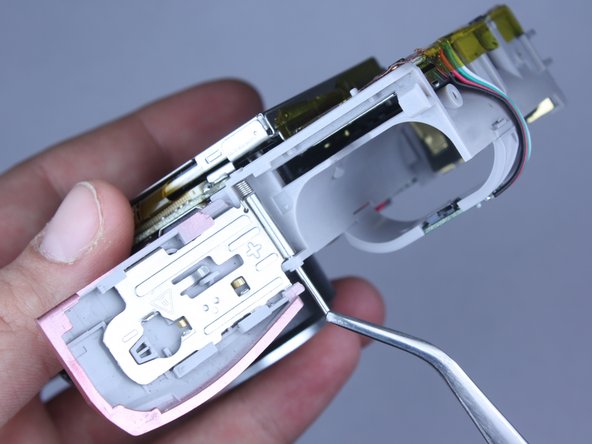
Open the battery door.
-
Press thumb firmly on battery door and slide it in the direction of the arrow.
-
Lift thumb allowing the door to swing open.
-
-
-
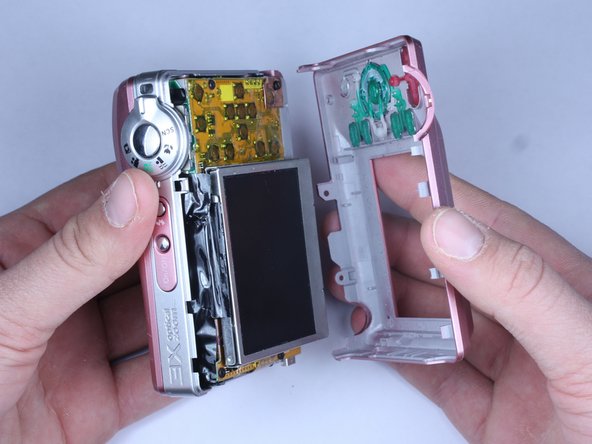
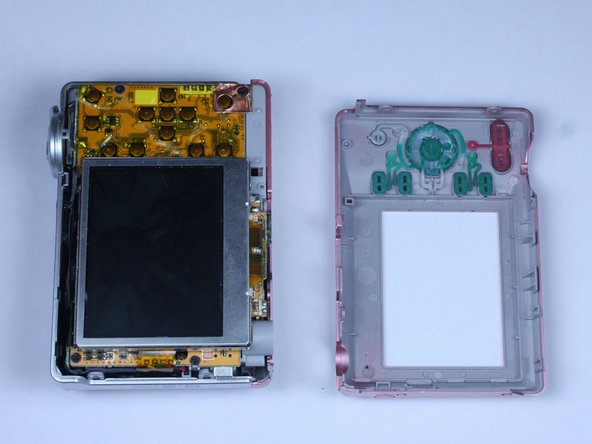
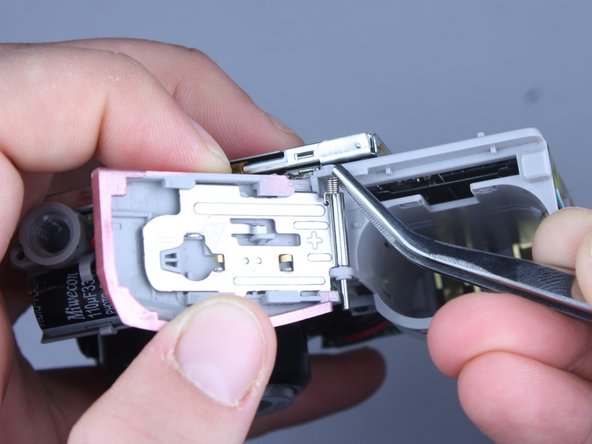
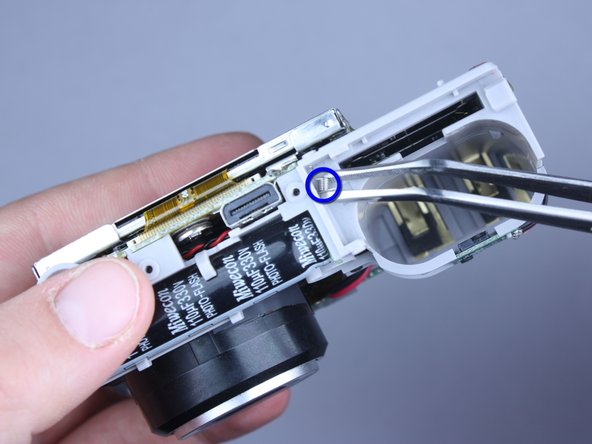
Use grey wedge(Found here) to push metal pin
-
Use tweezers(Found here)to pull out metal pin
-


To reassemble your device, follow these instructions in reverse order.
To reassemble your device, follow these instructions in reverse order.
Cancelar: No complete esta guía.
4 personas más completaron esta guía.
Equipo

Cal Poly, Team 24-22, Regan Spring 2010 Miembro de Cal Poly, Team 24-22, Regan Spring 2010
CPSU-REGAN-S10S24G22
4 Miembros
20 Guías creadas