Esta versión puede contener ediciones incorrectas. Cambie a la última instantánea verificada.
Qué necesitas
-
Este paso está sin traducir. Ayuda a traducirlo
-
Open up the device by using a plastic opening tool in order to avoid damaging the device.
-
To do so, find the seam along the outer edge of the device and use the plastic tool to pry the back panel up. Doing so may take some force and patience.
-
-
Este paso está sin traducir. Ayuda a traducirlo
-
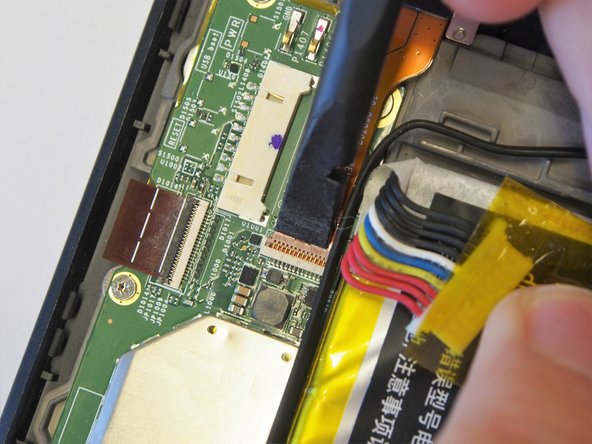
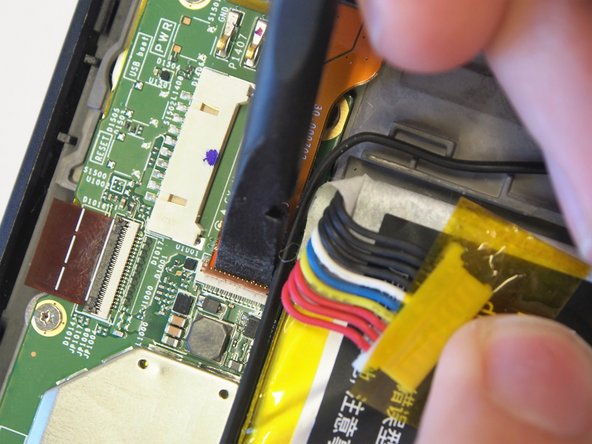
Locate the battery's power ribbon.
-
Use the nylon spudger to disconnect the ribbon from the mother board.
-
-
Este paso está sin traducir. Ayuda a traducirlo
-
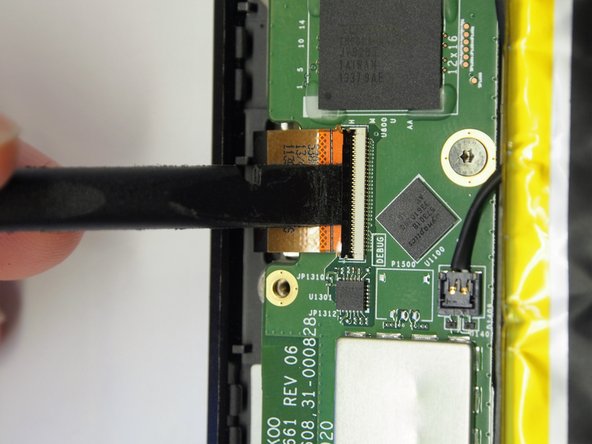
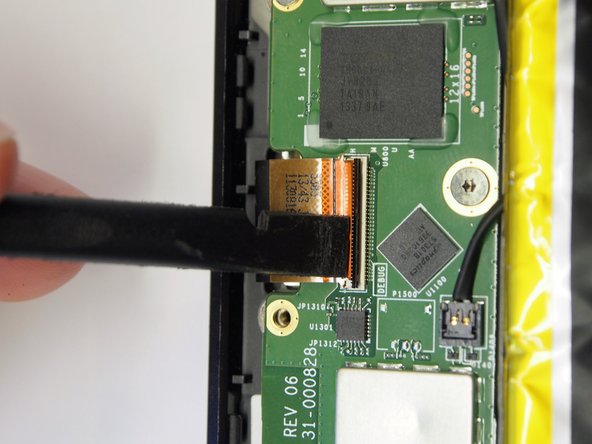
Identify the ribbon at the top left of the tablet.
-
Use a nylon spudger to lift the black tab holding the ribbon.
-
-
-
Este paso está sin traducir. Ayuda a traducirlo
-
Identify the ribbon located at the center left of the motherboard.
-
Using the black spudger, lift up the black tab holding it in place.
-
-
Este paso está sin traducir. Ayuda a traducirlo
-
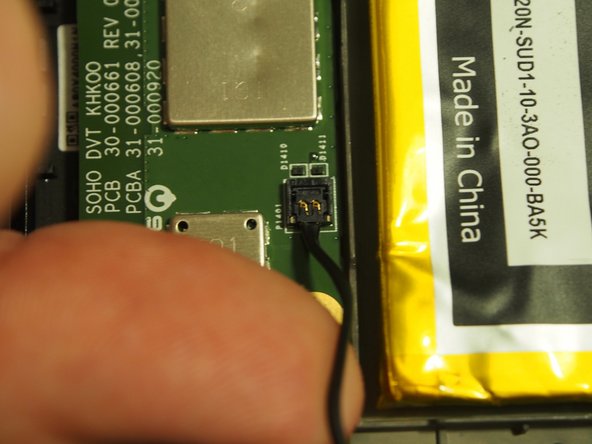
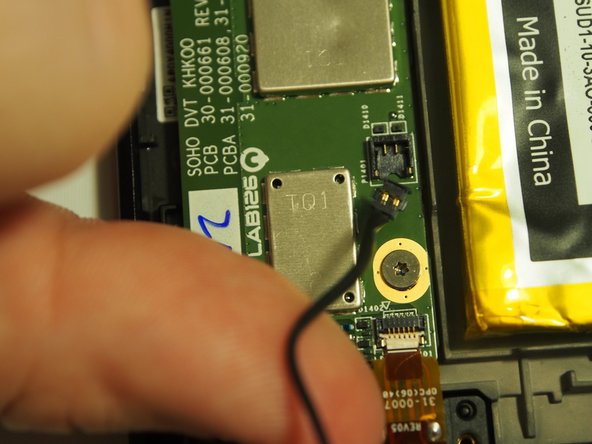
Identify the 2 black contacts for the speakers.
-
Pull straight up near the connection point and the wire will come disconnect easily.
-
-
Este paso está sin traducir. Ayuda a traducirlo
-
Identify the ribbon for the USB port at the top of the motherboard.
-
Pull up the gold tab holding it in place with the nylon spudger.
-
Pull out the ribbon from the motherboard.
-
-
Este paso está sin traducir. Ayuda a traducirlo
-
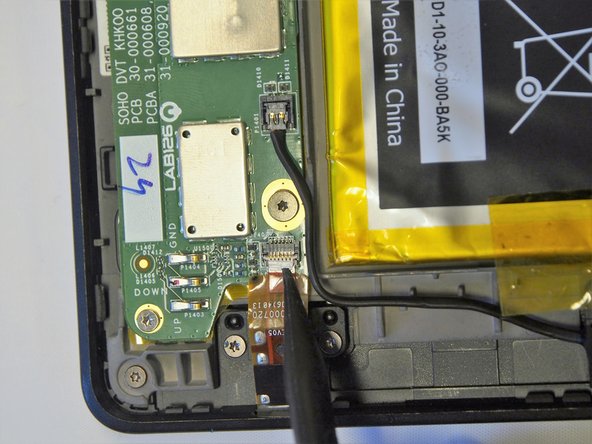
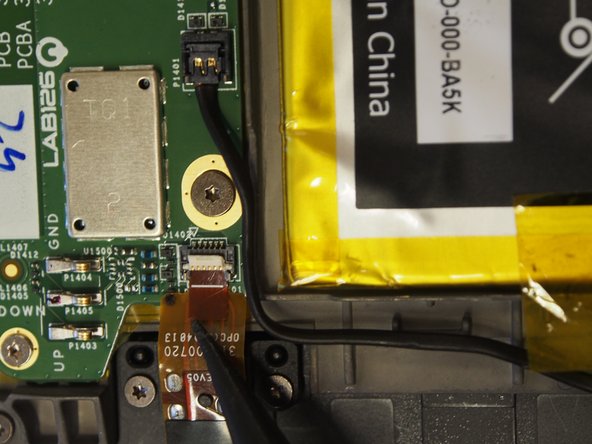
Identify the ribbon at the bottom of the motherboard for the headphone jack.
-
Using the nylon spudger, lift up the white tab holding the ribbon in place.
-
-
Este paso está sin traducir. Ayuda a traducirlo
-
Remove the screws holding the motherboard in place.
-
There are (5) 3mm T4 Torx screws along the outer edge.
-
Additionally, remove (3) 2mm T4 Torx screws along the edge near the battery.
-
-
Este paso está sin traducir. Ayuda a traducirlo
-
Using the nylon spudger, gently pull up on the motherboard and pull it out of the tablet. The mother board should now be disconnected completely.
-


