Introducción
This guide goes through the process to replace the ON/OFF Power and Wifi Switches on the First Generation Amazon Kindle.
Qué necesitas


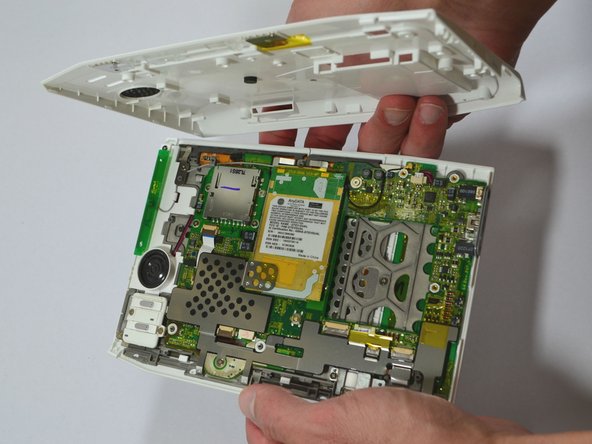


Casi Terminas!
To reassemble your device, follow these instructions in reverse order.
Conclusión
To reassemble your device, follow these instructions in reverse order.
Cancelar: No complete esta guía.
Una persona más ha completado esta guía.
Equipo

University of Kentucky Louisville, Team 1-1, Chamberlain Spring 2013 Miembro de University of Kentucky Louisville, Team 1-1, Chamberlain Spring 2013
LOUISVILLE-CHAMBERLAIN-S13S1G1
2 Miembros
7 Guías creadas