Introducción
The Water Pump within the Keurig K10 MINI Plus is a deeply embedded part. Due to the nature of it being attached both to an electrical source and a water source, it is not recommended to attempt this guide without previous familiarity with both.
Qué necesitas
-
-
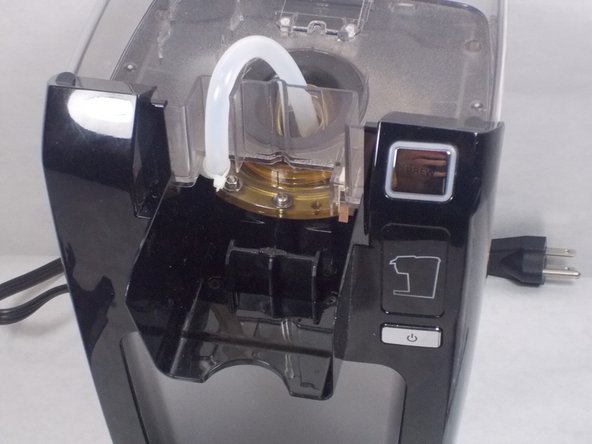
Lift the cold water reserve lid up to reveal its hinge.
-
Using either the metal spudger or the opening tool, gently pry the plastic out of the metal axle.
-
-
-
Remove two 9 mm Phillips #1 screws.
-
The screws are located on the top of where the K-Cup would be.
-
-
-
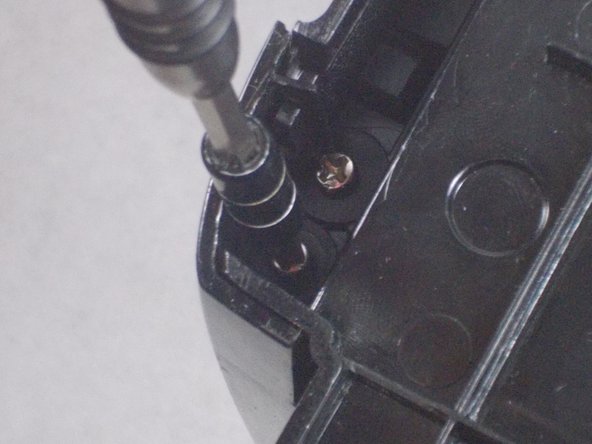
Remove two 14 mm Phillips #2 screws.
-
Remove two 12 mm Phillips #2 screws.
-
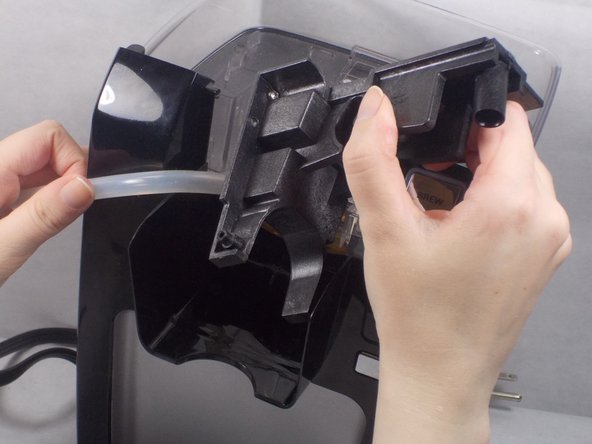
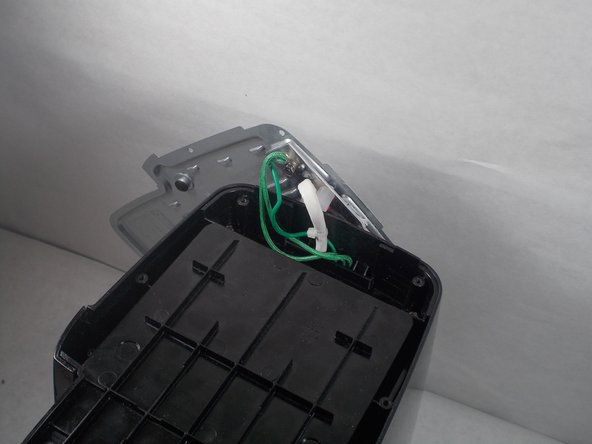
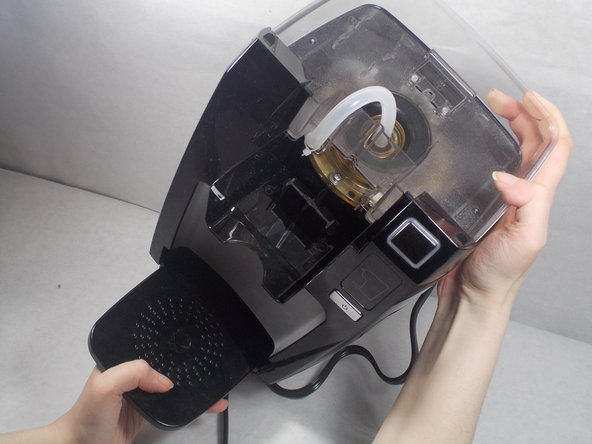
Lift the arm off the assembly. This will reveal the tank hole as shown.
-
-
-
-
Pull the head assembly forward to reveal the two plastic axle points that keep the head assembly attached to the base.
-
-
-
Remove two 14 mm Phillips #2 screws.
-
Remove two 12 mm Phillips #2 screws.
-
To reassemble your device, follow these instructions in reverse order.
To reassemble your device, follow these instructions in reverse order.
Cancelar: No complete esta guía.
8 personas más completaron esta guía.
5 comentarios
Great directions on how to disassemble and get at the water pump. I just can’t find where or how to order a replacement pump. Can you help?
I was very surprised I needed a guide to take this silly little coffee maker apart, but boy did I.
I've rebuilt entire engines that were less of a headache.
Thanks for the great write up (especially the heatsink pointer, never can find the last tube of thermal paste I bought)
Thank you a lot!!! you save me too much time
Thanks for the write-up. Keurig sure didn't make the disassembly process on this machine very intuitive!
I had a room-mate that put coffee grounds in the water receptacle and I had to completely dismantle the machine to clean it all out. The check valve was where the crud had built-up.
I found it very interesting to discover that the pump is actually an air pump that forces the water out of the heating chamber and into the coffee pod. The purpose of the loop of smaller tubing is to prevent water from being forced into the air pump.


