Introducción
This guide will walk you through a standard turntable belt replacement on a Kenwood KD-37R record player. However, I ran into a snag when replacing mine! The company that I ordered the belt from sent me one that was slightly too large, causing my records to spin too slowly. Never fear! Physics is here.
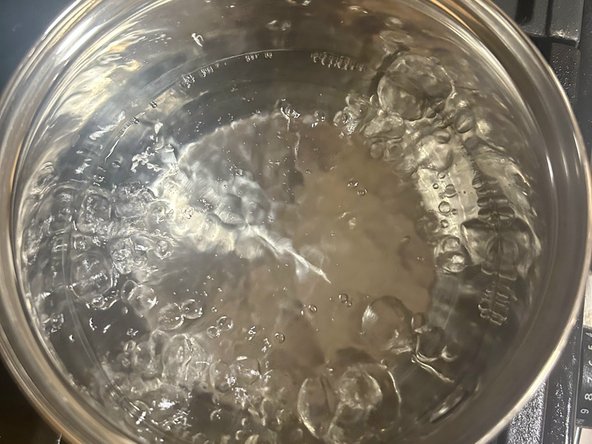
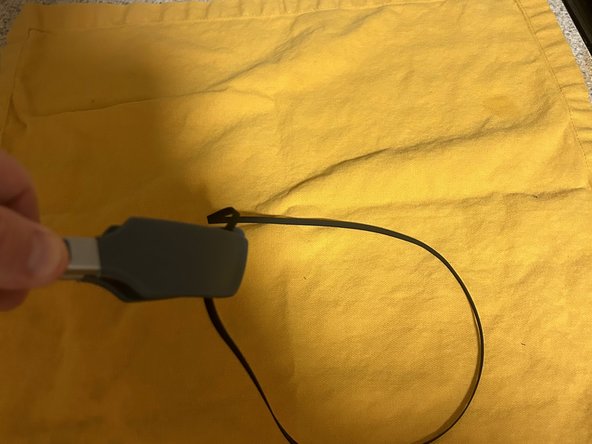
Along with standard belt replacement, I'll show you a helpful trick to resize your belt to get your records spinning at the correct RPM.
All you need is a stove and cooking pot, some water, and common kitchen tongs.
Qué necesitas
-
-
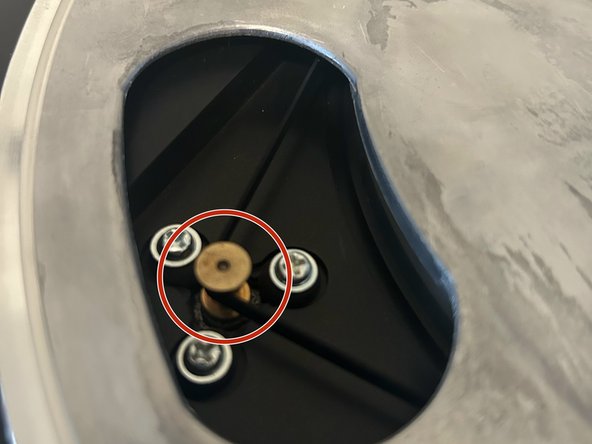
Always dust your turntable before performing any maintenance or repairs.
-
-


Cancelar: No complete esta guía.
Una persona más ha completado esta guía.
Equipo

University of Arizona, Team 6-3, Cools Stephens Fall 2023 Miembro de University of Arizona, Team 6-3, Cools Stephens Fall 2023
ARIZONA-COOLS STEPHENS-F23S6G3
4 Miembros
4 Guías creadas