Esta guía ha sufrido modificaciones. Revisa la última versión sin revisar.
Introducción
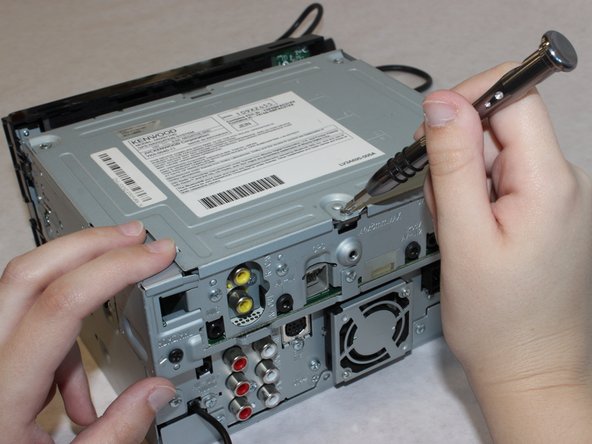
If your Kenwood DNX571HD has been overheating, the cooling fan on the back of the Kenwood DNX571HD car stereo may have failed. Follow this guide to replace it.
Qué necesitas


Casi Terminas!
To reassemble your device, follow these instructions in reverse order.
Conclusión
To reassemble your device, follow these instructions in reverse order.
Equipo

Washington State, Team S1-G1, Hope Fall 2018 Miembro de Washington State, Team S1-G1, Hope Fall 2018
WSU-HOPE-F18S1G1
4 Miembros
6 Guías creadas