Qué necesitas
-
-
The instructions are suitable for nearly every model of Jura and similar ones e.g. AEG and Krups.
-
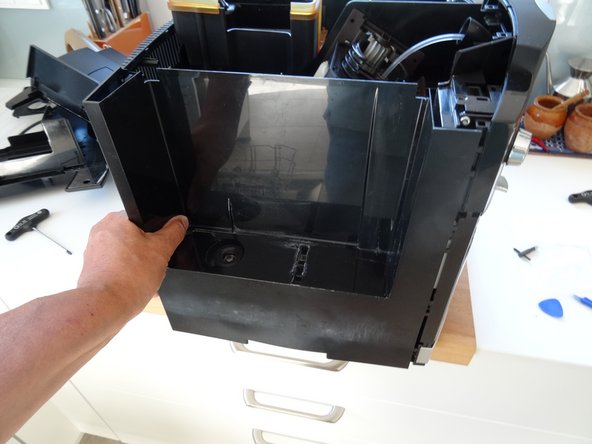
Remove the water reservoir.
-
-
-
-
Using an oval head bit you can screw them out. If you haven´t got one you can carefully use pliers. It is a good idea to later change the screws for normal ones.
-
Beneath both top side covers are two Torx T15 screws. Remove those. Now lift off the whole top cover. Sometimes it jams and you have to use a bit of force.
-
The side covers must be pushed backwards by about 1 cm. Sometimes this is a little bit difficult to move. If necessary, wedge a plastic opening tool into the gap between the side covers and the front panel. The rear cover can be easily removed.
-


Follow the steps in reverse order to re-assemble the device
Follow the steps in reverse order to re-assemble the device
Cancelar: No complete esta guía.
2 personas más completaron esta guía.
Un agradecimiento especial a estos traductores:
100%

Estos traductores nos están ayudando a reparar el mundo! ¿Quieres contribuir?
Empezar a traducir ›
Equipo

Repair is War on Entropy Miembro de Repair is War on Entropy
Community
24 Miembros
1,097 Guías creadas