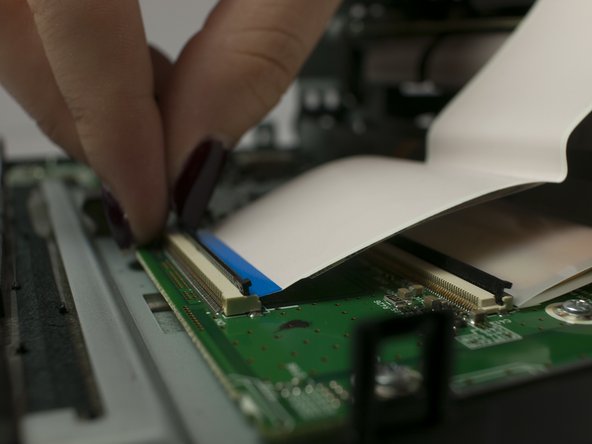
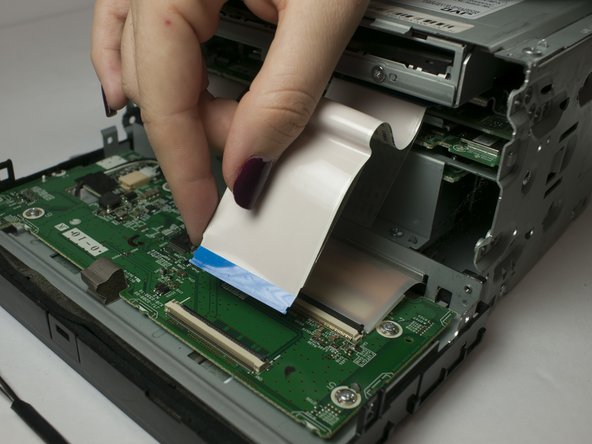
Saltar al contenido principal

JVC KW-V820BT Front Panel Assembly Replacement

Qué necesitas

  1. JVC KW-V820BT Front Panel Assembly Replacement, Front Panel Assembly: paso 1, imagen 1 de 3 JVC KW-V820BT Front Panel Assembly Replacement, Front Panel Assembly: paso 1, imagen 2 de 3 JVC KW-V820BT Front Panel Assembly Replacement, Front Panel Assembly: paso 1, imagen 3 de 3
    • Remove the four 1/8-inch black machine screws using a Phillips #00 screwdriver.

  2. JVC KW-V820BT Front Panel Assembly Replacement: paso 2, imagen 1 de 2 JVC KW-V820BT Front Panel Assembly Replacement: paso 2, imagen 2 de 2
    • Remove three steel-finish, pan-head, 1/64 x 3/16" machine screws identified in the photograph, using the Phillips #0 screwdriver.

  3. JVC KW-V820BT Front Panel Assembly Replacement: paso 3, imagen 1 de 3 JVC KW-V820BT Front Panel Assembly Replacement: paso 3, imagen 2 de 3 JVC KW-V820BT Front Panel Assembly Replacement: paso 3, imagen 3 de 3
    • Using your fingers and/or a metal spudger, gently release the plastic locking tabs of the front panel assembly from the steel enclosure while prying the front panel assembly away from the steel enclosure with your fingers.

  4. JVC KW-V820BT Front Panel Assembly Replacement: paso 4, imagen 1 de 1
    • Gently remove the front panel from the steel enclosure.

  5. JVC KW-V820BT Front Panel Assembly Replacement: paso 5, imagen 1 de 3 JVC KW-V820BT Front Panel Assembly Replacement: paso 5, imagen 2 de 3 JVC KW-V820BT Front Panel Assembly Replacement: paso 5, imagen 3 de 3
    • Gently separate the ribbon cable from from ZIF connector on the circuit board using a metal smudger.

    • Be careful not to scratch or damage components or features of the circuit board with the metal spudger

Conclusión

To reassemble your device, follow these instructions in reverse order.

0 comentarios

Agregar Comentario

Ver Estadísticas:

Ultimas 24 horas: 0

Ultimos 7 días: 2

Ultimos 30 días: 3

Todo El Tiempo: 577