Saltar al contenido principal

JVC Adixxion GC-XA1BU Battery Replacement

Qué necesitas

  1. JVC Adixxion GC-XA1BU Battery Replacement, Battery: paso 1, imagen 1 de 1
    • Find the side of the camera that looks like this.

  2. JVC Adixxion GC-XA1BU Battery Replacement: paso 2, imagen 1 de 1
    • Push down on the black switch.

  3. JVC Adixxion GC-XA1BU Battery Replacement: paso 3, imagen 1 de 1
    • While still pushing down on the black switch, slide back the battery cover (see photo for direction).

  4. JVC Adixxion GC-XA1BU Battery Replacement: paso 4, imagen 1 de 2 JVC Adixxion GC-XA1BU Battery Replacement: paso 4, imagen 2 de 2
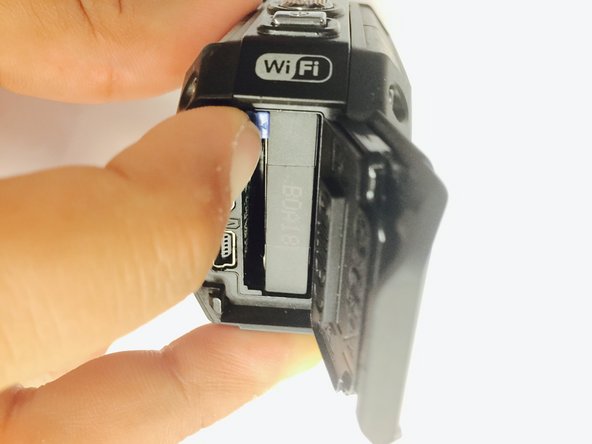
    • Push the cover up to open the battery compartment, and then push the blue battery release switch.

  5. JVC Adixxion GC-XA1BU Battery Replacement: paso 5, imagen 1 de 1
    • You can now take the battery out of the camera.

Conclusión

To reassemble your device, follow these instructions in reverse order.

2 personas más completaron esta guía.

Equipo

USF Tampa, Team 1-2, Tanski Winter 2015 Miembro de USF Tampa, Team 1-2, Tanski Winter 2015

USFT-TANSKI-W15S1G2

4 Miembros

8 Guías creadas

Un comentario

that was the most unhelpful advise ever given to me :/

katherine McMenaman - Contestar

Agregar Comentario

Ver Estadísticas:

Ultimas 24 horas: 0

Ultimos 7 días: 2

Ultimos 30 días: 4

Todo El Tiempo: 3,146