Introducción
Before diving into the repair process, let's take a moment to understand why you might need to fix your Pulse 4. Perhaps you've noticed a decrease in sound quality, a malfunctioning LED light show, or even a complete loss of power. Whatever the case, fear not! With the right tools, a bit of patience, and this comprehensive guide, you'll be well-equipped to tackle any issues head-on.
Repairing your JBL Pulse 4 may require careful handling and attention to detail. As with any electronic repair, there are inherent risks involved, such as damaging delicate components or encountering electrical hazards. It's crucial to work in a well-lit and organized workspace, free from distractions. Additionally, be sure to power off the device and disconnect it from any power sources before proceeding with the repair.
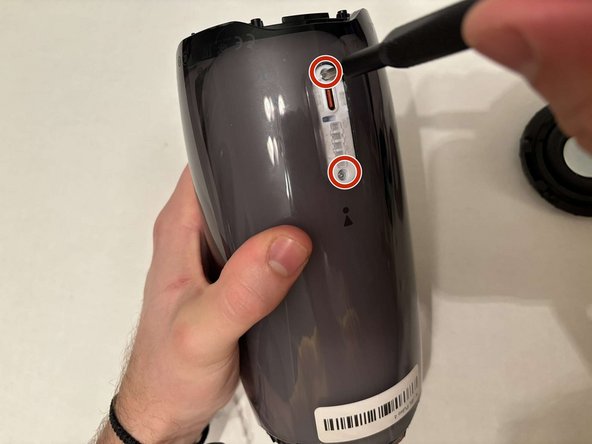
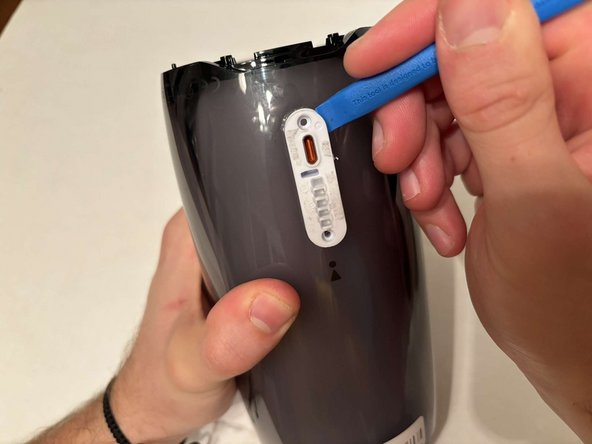
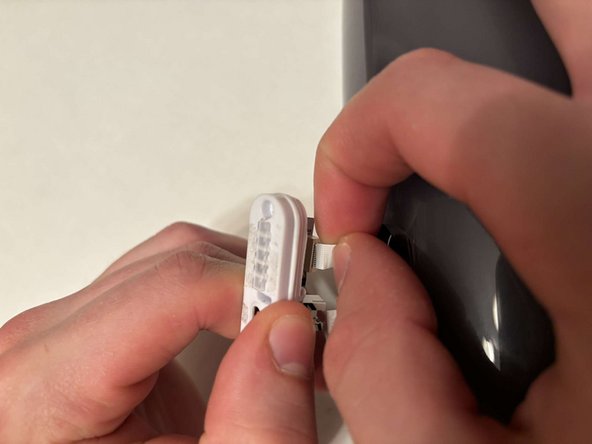
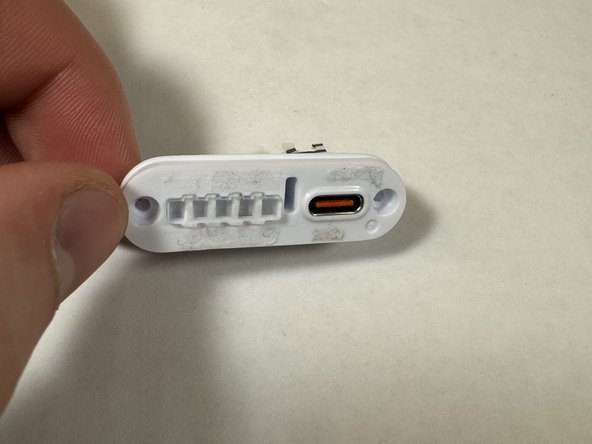
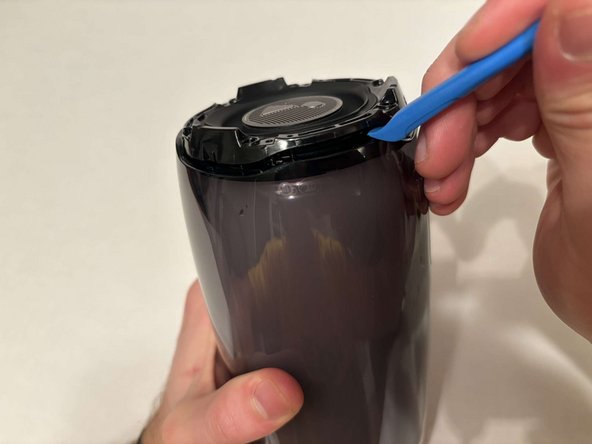
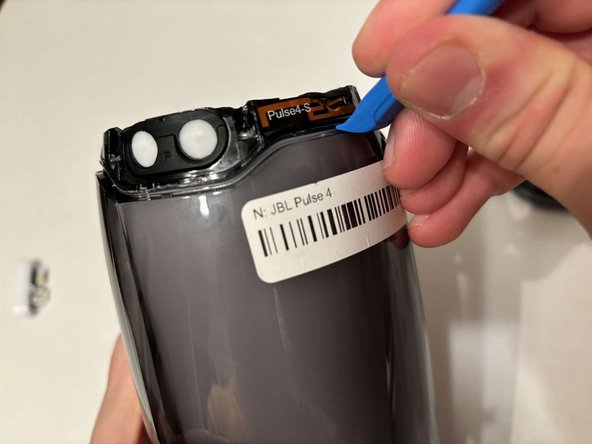
Throughout this guide, we'll provide step-by-step instructions, accompanied by detailed images, to walk you through each stage of the repair process. Whether you're replacing a faulty speaker driver, troubleshooting LED issues, or addressing battery concerns, we've got you covered.
Remember, patience is key. Take your time, and follow each step carefully. Together, let's breathe new life into your JBL Pulse 4 speaker and get the music flowing once again!
Qué necesitas
-
-
Power on JBL speaker before doing any repairs.
-
Hold the power button for 3+ seconds to power down the device.
-
-
To reassemble your device, follow these instructions in reverse order.
To reassemble your device, follow these instructions in reverse order.


