Esta versión puede contener ediciones incorrectas. Cambie a la última instantánea verificada.
Qué necesitas
-
Este paso está sin traducir. Ayuda a traducirlo
-
Remove the rubber screw caps using the pointed tip of the Spudger.
-
-
Este paso está sin traducir. Ayuda a traducirlo
-
Remove the four 6.0 mm Phillips screws located below the rubber caps using the PH00 bit installed in the driver.
-
-
-
Este paso está sin traducir. Ayuda a traducirlo
-
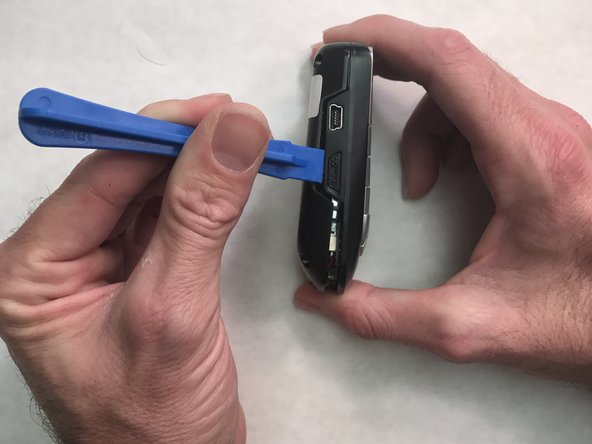
Use the plastic opening tool to pry open the back cover.
-
Slide the tool around the sides of the radio to gradually pry the back cover off. Do not remove the cover completely as there is still a cable connecting it to radio.
-
-
Este paso está sin traducir. Ayuda a traducirlo
-
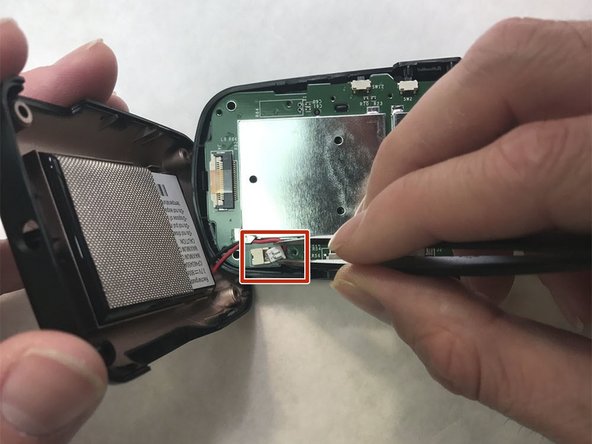
Use the blunt tweezers to unplug the battery cable from the PCB board. Grab the battery cable plug from the sides.
-
-
Este paso está sin traducir. Ayuda a traducirlo
-
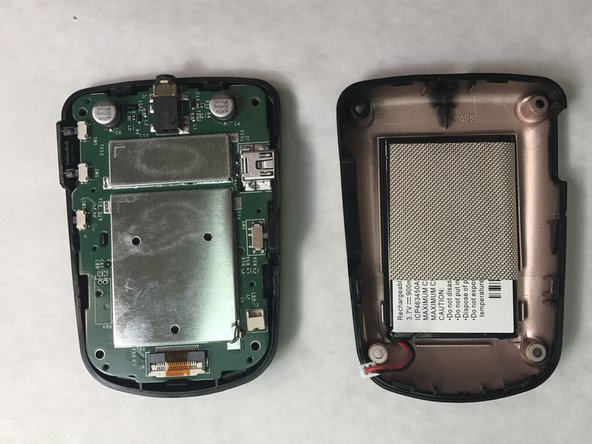
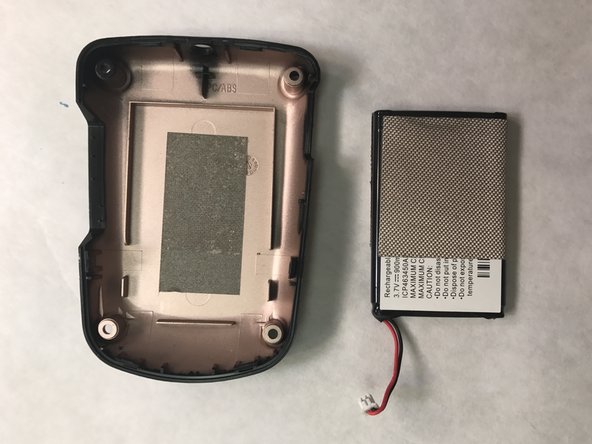
Use the flat side of the Spudger to pry the battery out of the back cover.
-
Insert the replacement battery into the back cover.
-
Reassemble the radio, making sure to reconnect the battery cable.
-


Cancelar: No complete esta guía.
2 personas más completaron esta guía.
Equipo

IUPUI, Team 2-2, Wilson Fall 2016 Miembro de IUPUI, Team 2-2, Wilson Fall 2016
IUPUI-WILSON-F16S2G2
5 Miembros
1 Guía escrita