Esta versión puede contener ediciones incorrectas. Cambiar a la última instantánea verificada.
Qué necesitas
-
Este paso está sin traducir. Ayuda a traducirlo
-
Rest the TV on its top edge so you have access to the base.
-
Use a Phillips #2 screwdriver to take out the four screws on the bottom of the base.
-
Remove the base from the frame.
-
-
Este paso está sin traducir. Ayuda a traducirlo
-
Lay the TV face down.
-
Use the Phillips #00 screwdriver to remove all of the Phillips Head Screws from the the back of the TV.
-
-
Este paso está sin traducir. Ayuda a traducirlo
-
Stand the TV on its top edge.
-
Gently pry apart the front and back of the TV.
-
-
Este paso está sin traducir. Ayuda a traducirlo
-
Remove all the pieces of tape to detach the wires from both sides.
-
You want to gently peel the tape off, without pulling on the wires.
-
-
-
Este paso está sin traducir. Ayuda a traducirlo
-
Spread apart your TV the rest of the way, but do not disconnect any of the wires.
-
-
Este paso está sin traducir. Ayuda a traducirlo
-
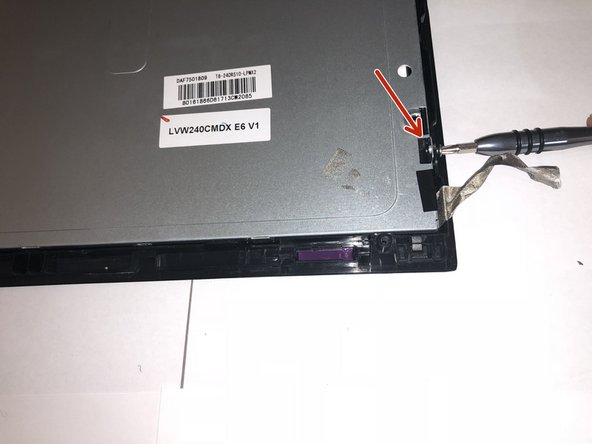
Remove the tape that is holding the silver rectangular piece from the house.
-
-
Este paso está sin traducir. Ayuda a traducirlo
-
Using the Phillips 00 Screwdriver, remove the screws that are also holding the silver rectangular piece to the house.
-
-
Este paso está sin traducir. Ayuda a traducirlo
-
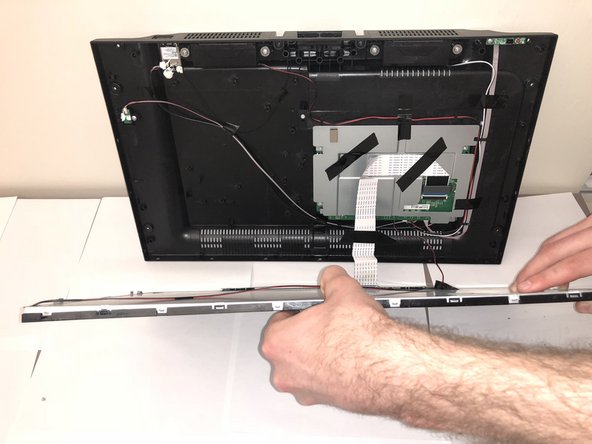
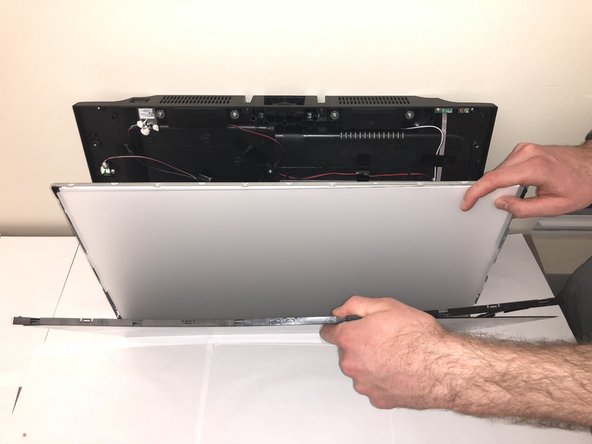
Remove the plastic casing from the glass screen.
-
Then carefully remove metal backing from glass screen and separate the layer of plastic from the glass screen.
-
-
Este paso está sin traducir. Ayuda a traducirlo
-
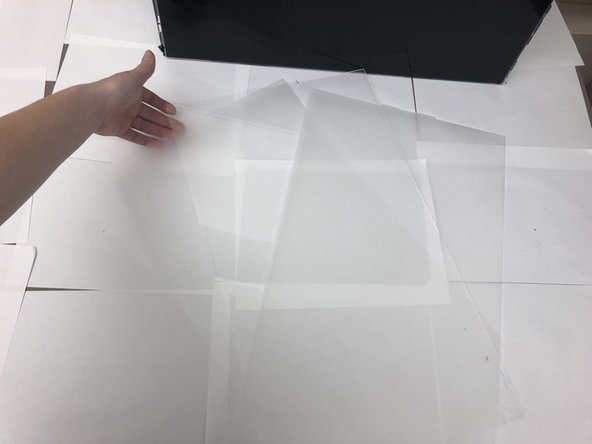
Separate plastic screen protector layers from both the backing and glass screen.
-
-
Este paso está sin traducir. Ayuda a traducirlo
-
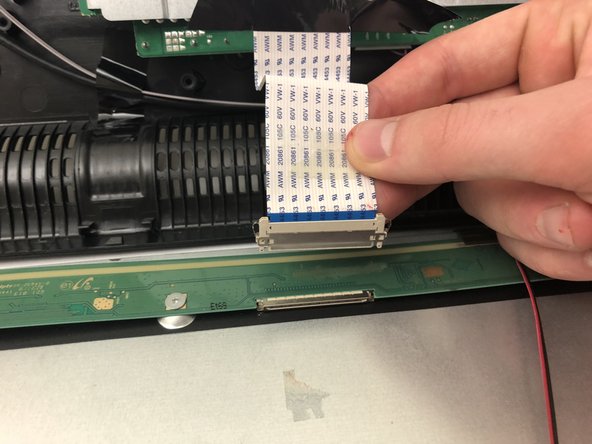
Find the display board and unplug the white ribbon cord from the board.
-
Squeeze both sides of the plug to release the cord.
-
-
Este paso está sin traducir. Ayuda a traducirlo
-
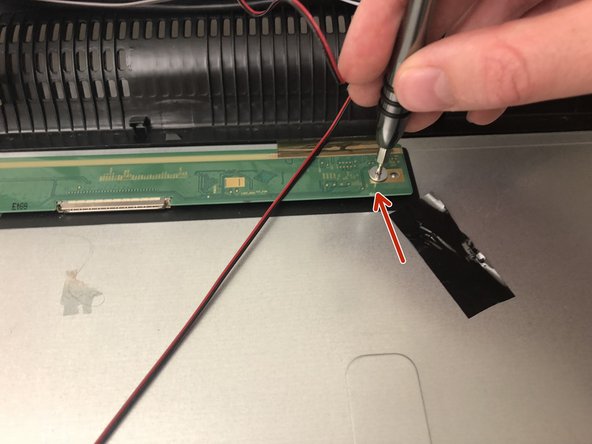
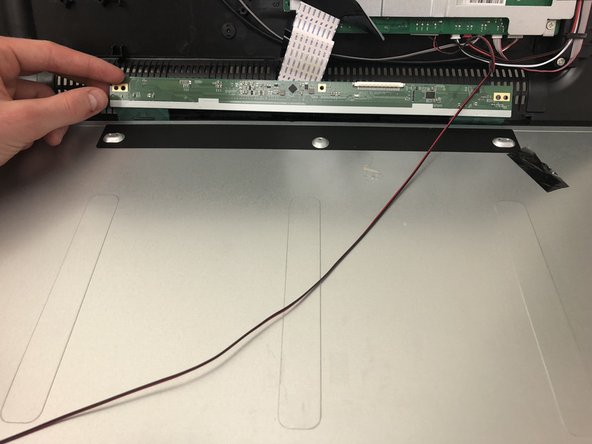
Using same screwdriver, unscrew the screws that are on the green display board.
-
Separate the green display board from its metal backing.
-


Cancelar: No complete esta guía.
3 personas más completaron esta guía.
Equipo

Cal Poly, Team S16-G2, Banghart Winter 2018 Miembro de Cal Poly, Team S16-G2, Banghart Winter 2018
CPSU-BANGHART-W18S16G2
4 Miembros
6 Guías creadas