Esta versión puede contener ediciones incorrectas. Cambiar a la última instantánea verificada.
Qué necesitas
-
Este paso está sin traducir. Ayuda a traducirlo
-
Press on the blue clip on the back and slide it down.
-
-
Este paso está sin traducir. Ayuda a traducirlo
-
Pull the blue clip away from the body of the hand held monitor.
-
-
Este paso está sin traducir. Ayuda a traducirlo
-
Remove the battery by pushing in on the right side and then pulling the battery up and out of the body of the hand held monitor.
-
-
-
Este paso está sin traducir. Ayuda a traducirlo
-
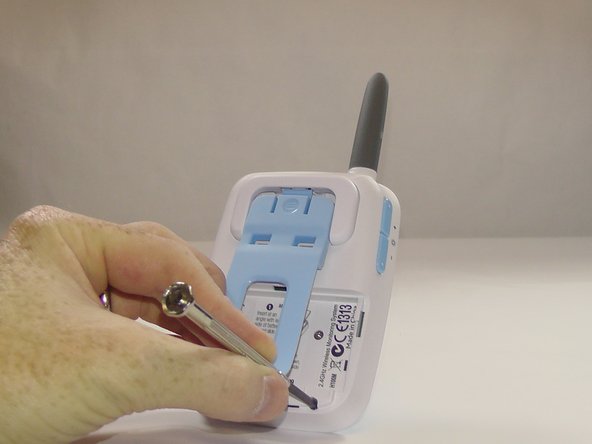
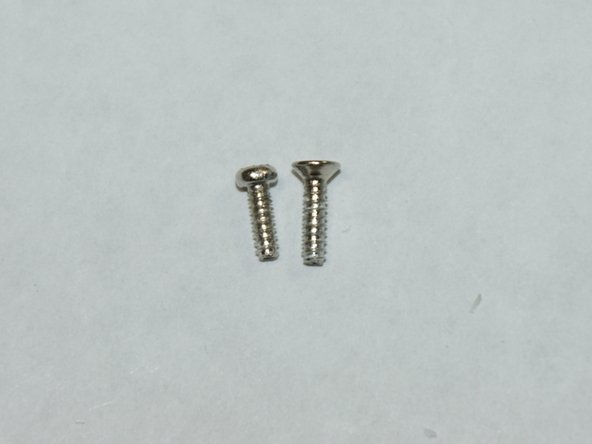
Remove the four 6.0 mm Phillips screws located on the back of the hand held monitor using a Phillips #2 screwdriver.
-
-
Este paso está sin traducir. Ayuda a traducirlo
-
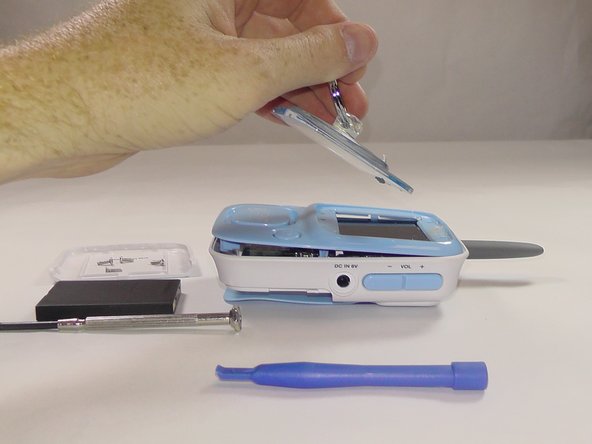
Carefully remove the clear face plate on the front of the hand held monitor using a plastic spudger and a suction cup.
-
-
Este paso está sin traducir. Ayuda a traducirlo
-
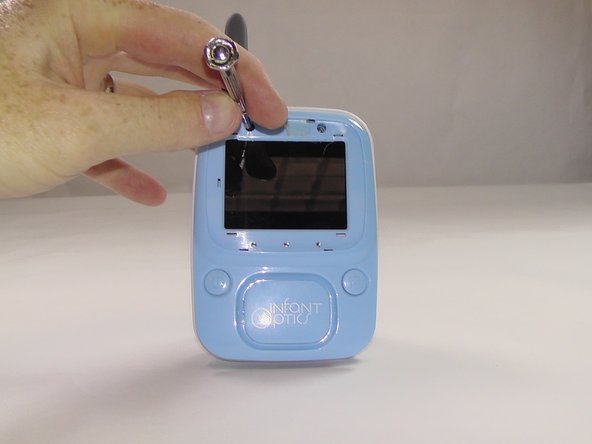
Using a Phillips #2 screwdriver, remove the two 6.0 mm Phillips screws that are exposed after removing the face plate.
-
-
Este paso está sin traducir. Ayuda a traducirlo
-
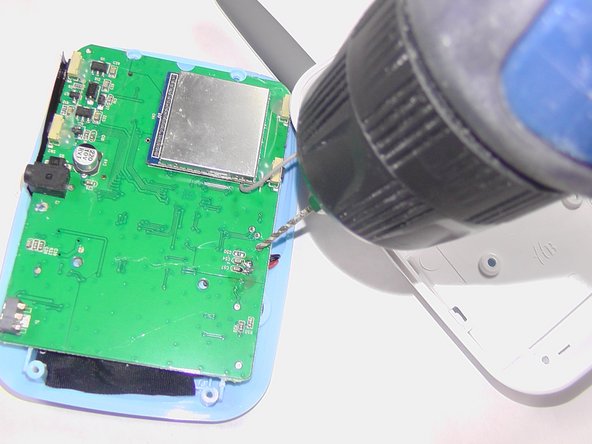
Using a drill carefully drill out the plastic posts that connect the mother board to the face plate.
-
-
Este paso está sin traducir. Ayuda a traducirlo
-
Carefully open the hand held monitor and flip the screen (highlighted in red) out of the way.
-
-
Este paso está sin traducir. Ayuda a traducirlo
-
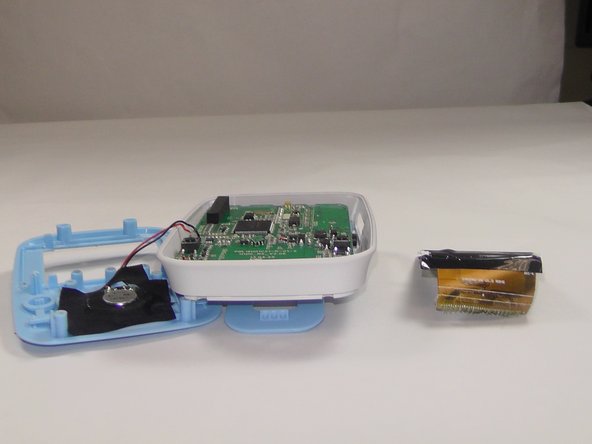
Remove the hand held monitor screen from the mother board by carefully pulling from the point where it is attached with an adhesive to the mother board.
-


Cancelar: No complete esta guía.
Una persona más ha completado esta guía.
Equipo

USF Tampa, Team 6-2, Remmell Fall 2015 Miembro de USF Tampa, Team 6-2, Remmell Fall 2015
USFT-REMMELL-F15S6G2
5 Miembros
5 Guías creadas