Saltar al contenido principal

Impression i7 Battery Replacement

Qué necesitas

  1. Impression i7 Battery Replacement, Battery: paso 1, imagen 1 de 1
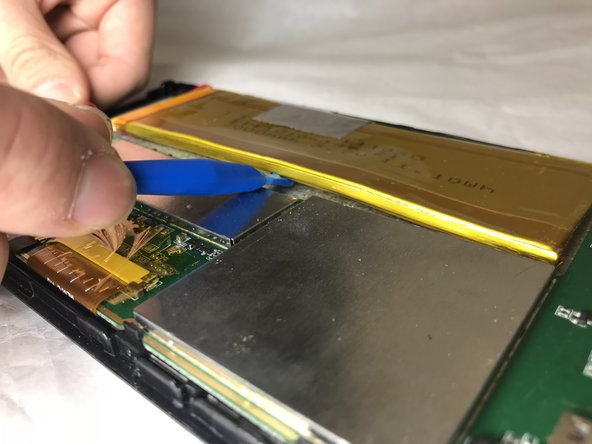
    • Wedge the plastic opening tool into the seam nearest to the screen surface and begin to pry off the back of the device.

  2. Impression i7 Battery Replacement: paso 2, imagen 1 de 1
    • Move the plastic opening tool along the perimeter of the device, loosening the entire back as you go.

  3. Impression i7 Battery Replacement: paso 3, imagen 1 de 1
    • After the entire perimeter has been pried, remove the back of the device.

    • Be careful not to disconnect the speaker and microphone cables attached to the back of the tablet.

  4. Impression i7 Battery Replacement: paso 4, imagen 1 de 2 Impression i7 Battery Replacement: paso 4, imagen 2 de 2
    • Remove the transparent, orange tape from the edge of the battery.

    • Pry the battery off, using the plastic opening tool.

  5. Impression i7 Battery Replacement: paso 5, imagen 1 de 1
    • Desolder the positive and negative leads.

  6. Impression i7 Battery Replacement: paso 6, imagen 1 de 2 Impression i7 Battery Replacement: paso 6, imagen 2 de 2
    • Pull the battery away from the adhesive.

    • Peel the gray tape from the top of the battery.

Conclusión

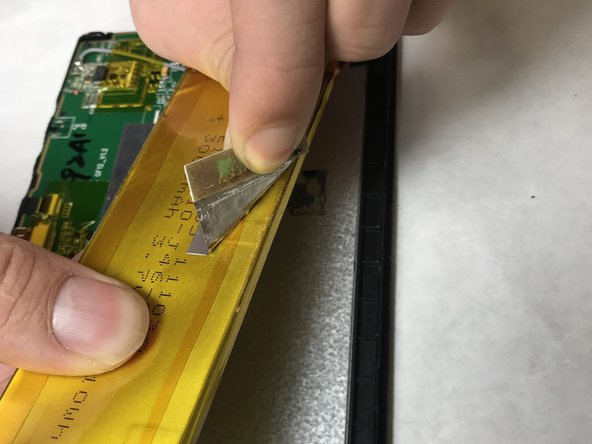
To reassemble your device, follow these instructions in reverse order.

Una persona más ha completado esta guía.

Cole Beaver

Miembro Desde 11/05/18

390 Reputación

3 Guías creadas

Equipo

IUPUI, Team S1-G5, Baechle Fall 2018 Miembro de IUPUI, Team S1-G5, Baechle Fall 2018

IUPUI-BAECHLE-F18S1G5

3 Miembros

6 Guías creadas

0 comentarios

Agregar Comentario

Ver Estadísticas:

Ultimas 24 horas: 0

Ultimos 7 días: 0

Ultimos 30 días: 3

Todo El Tiempo: 186