Esta versión puede contener ediciones incorrectas. Cambie a la última instantánea verificada.
Qué necesitas
-
Este paso está sin traducir. Ayuda a traducirlo
-
Push in the release button and pull up on the battery to remove.
-
-
Este paso está sin traducir. Ayuda a traducirlo
-
Twist antenna counter-clockwise and set damaged antenna aside.
-
-
Este paso está sin traducir. Ayuda a traducirlo
-
Remove the volume knob by firmly lifting up on both sides of it.
-
-
-
Este paso está sin traducir. Ayuda a traducirlo
-
Remove the orange o-ring around volume knob using tweezers.
-
-
Este paso está sin traducir. Ayuda a traducirlo
-
Remove grey nut from base of volume knob by turning it counterclockwise with a set of tweezers.
-
-
Este paso está sin traducir. Ayuda a traducirlo
-
Remove the brass washer from the base of the antenna slot by turning it counterclockwise with a set of tweezers.
-
-
Este paso está sin traducir. Ayuda a traducirlo
-
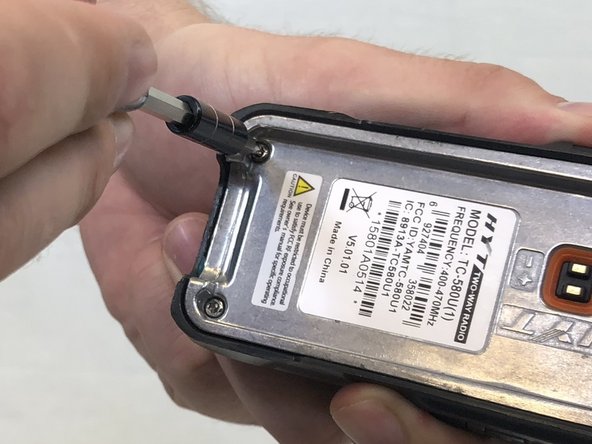
Remove the two 15mm T8 Torx screws from the base of the battery cavity.
-
-
Este paso está sin traducir. Ayuda a traducirlo
-
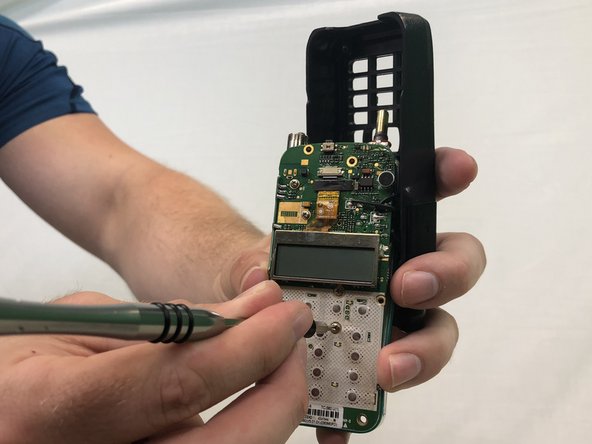
Using a plastic opening tool, pry in between the plastic case and metal circuit board to remove the board.
-
-
Este paso está sin traducir. Ayuda a traducirlo
-
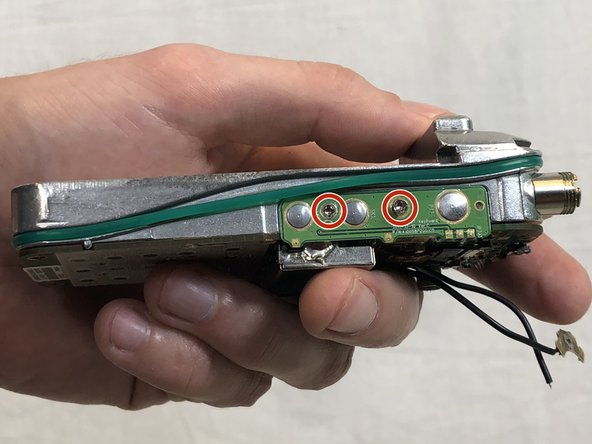
Apply a soldering iron to the solder joints to remove the two wires connecting the speaker to the circuit board.
-


Equipo

USF Tampa, Team S3-G4, Nance Spring 2018 Miembro de USF Tampa, Team S3-G4, Nance Spring 2018
USFT-NANCE-S18S3G4
3 Miembros
5 Guías creadas