Saltar al contenido principal

Huawei P40 Lite Screen Replacement

Qué necesitas

  1. Huawei P40 Lite Screen Replacement, Remove the rear case: paso 1, imagen 1 de 1
    • Apply a little heat around the base then, using a suction cup, lift the screen up sufficiently that you can place a pick between the screen and the case.

    • The adhesive is very light and the rear is plastic so it is unlikely to break.

    • As well as the adhesive around the outside of the screen, there is adhesive around the camera which will also need to be heated and separated from the body of the screen.

  2. Huawei P40 Lite Screen Replacement, Remove the top case: paso 2, imagen 1 de 2 Huawei P40 Lite Screen Replacement, Remove the top case: paso 2, imagen 2 de 2
    • Remove the 10 Phillips #00 screws, including the one covered in a white piece of paper.

  3. Huawei P40 Lite Screen Replacement, Disconnect the battery: paso 3, imagen 1 de 1
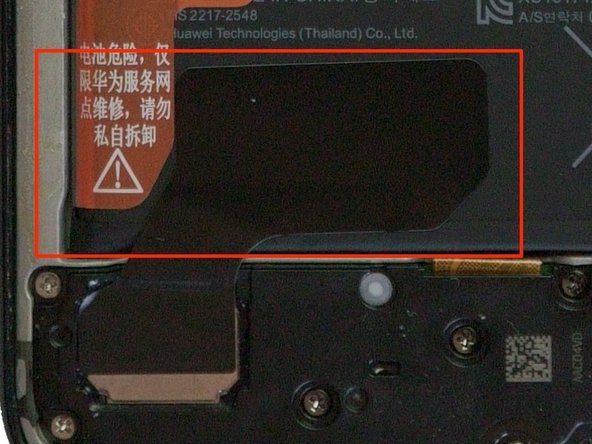
    • Use a spudger to lift up the battery connector (being careful not to damage the surrounding circuitry).

  4. Huawei P40 Lite Screen Replacement, Remove the battery: paso 4, imagen 1 de 2 Huawei P40 Lite Screen Replacement, Remove the battery: paso 4, imagen 2 de 2
    • Peel the black plastic from the battery. The adhesive here should be very light.

  5. Huawei P40 Lite Screen Replacement, Huawei battery pull tabs: paso 5, imagen 1 de 1
    • I REALLY HATE HUAWEIs PULL TABS! (Just wanted to get that out my system)

    • Peel back tab 1 and 2 until they are no longer in contact with the battery

    • Peel back tab 3 and lift up.

    • This in theory lifts the battery, however, the adhesive holding the battery in is very strong.

    • You must be patient and careful so as not to deform the battery.

    • You may need to use a pick under tab 3 to leverage the battery out.

  6. Huawei P40 Lite Screen Replacement, Disconnect the screen: paso 6, imagen 1 de 2 Huawei P40 Lite Screen Replacement, Disconnect the screen: paso 6, imagen 2 de 2
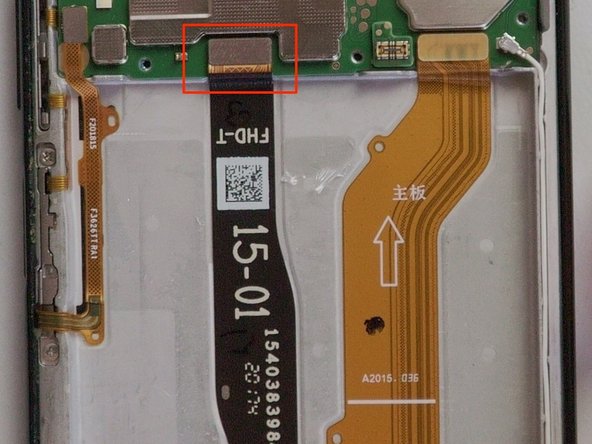
    • Use a spudger to disconnect the screen connector from the motherboard and lift the cable from the adhesive.

  7. Huawei P40 Lite Screen Replacement, Remove the screen: paso 7, imagen 1 de 1
    • Apply heat to the edge of the screen, and use a suction cup or blunt scalpel to help work a plastic pick under the screen.

    • PLEASE NOTE THERE IS A PLASTIC FRAME BETWEEN THE PHONE CHASSIS AND THE SCREEN.

    • Make sure your pick is between the screen and the frame and not the frame and the chassis.

Conclusión

To reassemble your device, follow these instructions in reverse order.

Una persona más ha completado esta guía.

Alexander

Miembro Desde 03/17/13

216 Reputación

1 Guía escrita

Un comentario

Merci beaucoup pour ce partage de connaissance, c'est top !

Olivier Steiner - Contestar

Agregar Comentario

Ver Estadísticas:

Ultimas 24 horas: 3

Ultimos 7 días: 19

Ultimos 30 días: 46

Todo El Tiempo: 3,020