Saltar al contenido principal

How to replace the extension handle on my trolley?

Qué necesitas

  1. How to replace the extension handle on my trolley?, Trolley handle: paso 1, imagen 1 de 1
    • Open the zip inside the trolley to expose the handle.

  2. How to replace the extension handle on my trolley?: paso 2, imagen 1 de 2 How to replace the extension handle on my trolley?: paso 2, imagen 2 de 2
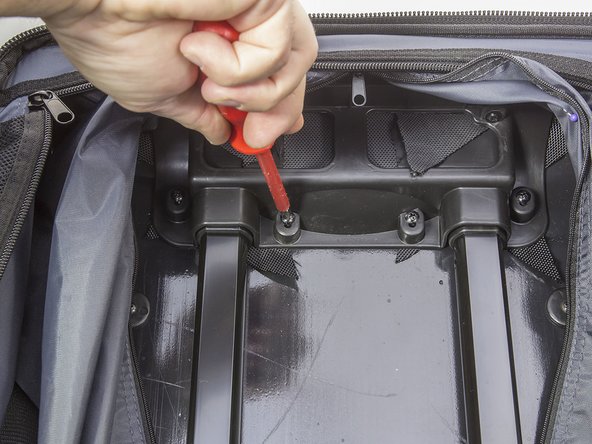
    • Unscrew the two screws in the lower section on the handle assembly using a Phillips screwdriver.

  3. How to replace the extension handle on my trolley?: paso 3, imagen 1 de 3 How to replace the extension handle on my trolley?: paso 3, imagen 2 de 3 How to replace the extension handle on my trolley?: paso 3, imagen 3 de 3
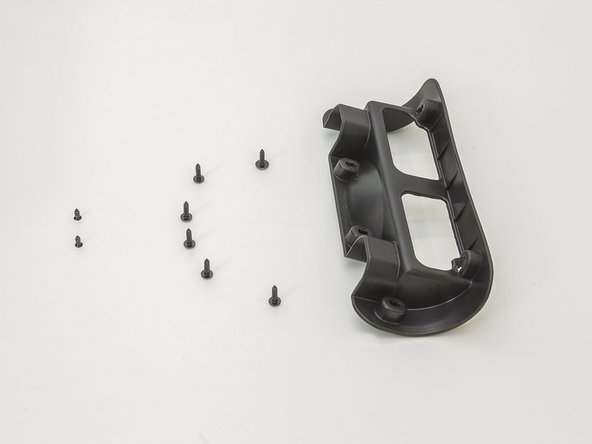
    • Using a Phillips screwdriver, unscrew the 6 marked screws attaching the handle to the upper section.

  4. How to replace the extension handle on my trolley?: paso 4, imagen 1 de 2 How to replace the extension handle on my trolley?: paso 4, imagen 2 de 2
    • After unscrewing all screws, it is easy to remove the entire handle assembly.

Conclusión

Follow the instructions in reverse order, to complete the repair/replacement.

Un agradecimiento especial a estos traductores:

de en

100%

Estos traductores nos están ayudando a reparar el mundo! ¿Quieres contribuir?
Empezar a traducir ›

VAUDE Reparaturteam

Miembro Desde 02/22/16

6,255 Reputación

32 Guías creadas

Equipo

Vaudesport Miembro de Vaudesport

Community

3 Miembros

96 Guías creadas

Un comentario

so I take it from this that we’re screwed if the top bit is riveted (which is quite common by the way!)

Steven Moschidis - Contestar

Agregar Comentario

Ver Estadísticas:

Ultimas 24 horas: 9

Ultimos 7 días: 56

Ultimos 30 días: 302

Todo El Tiempo: 10,948