Introducción
How to disassemble the connector if the wire is damaged ?!
Qué necesitas
-
-
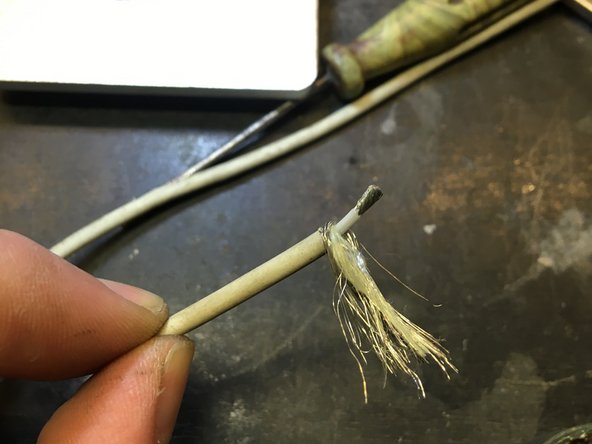
To disassemble the T connector, you need to cut the wire 1 cm away from the connector.
-
Pull out the remnants of wire.
-
Take a metal rod 4-5 mm in diameter and push out the inside of the connector through the lumen (hole) of the wire.
-
It is easiest to do this in a small vise,
-
-
-
Due to impact forces the inner part of the crimped metal will bend. It must be returned to its original shape.
-
This is easy to do with a regular screwdriver.
-
ATTENTION! Do not damage smd (surface mount device) light-emitting diodes and resistors.
-
After that, you need to solder the metal sheath back to the board.
-
-
-
-
Slip the heat shrink and the outer part (plastic housing) of the connector onto the wire.
-
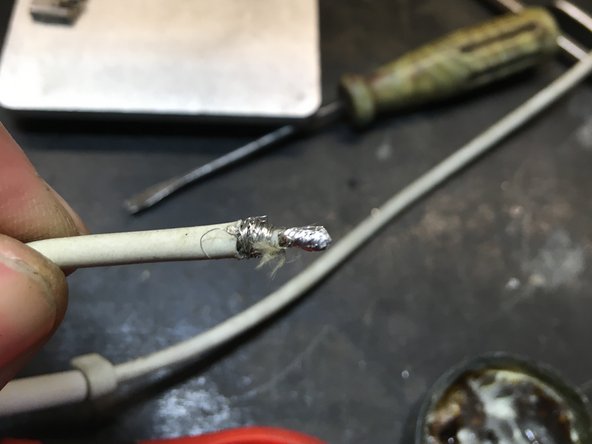
Solder the wires,
-
From the factory, the GND is simply crimped with an metal part, but I also soldered it for greaterreliability
-
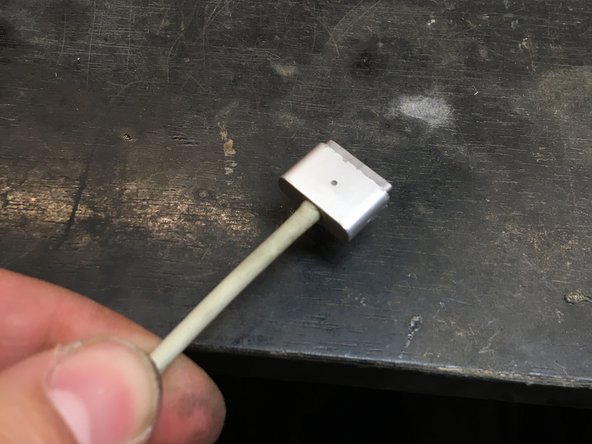
Assemble connector
-
It is very easy to press it back in with a small vise.
-


Cancelar: No complete esta guía.
6 personas más completaron esta guía.
Un agradecimiento especial a estos traductores:
100%

¡ Juan Garcia nos está ayudando a reparar el mundo! ¿Quieres contribuir?
Empezar a traducir ›
3 comentarios
Thank you very much for this guide, also with the pictures. This was really helpful.
I would like to say, that the time required was a lot more for me, about 3 hours in total.
My cable fell apart and the cable coating came off, so I have applied a heat shrink sleeving first over the part of the cable without the cable coating, then another sleeving above the whole cable.
The connector was glued inside, so it was difficult to get off the cap and later to get rid of the old cable, which was still stuck inside. After drilling into the metal crimped part, I could remove the remainders of the old cable.
Now I'm really happy, that the cable is renewed and that it works well.
For me sadly this tutorial didn't work. My connector was also glue on the inside and circuit was covered with some sort of resin. I destroyed part of a circuit while removing remaining cable from the charging circuit. I later figured out that it would be better to salvage parts of charging cable that were still sticking out of magsafe 2 connector, connect them in wire and protect with heat-shrink tubbing. Maybe next time.
I still have to say thanks to the author of this tutorial, since I think repair is our hope out of grand consumerist culture.
I do hope my comment serves as a warning to fellow fixers when dealing with original apple chargers.